Polishing is a technique: a machine, a pad and a fine abrasive that smooths paint and brings up gloss. Paint correction is a goal and a process: leveling the clear coat to remove as many defects as the paint can safely give up, then protecting the result. Polishing is usually one stage inside a correction, which is why shops, forums and product labels use the two words so loosely. This guide sorts out the terms, explains compound versus polish, and helps you decide what your car actually needs.
TL;DR
- Polishing refines paint and adds gloss. Paint correction is the full process of removing defects such as swirls and light scratches, usually with compounding and polishing stages.
- Compound cuts more and finishes rougher. Polish cuts less and finishes with gloss, so the two often run in that order.
- You likely need correction if swirls, haze or light scratches show in direct sun, or if you are about to apply ceramic coating or paint protection film.
- Every correction removes clear coat, and deep scratches that go through it will not buff out. A test spot and a thickness reading keep you safe.
- Corrected paint is bare. Protect it right away with a sealant, wax, ceramic coating or film.
Table of Contents
- The short answer: a technique versus a result
- What polishing does
- What paint correction involves
- Compound vs. polish: which one do you need?
- Side by side
- Do you need paint correction?
- What correction cannot fix
- The real cost: clear coat is finite
- Protect the paint after you correct it
- Our perspective
- Protect your corrected paint with PPF or ceramic coating
- Choosing in practice: three quick scenarios
- FAQ
- Sources
The short answer: a technique versus a result
Ask five detailers and you will get five slightly different definitions, but the useful split is this. Polishing describes what you do: run a machine buffer with a polish to smooth the surface. The International Detailing Association’s glossary defines polishing as using a machine buffer to remove swirls or smooth paint to a high-gloss finish. Paint correction describes what you want: paint that is visibly free of defects, not just shinier.
That is why a correction can take a full day or more while a “polish” can take an afternoon. A polish job enhances what is there. A correction sets out to remove specific defects, measure what the paint can take, and finish with protection. The same glossary describes a two-step correction as two machine-polishing stages, one to remove defects and one to refine the finish, which shows how closely the terms overlap in practice.
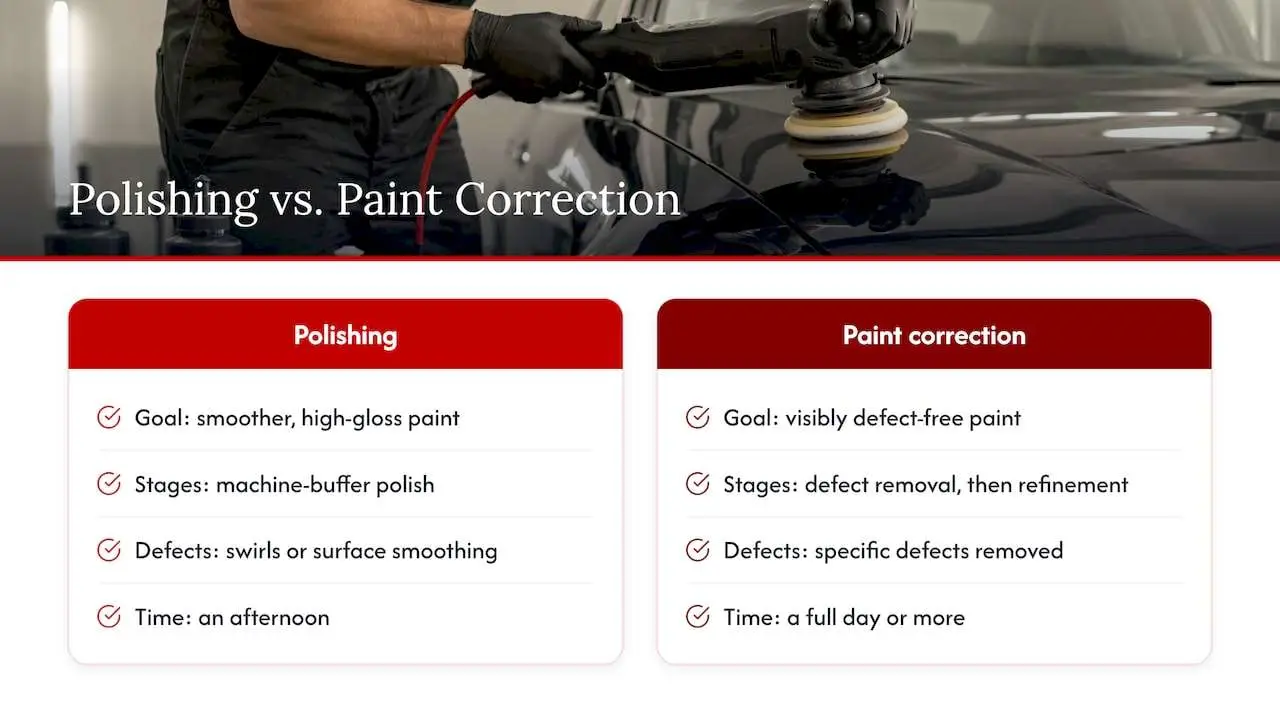
So when a shop quotes “polish” at one price and “paint correction” at a much higher one, read the scope. The difference is rarely the machine. It is how many stages, how much paint is leveled, and how much inspection and prep surround it.
What polishing does
Polish contains fine abrasives. As you work it across a panel with a machine, those particles break down and cut a very shallow layer of clear coat, rounding off the edges of microscopic scratches so light reflects evenly again. The result is clarity, depth and gloss.
Polishing makes sense when:
- The paint is in decent shape with light swirls from automatic washes or towel drying.
- The car looks dull or hazy but has no scratches you can feel with a fingernail.
- You want a refresh before waxing or sealing, without committing to a multi-stage job.
A single polishing pass is gentle by design. It improves the finish and takes away the lightest marks, but it does not aim to chase every defect. One research-backed way to think about it: polishing is about enhancement, while correction is about specific defects.
What paint correction involves
A proper correction is a sequence, and the prep matters as much as the machine work.
- Wash and decontaminate. Dirt left on the paint gets dragged around by the pad. Detailing guidance is clear that after washing you should clean the clear coat with clay, otherwise unseen contaminants can be swirled into the finish. Our own write-up on an inspection-first decontamination wash covers what this step looks like before polish, coating or film.
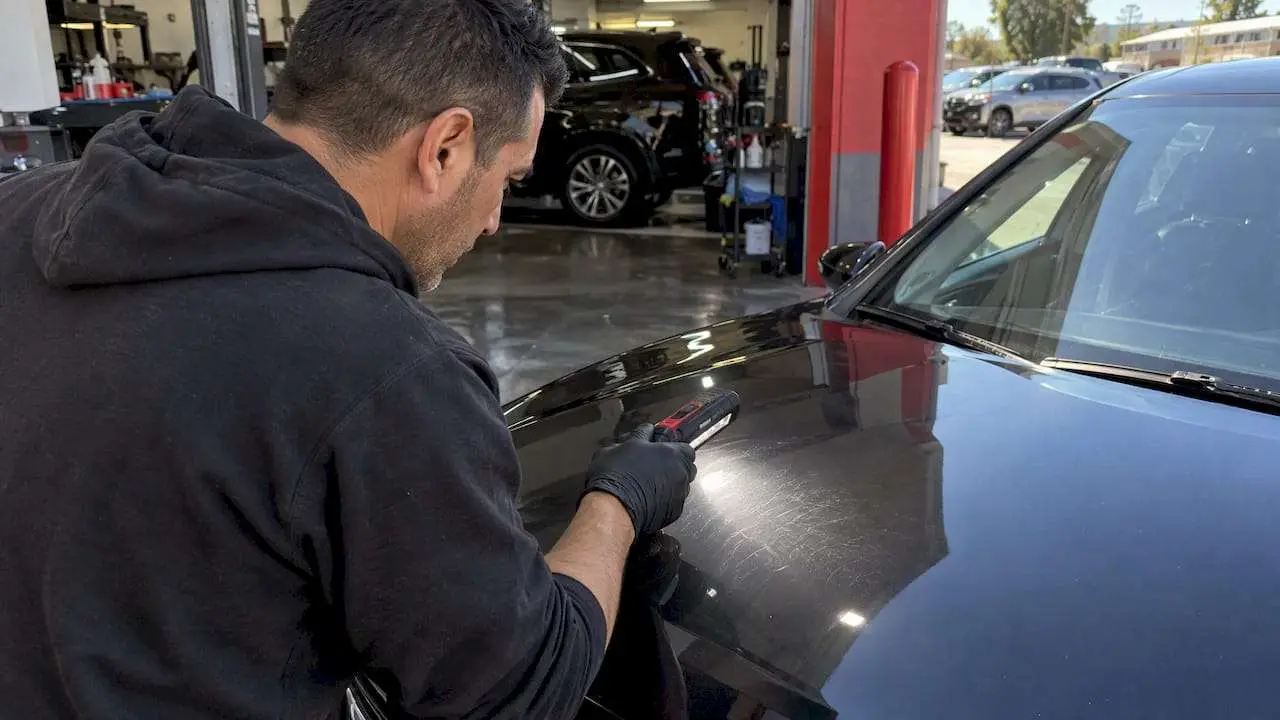
- Inspect under strong light. Defects hide in shade and show up under direct sun or a dedicated inspection lamp. This is where the plan gets made.
- Measure paint thickness. A gauge tells you whether the panel has clear coat to spare. Repainted panels and thin factory paint are the usual surprises.
- Run a test spot. Paints and polishes react differently, so no formula is guaranteed. A small section tells you which pad and product combination gets the result with the least cut. We explain how that decision plays out in how pros decide paint correction stages.
- Compound if needed, then polish. Heavier defects get a cutting stage first. A finer stage follows to remove the haze the compound leaves and restore gloss.
- Wipe down and inspect again. Polishing oils can mask remaining defects, so the panel is cleaned and checked before it is called finished.
- Protect. More on that below.
If you want to see how a single stage works before committing to more, our guide to one-step correction walks through testing a panel before you decide between DIY and a professional.
Compound vs. polish: which one do you need?
Compound and polish are both abrasive liquids, and many people treat the words as interchangeable. They are not. According to 3M, compounds are aggressive liquids designed to cut the paint’s top surface and quickly remove defects, while polish is much less aggressive, used for high gloss, and often follows compounding. The IDA glossary draws the same line: compounds are abrasive products for heavy contamination and deep scratches, while polishing products are formulated for a smooth, bright, glossy surface and may remove swirl marks.
Think of it like sanding wood. Compound is the coarser grit that removes the problem. Polish is the finer grit that makes the surface look right. Using only compound can leave the paint hazy. Using only polish on heavily marred paint can mean hours of work with little visible change.
Rule of thumb:
- Start with the least aggressive combination that works. That is what the test spot is for.
- Step up only when the defect remains. Every extra pass takes more clear coat.
- Always finish with a polish when you have compounded, so the surface is clear and glossy rather than just flat.
There is also a terminology wrinkle. Some detailers and older body-shop hands say “buffing” for heavy cutting with wool pads on a rotary tool, and “polishing” for finer work with a dual-action machine and foam. If a quote says “buff,” ask what pad, what product and how many stages, because the word alone does not tell you how much paint is coming off.
Side by side
| Polishing | Paint correction | |
|---|---|---|
| What it is | A machine technique using fine abrasive | A process to remove defects, usually in stages |
| Main goal | Gloss and clarity | Visible removal of swirls, haze and light scratches |
| Typical products | Polish, finishing pad | Compound, polish, several pad choices |
| Preparation | Wash, often decontaminate | Wash, clay, inspection, thickness readings, test spot |
| Clear coat removed | Very little | More, and it must be measured |
| Time | Shorter | Longer, scales with paint condition |
| Finish step | Wax or sealant | Sealant, wax, ceramic coating or film |
Do you need paint correction?
The honest answer is that it depends on what you see and what you plan next. Walk through these checks.
Look at the paint in direct sun or under a strong light. Wash and dry the car first. If you see fine circular spiderweb patterns, that is swirling. A dull, cloudy look suggests haze or oxidation. Thin straight lines are light scratches.
Try the fingernail test. Drag a nail gently across a scratch. If it catches, the scratch is probably deeper than a polish can level. If it glides over, correction has a good chance.
Consider what comes next. If you plan to apply ceramic coating or film, anything you leave under it gets sealed in, and swirls look sharper under gloss. That is why shops often correct before they protect. Read more on this in paint correction before PPF and our piece on whether you need correction before ceramic coating.
Match the job to the car. A new car with a clean finish may need only a decontamination and a light polish before protection. A five-year-old daily driver that has seen automatic washes may benefit from a full correction. A garage-kept car with minimal wear may need neither.
If you see nothing but a few isolated marks, spot work or a single polishing step is often enough. If you are not sure, a shop inspection with a thickness gauge costs far less than correcting the wrong way.
What correction cannot fix
Correction works by leveling clear coat, so it only helps with defects that live in that layer. Swirls, light scratches, water spot etching, haze and light oxidation are typical targets. Rock chips, deep gouges and anything that has gone through to the base coat or primer are not.
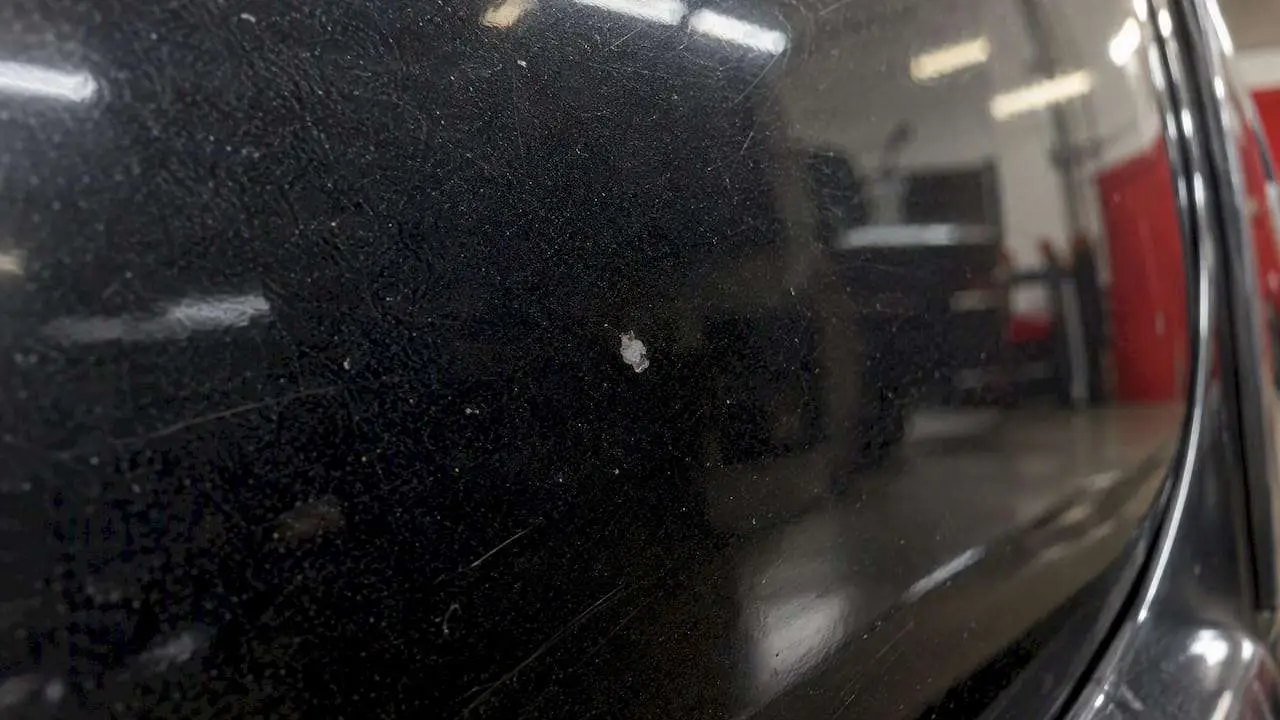
The 3M scratch removal instructions put it plainly: the system will not eliminate deep or wide scratches or scratches that go through the clear coat, and some deep scratches may require repainting. If a scratch catches your fingernail firmly, expect that the answer is touch-up or refinishing. For damage like that, an auto body repair shop is the right stop, and a smart correction plan works around it rather than grinding the surrounding paint down to chase it.
The real cost: clear coat is finite
This is the part many how-to videos skip. Factory clear coat is thin, and correction removes some of it. Industry paint-defect guidance from the National Auto Body Council’s training materials says that if more than 0.3 to 0.5 mil of clear coat is removed, the affected area should be repainted, with the exact figure varying by manufacturer’s paint process. A mil is one thousandth of an inch, so there is not much margin.
Two consequences follow:
- Repeated corrections add up. Each one takes some clear coat, and repeated corrections can eventually use it up. That is a reason to correct once, well, and then protect the paint so you do not need to do it again.
- Mistakes cause their own marks. The same guidance lists the causes of polishing marks: a top coat that is not fully dried, sandpaper that is too coarse, an unsuitable polish, or polishing through layers on edges. Edges and body lines have the thinnest paint and are where burn-through happens.
This is why a thickness gauge, a test spot and a conservative approach beat a one-size-fits-all plan. It is also why DIY on a rotary buffer is risky for an inexperienced user, and why a dual-action machine with light pressure is the usual starting point.
Protect the paint after you correct it
Correction strips away whatever protection was on the paint, along with the defects. As detailing guidance notes, after any corrective process the finish must be protected with a sealant, wax or ceramic coating, because the leveling process removes existing layers of protection. The IDA glossary defines wax and sealant as chemicals used to protect paint.
Your options, from shortest to longest-lasting:
- Wax: warm look, short durability, easy to reapply.
- Sealant: synthetic, longer lasting, typical for a maintenance routine.
- Ceramic coating: a harder, slicker layer that resists wash marring and is easier to clean. Our ceramic coating prep checklist covers what the surface needs before it goes on.
- Paint protection film: a clear urethane layer that absorbs rock chips and light abrasion, which is the one defect category polish cannot reverse once it breaks the clear coat.
If you drive on Los Angeles freeways, rock chips and sun exposure are the daily threats. A corrected surface under film or coating keeps the work you paid for from being undone by the first highway trip.
Our perspective
We see the same pattern all the time: an owner asks for a polish, but what they really want is paint that looks flawless and stays that way. Those are two different jobs, and the second one starts with inspection, not a machine.
Our view is simple. Correct only as much as the paint needs, measure before you cut, and protect immediately. Polishing a clean, healthy finish is fine. Grinding through clear coat to chase every last swirl is not.
That is also why we pair prep with protection. Film and coating lock in the finish you have on the day they go on, so we want that day’s finish to be as good as the paint can safely deliver. Our installs are built around precise edges, clean alignment and premium materials, and a clean surface is where that begins.
If you are unsure whether you need a polish, a correction or nothing at all, ask us to look at the paint in the light. A straight answer is free.
Jake
Protect your corrected paint with PPF or ceramic coating
If you have decided correction is worth it, the next question is what keeps it that way. We are an XPEL authorized installer in North Hollywood, and our paint protection film packages include a Full Front at $2,199 and Full Vehicle coverage from $4,500. For a harder, easier-to-clean surface we also offer System X 5-year ceramic coating.
See the paint protection film packages or the ceramic coating service, then send us your car details for a same-day response on what it needs.

If you would rather start with a front-end package for daily driving, the Full Front PPF page shows what is covered.
Choosing in practice: three quick scenarios
A two-year-old daily driver with light wash swirls. A decontamination wash and one polishing stage usually brings back clarity. Protect it with a sealant or coating, and wash with clean mitts from now on.
A used luxury car with faded, hazy paint and a few deeper marks. This is a correction candidate. Start with thickness readings and a test spot. Expect a compound stage followed by a polish, and accept that the deepest marks may remain. Then protect it with film on the high-impact areas and coating on the rest.
A new Tesla straight from delivery. New does not mean flawless. Transport and dealer prep can leave marks. Inspect, decontaminate, and correct lightly if needed before film goes on, since film locks in whatever is underneath.
FAQ
Is paint correction the same thing as polishing?
No. Polishing is one technique, using a machine and fine abrasive to smooth paint and add gloss. Paint correction is the larger process of removing defects, often with compounding and polishing stages, and then protecting the paint. Many shops use the terms loosely, so ask for the scope in writing.
Is paint correction worth it?
It is worth it when visible swirls, haze or light scratches bother you, or when you are about to apply ceramic coating or film that will seal the finish in. It is less worthwhile on healthy paint or on defects that go through the clear coat. Because each correction removes clear coat, do it once and protect the result.
What are the disadvantages of paint correction?
The main cost is clear coat, which is thin and cannot be put back. Repeated or aggressive work can leave you with too little, and edges can burn through. A thickness gauge and a test spot keep the risk low. Correction also leaves the paint bare, so it needs protection straight afterward.
Can I use polish alone instead of compound?
On lightly marred paint, yes. Polish is less aggressive and is meant for gloss. On heavier defects it may not cut enough, and you would need compound first, then polish to refine. Start with the gentlest combination that works on a test spot.
How long does a correction last?
The leveled surface is permanent in the sense that the defects are gone, but new ones appear if the paint is washed badly or left unprotected. Protection and careful washing decide how long it stays clear. Film or coating makes the finish last far longer than bare paint.
Sources
- Glossary of Detailing Terms, International Detailing Association
- 3M Compounds & Polishes
- What’s the Difference Between Compound & Polish?
- 3M Scratch Removal System instructions
- Identifying and Correcting Paint Defects
- How to detail your car like a pro, Motor Authority
- Car Detailing Paint Correction & Protection Process Guide