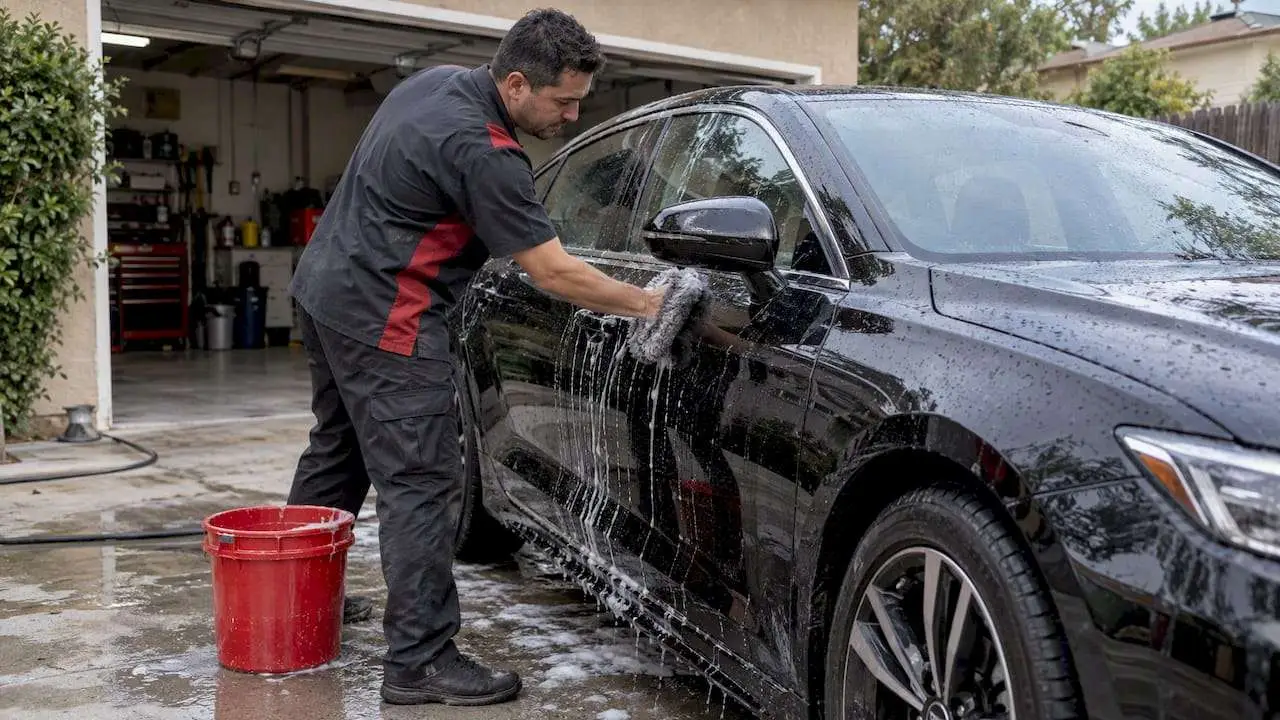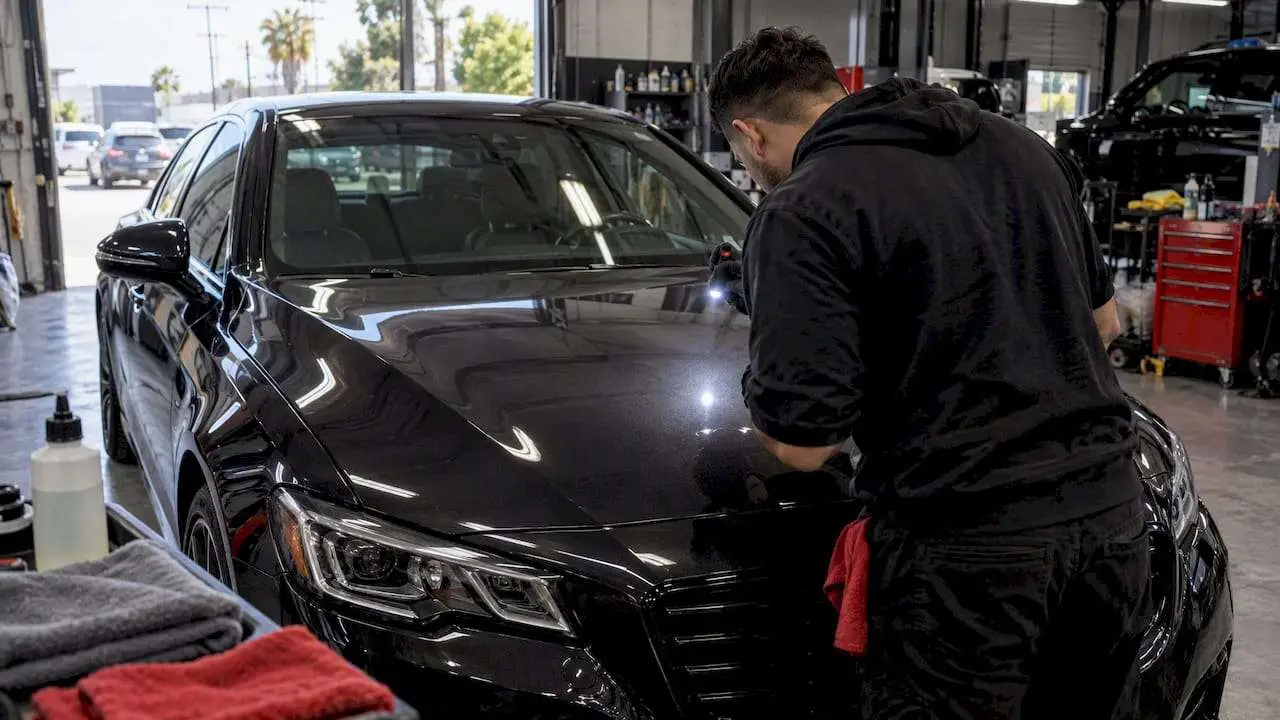
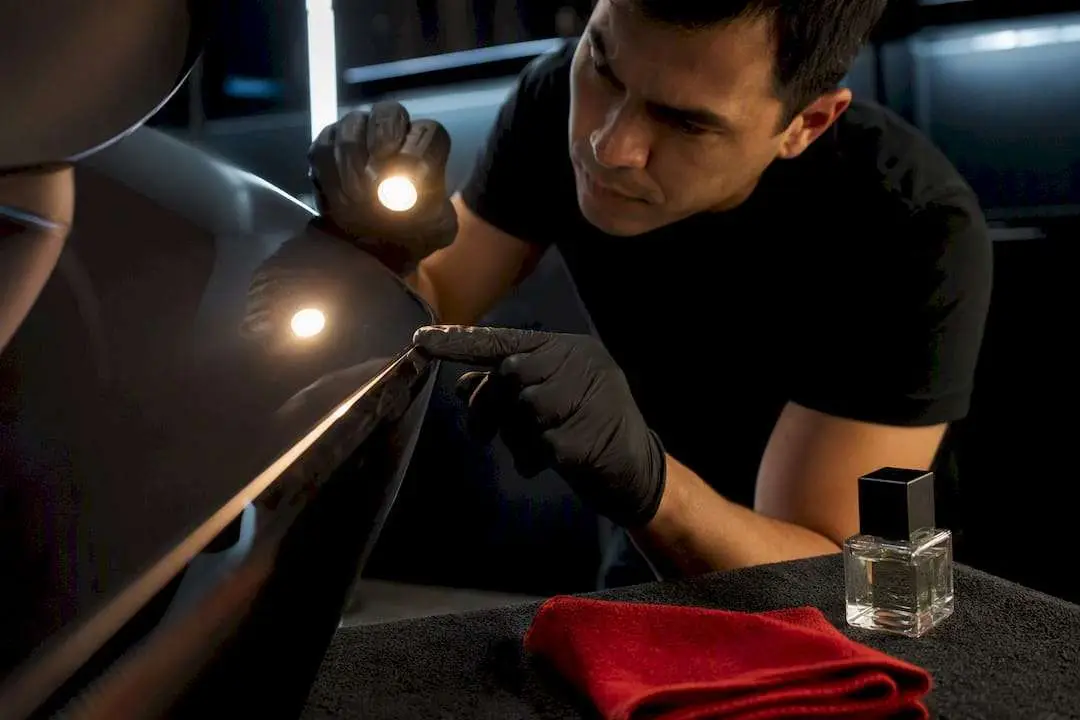
A ceramic coating is usually safe to drive on after 24 to 48 hours in dry weather, but that milestone is not the finish line. Full chemical hardness typically takes several days to a few weeks, depending on the product and the conditions it cures in. The manufacturer’s Technical Data Sheet always overrides any general rule you read online.
TL;DR:
- The full curing process for ceramic coatings can take several days to weeks, depending on product chemistry, environmental conditions, and application thickness.
- Initial cure phases are fragile, with solvent evaporation and contamination risk peaks within the first 24 to 48 hours, making indoor, controlled curing ideal.
- Water bead behavior is the best practical indicator of functional cure, which typically occurs between days 3 and 7, not after just four hours.
- External factors such as temperature, humidity, airflow, and coat thickness significantly influence cure time, requiring adjustments based on specific conditions.
- Following manufacturer instructions precisely, especially for washing and environmental restrictions, is crucial to avoid early damage or compromised durability.
Table of Contents
- What Are the Stages of Ceramic Coating Cure Time?
- What Affects How Long a Ceramic Coating Takes to Cure?
- What Should You Avoid During Each Cure Stage?
- How Do You Know if the Coating Has Cured?
- What Do Professional Installers Recommend for Curing?
- Why the “4-Hour Dry Time” Claim Misleads Car Owners
- Get a Professionally Applied, Climate-Controlled Ceramic Coating
- Where to Verify Cure Times for Your Specific Coating
- Sources
What Are the Stages of Ceramic Coating Cure Time?
Cure time is not one countdown. It is a sequence of chemical stages, and each one changes what you can and cannot do to the car.
There’s no universal clock here, either. Different coatings use different resin chemistries and solvent packages, so cure behavior varies by formula, which is exactly why the TDS matters more than any blog post, including this one.
- Flash and leveling (seconds to minutes per panel). This happens during application, as the coating spreads and starts to level out before the installer wipes off the excess. Get this stage wrong and you get high spots or streaking that no amount of curing will fix later.
- Initial cure (0 to 24 hours). Most solvent evaporation happens here, and it’s the most fragile window in the whole process. Practitioners treat the first 24 to 48 hours as critical for bond formation, meaning contamination now can leave permanent marks.
- Touch cure (24 to 48 hours). The surface feels dry, but the coating is still chemically soft underneath. This is the stage where marketing claims about “4 hour dry times” get misleading. Some TDS documents genuinely list a short moisture-tolerance window around 4 hours, but that number describes tolerance to brief moisture exposure under ideal conditions, not readiness for a car wash.
- Functional cure (days 3 to 7). This is the point most owners actually care about. Strong hydrophobicity and safe hand washing usually arrive in this window, even though the coating hasn’t finished hardening.
- Full chemical cure (2 to 4 weeks). The resin finishes cross-linking, and the coating reaches its maximum hardness and chemical resistance. Ceramic Pro’s own aftercare guidance lists a 2 to 3 week curing window and explicitly warns against washing during it.
What Affects How Long a Ceramic Coating Takes to Cure?
Cure time isn’t fixed. It stretches or shrinks based on the environment the car sits in and the product chemistry itself.
- Temperature. Warmth speeds up the chemical reaction; cold slows it down noticeably.
- Humidity and dew. High humidity can disrupt flash and leveling during application, and cold or humid conditions can stretch a 24 to 48 hour initial cure out to 36 to 72 hours or more.
- Airflow and contamination control. A clean, controlled indoor bay beats an open driveway, where dust, pollen, and bugs land on a still-curing surface.
- Film thickness. A heavier application or a second layer holds more solvent, which takes longer to fully evaporate and cross-link.
- Product chemistry. Different resin systems behave differently, and that’s exactly why one brand’s 4-hour claim and another’s 3-week claim aren’t contradicting each other. They’re describing different products.
What Should You Avoid During Each Cure Stage?
The rules tighten as time passes, but they never fully disappear until the coating reaches full cure. Here’s the practical breakdown by window.
- Immediately after application. Don’t touch the panels, don’t buff anything by hand, and keep the car in a dust-free space if you can manage it.
- 0 to 24 hours. Indoor, climate-controlled rest is the strongest recommendation installers give for this window. Rain, sprinklers, and even dew can leave permanent water spots that require polishing and a partial recoat to correct.
- 24 to 72 hours. Driving is generally fine in dry weather, but skip car washes and pressure washers entirely.
- Days 3 to 7. Gentle, pH-neutral hand washing is usually acceptable once you see functional cure indicators, like water beading tightly on the surface.
- Weeks 2 to 4. Hold off on aggressive cleaners, polishes, or compounds until the coating has had its full window to cross-link.
Pro Tip: If rain is forecast within the first 48 hours of a new coating, push the appointment back a day if you can. One unlucky downpour on an uncured panel can cost you more in correction work than the delay ever would.
How Do You Know if the Coating Has Cured?
Watch how water behaves on the paint. Tight, fast-rolling beads are a strong practical sign the coating has reached functional cure, since installers use beading and surface hardness as real indicators rather than a fixed day count.
- Water beading tightly and rolling off easily suggests functional cure has kicked in.
- A dry-to-touch feel is not the same as chemical hardness. Both cues matter, but neither replaces the timeline on your product’s TDS.
- If a water spot or contamination shows up mid-cure, a gentle polish and recoat often fixes it, though a stubborn spot deserves a professional look.
- When in doubt, wait longer. An extra few days costs you nothing compared to redoing the correction.
What Do Professional Installers Recommend for Curing?
It is generally recommended to rest the vehicle indoors, in a climate-controlled space, for the first 12 to 24 hours whenever the schedule allows it. That single habit prevents the majority of early-cure disasters we see walk back through the door.
Some coating systems accept a second layer within a tight window after the first, which is exactly why installers follow the product’s own layering instructions instead of guessing. Get that timing wrong and the second coat can trap solvent from the first, weakening the whole system.
The three mistakes we see most often are washing too soon, letting a car sit outside overnight during its first cure window, and reaching for a strong all-purpose cleaner in week one. Every one of them is avoidable with a little patience and the manufacturer’s own instructions.
Why the “4-Hour Dry Time” Claim Misleads Car Owners
The gap between what a product label promises and what the paint actually needs is where most owners get burned. A 4-hour moisture tolerance window on a TDS is a real, legitimate spec. It just isn’t the same claim as “fully cured,” and treating the two as interchangeable is where the conventional advice on this topic falls apart.

Functional cure, the point where the coating beads water and tolerates a gentle hand wash, usually lands somewhere in days 3 through 7. Full chemical cure, where the resin has finished cross-linking and reached its maximum hardness, stretches out to 2 to 4 weeks on most professional-grade products. Both numbers are true. They just answer different questions.
If there’s one thing worth prioritizing over everything else in this article, it’s this: read the actual TDS for your specific product before you plan your first wash or road trip. Marketing copy on a bottle and a lab-tested data sheet are not always written by the same standard, and the data sheet is the one that matters when something goes wrong.
— Jake
Get a Professionally Applied, Climate-Controlled Ceramic Coating
Professional ceramic coating services provide an alternative to guessing your own cure schedule in a driveway. A climate-controlled bay removes the humidity, dew, and rain risk that stretches or ruins a DIY cure, and it means the timeline you’re quoted is the timeline you actually get.
Ppfprosla applies System X ceramic coating with full paint prep and a controlled curing environment, and pairs it with XPEL paint protection film bundles for owners who want both gloss and impact protection in one visit. If your paint needs correction first, that’s worth sorting out before the coating goes on, not after. Head to the PPF Pros ceramic coating and PPF bundle page to see package options, or request a custom quote for your specific vehicle and cure timeline.
Where to Verify Cure Times for Your Specific Coating
Always check your product’s own manufacturer TDS and aftercare guidance for exact figures, and lean on trusted maintenance resources for ongoing care once the coating is fully cured.
Sources
- Ceramic Coating Cure Time Explained – Liquid Laboratories
- How Long Does Ceramic Coating Take to Cure? | FEYNLAB®
- 3M ceramic coating TDS (example)
- Ceramic Pro Coatings – Aftercare
- HCC curing timeline: what to do the first 7 days