
Paint correction stages are the number of distinct machine-polishing passes a car gets: cutting to remove defects, then refining to restore clarity. Most daily drivers only need a one-step polish. Two-step is the standard before ceramic coating. Three-step (multi-stage) is reserved for severe neglect or show-level restoration, and it should never be quoted without a paint-thickness check first.
TL;DR:
- Most cars only need a one-step polish that removes 60 to 80% of light swirls while affecting only 1 to 2 microns of clear coat, suitable for light defects and routine maintenance.
- Two-step correction, involving a cutting and a finishing pass, removes 85 to 95% of defects and is the standard preparation before ceramic coating.
- Multi-stage correction can eliminate over 95% of defects but risks burn-through on thin or aged paint and requires significantly more labor, making it suitable only for severely neglected or show cars.
- Proper assessment through paint-thickness measurements and a test spot under controlled lighting is essential for accurate stage recommendation and avoiding unnecessary or damaging work.
- Estimates should specify whether a test spot and thickness readings were performed, and prices vary from around $300 for one-step to over $1,500 for multi-stage on large or heavily damaged vehicles.
Table of Contents
- What Causes Paint Defects and How to Spot Them
- Stage 1: One-Step Correction and When It’s Enough
- Stage 2: Two-Step Correction, the Standard Before Coating
- Stage 3 and Multi-Stage Correction: The Trade-Offs
- How Pros Actually Decide Which Stage You Need
- Time, Price, and What Should Be in Your Quote
- Why Correction Comes Before Ceramic Coating (and How to Protect It After)
- Risks, Limits, and How Often You Can Safely Correct Paint
- The Shop’s Side: How We Decide What Your Car Actually Needs
- What Most Guides Get Wrong About “Stages”
- Book a Correction and Protection Package With Ppfprosla
- Sources
- FAQ
What Causes Paint Defects and How to Spot Them
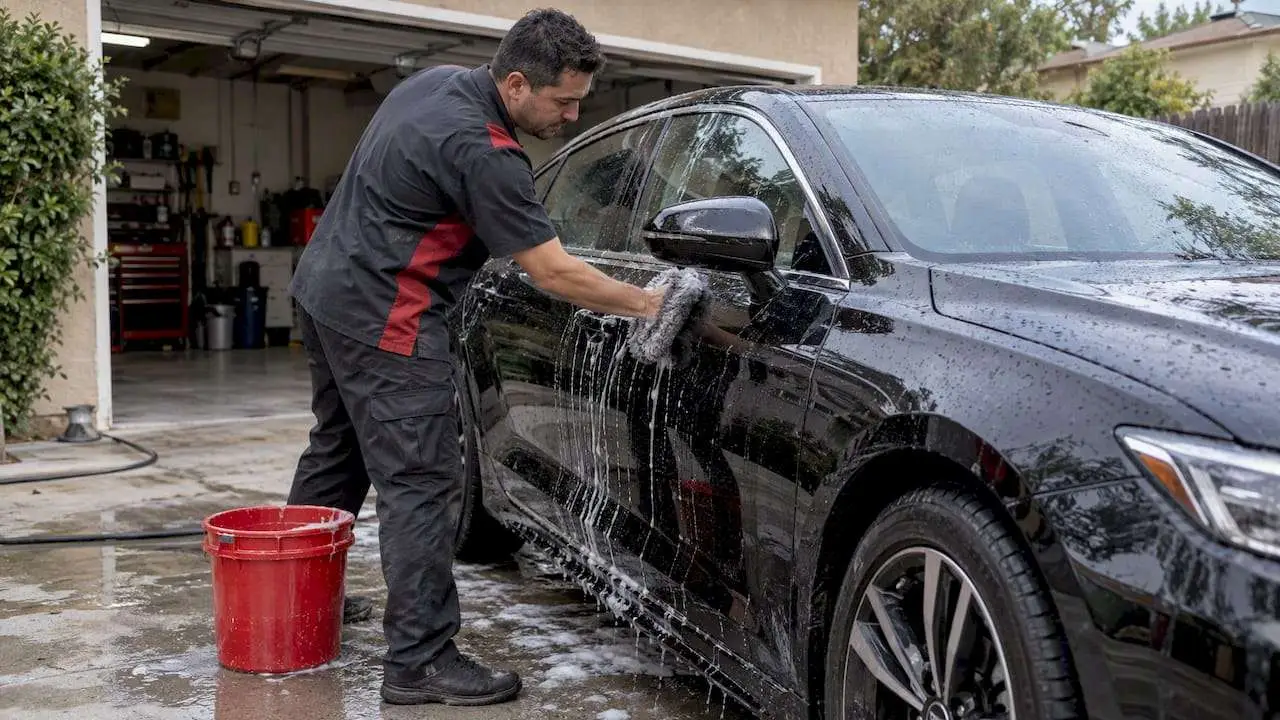
Most paint damage traces back to bad habits, not bad luck. Automatic car washes with brushes, drying with a dirty towel, parking under trees that drop sap and pollen, and long-term storage near industrial fallout all leave marks that build up over months.
The defects themselves fall into a few recognizable categories:
- Swirl marks: circular scratches visible under direct sunlight or LED light, usually from washing in a circular motion
- Wash marring: fine, linear scratches from towels or brushes dragging grit across the surface
- Oxidation: a dull, chalky look on paint that hasn’t been protected or waxed in years
- Water-spot etching: mineral deposits that eat into the clear coat if left to bake in the sun
- Fine scratches: shallow cuts from keys, branches, or careless washing that catch light at an angle
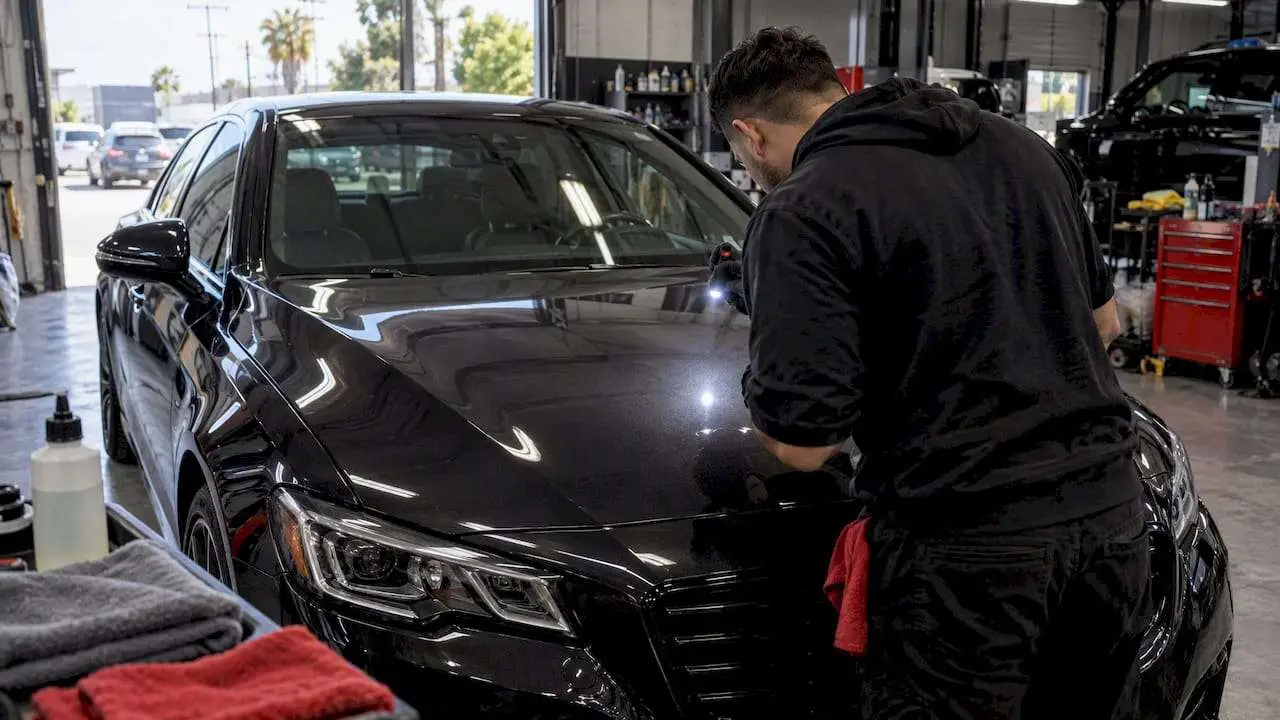
A simple fingernail test tells you whether a scratch has broken through the clear coat. If your nail catches and snags, it’s likely gone deeper than paint correction alone can safely fix. Angled, bright light (or a dedicated inspection lamp) reveals swirls that look invisible under regular garage lighting, which is exactly why professional shops don’t inspect cars under fluorescent tubes.
Stage 1: One-Step Correction and When It’s Enough
A one-step polish uses a single dual-action or rotary pass with an all-in-one compound that both cuts light defects and leaves a finished, refined look in the same step. It skips the separate refinement pass entirely, which keeps the job fast and the clear-coat removal minimal.
By the numbers: One-step correction typically removes 60 to 80% of light swirls, while taking off only about 1 to 2 microns of clear coat in the process.
That micron figure matters more than most owners realize. Clear coat is finite, usually somewhere between 40 and 80 microns depending on the manufacturer, so a pass that only touches 1 to 2 microns is about as low risk as machine polishing gets.
One-step correction makes sense in a few clear scenarios:
- A car under three years old with light wash-induced swirls and no deep scratching
- A vehicle you’re prepping for private sale or trade-in where “clean and glossy” is the goal, not perfection
- Routine annual maintenance on a car that already had proper correction done once
Modern all-in-one compounds have gotten noticeably better in the last several years, which is why one-step results now hold up against paint that used to need two passes. If your paint isn’t heavily oxidized or scratched, don’t assume you automatically need the bigger job.
Stage 2: Two-Step Correction, the Standard Before Coating
Two-step correction splits the job into two distinct passes instead of one. The first pass is a cutting or compounding stage designed to physically remove deeper swirls and moderate scratching. The second pass is a dedicated finishing polish that erases the micro-marring the cutting step leaves behind and brings back full gloss and clarity.
Here’s how a shop typically sequences it:
- Full decontamination wash to strip wax, tar, and bonded contaminants that would interfere with the compound
- A test spot on one small panel, checked under LED lighting, to confirm the compound and pad combination will actually resolve the defects present
- Cutting pass across the panel with a rotary or dual-action polisher and a medium-cut compound
- Finishing pass with a soft pad and finishing polish to remove any haze from the cutting stage
- Wipe-down and inspection under the same controlled lighting used for the initial assessment
Pro Tip: Ask your detailer to show you the test spot before they commit to the whole car. A five-minute look at one fender under proper lighting tells you whether the quoted result is realistic for your paint’s hardness and history.
Two-step correction typically removes 85 to 95% of defects, a meaningful jump from one-step, and it removes more clear coat in the process. This is also where a paint thickness gauge earns its place in the process. Because the cutting pass takes more material off than a one-step polish, a shop needs a baseline reading before they start, not after.
Two-step is the right call for moderate swirling, visible wash marring across multiple panels, and it’s the standard prep before ceramic coating, since coating locks in whatever condition the paint is in underneath it.
Stage 3 and Multi-Stage Correction: The Trade-Offs
Three-step correction adds an intermediate refinement pass between the heavy cutting stage and the final finishing polish. The sequence runs heavy compounding to knock down severe defects, an intermediate polish to work out the marring the aggressive compound leaves, and a final jeweling pass that pushes clarity and gloss as far as the paint will allow.
Done right, multi-stage correction can push defect removal past 95%. Done on the wrong car, it can also end badly.
- Clear-coat removal is cumulative and heavier than either one-step or two-step, often several microns total across all three passes
- Burn-through, where the polisher cuts past the clear coat into the base color, is a real risk on paint that’s already thin from age or prior corrections
- Labor time scales up dramatically. Some three-stage jobs run 15 to 25 hours or stretch across multiple days for larger vehicles or paint in rough shape
Reserve three-step correction for show cars, pre-sale restorations on classics, or paint that’s genuinely been neglected for years with heavy oxidation and deep scratching across every panel. If the damage is localized to one panel or a bumper, a spot repair or touch-up costs less and risks nothing on the rest of the car. And experienced detailers will often refuse aggressive multi-stage work on clear coat that’s already thin, which is a sign of a shop protecting your car, not one avoiding work.
How Pros Actually Decide Which Stage You Need
No two shops define “stage” identically, and that’s exactly where owners get burned on quotes. A written estimate that just says “two-step correction” without describing what each pass includes could mean two genuinely distinct passes, or it could mean the same single pass repeated twice for no real benefit. Ask what compound and pad combination each stage uses before you sign anything.
A proper diagnostic workflow looks like this regardless of which shop you visit:
- Full wash and chemical decontamination to strip everything hiding the actual paint condition underneath
- Inspection under controlled LED lighting, since garage fluorescents and daylight both hide swirls that show up under a raking light
- A test spot on one panel to see what result is realistically achievable before committing to the whole car
- A digital paint-thickness reading taken across multiple panels, since prior repairs or repaints often mean thickness varies significantly across one car
- A written recommendation and quote that ties the proposed stage to what the test spot and thickness readings actually showed
Pro Tip: If a shop quotes you a price over the phone or through a photo without ever mentioning a test spot or thickness gauge, that’s a red flag, not a shortcut. Paint condition varies too much car to car for a blind estimate to mean much.
Those thickness readings do more than protect the shop legally. They tell the technician exactly how much room there is to work with, which determines whether your car is a safe two-step candidate or one that should stay at one-step regardless of how bad the swirls look.
Time, Price, and What Should Be in Your Quote
Expect a wide spread in both hours and dollars depending on which stage your car actually needs and how far gone the paint is.
- One-step: roughly 2 to 6 hours, with pricing that often starts around $300 to $500
- Two-step: roughly 6 to 12 hours, with pricing commonly landing between $500 and $900
- Multi-stage: 12 or more hours, sometimes spanning multiple days, with pricing that can exceed $1,000 to $1,500 or more on larger vehicles or paint in rough shape
Vehicle size, current paint condition, and color all move the price. Dark colors show every defect and every correction flaw, so shops often spend more time finishing them to a mirror standard. Heavy contamination adds decontamination time before any polishing even starts.
A quote worth trusting should specify whether a test spot was performed, include actual thickness readings (not just an assurance that “it looked fine”), spell out what prep and decontamination are included, and mention what protection option, wax, sealant, or ceramic coating, follows the correction.
Why Correction Comes Before Ceramic Coating (and How to Protect It After)
Ceramic coating bonds to whatever surface is underneath it, defects included. Correcting the paint before coating is standard practice because the coating locks in that condition for years, and coating over swirls just seals them under a glossy layer instead of removing them.
Keeping results after correction comes down to a few habits:
- Wash with the two-bucket method, one bucket for soapy water, one for rinsing your mitt, to stop dragging grit back across the paint
- Skip automatic tunnel washes with brushes entirely; they’re one of the biggest sources of new swirls
- Maintain coated paint every 4 to 6 weeks with a proper pH-neutral wash and periodic decontamination
- Consider paint protection film on high-impact areas like the front bumper and hood, since film absorbs rock chips that no coating can prevent
Combining correction with both PPF and coating gives you the best odds of never needing an aggressive correction again.
Risks, Limits, and How Often You Can Safely Correct Paint
Correction removes clear coat permanently. There’s no growing it back, which is why keeping a record of your thickness readings after every correction matters more than most owners realize.
- Most conservative shops won’t cut paint that’s already measuring below a safe threshold relative to factory spec, even if the customer wants a deeper correction
- When readings come back borderline, the safer move is a lighter pass now and a plan to reassess in a year or two, not one aggressive session that uses up your remaining margin
- If clear coat is already thin from age or prior corrections, spot repair, touch-up paint, or a fresh clear coat respray on that panel are safer paths than another machine pass
- Understanding what causes the swirl marks in the first place helps you avoid needing repeat correction at all
The Shop’s Side: How We Decide What Your Car Actually Needs
Every inspection at a professional vehicle detailing shop starts the same way regardless of the car: full wash, decontamination, then inspection under controlled LED lighting before discussing any stage. A test spot and paint-thickness reading come next, because guessing at a recommendation without them is how paint gets damaged.

Daily drivers with light swirling almost always leave with a one-step recommendation. Cars headed into a ceramic coating package get two-step as the default, since coating over uncorrected paint locks in every flaw underneath it. Multi-stage work stays reserved for genuinely neglected paint or restoration projects, and we’ll say so plainly if your car doesn’t need it, even if that means a smaller invoice.
What Most Guides Get Wrong About “Stages”
The biggest problem with how paint correction gets talked about online isn’t the mechanics, it’s the vocabulary. Plenty of guides treat “two-step” and “three-step” like fixed, universal definitions, when in practice the terms mean whatever the shop quoting you decides they mean. That ambiguity is where owners overpay for work that doesn’t actually happen, or underpay for a job a shop quietly downgrades once they see the paint in person.

The evidence points to a simpler priority than most articles admit: diagnostics matter more than stage count. A test spot and a thickness reading tell you more about what your car needs than any stage number does on its own, because the same swirl pattern on two different cars can call for two completely different plans depending on how much clear coat is left to work with.
If there’s one thing to prioritize before booking anything, it’s asking to see the test spot and the thickness numbers before you agree to a stage. A shop that resists showing you either one is telling you something worth hearing.
— Jake
Book a Correction and Protection Package With Ppfprosla
Skipping the guesswork on paint correction starts with a real inspection, not a phone quote. Ppfprosla runs every vehicle through the same process outlined above: decontamination wash, LED inspection, a test spot on an inconspicuous panel, and thickness readings before recommending one-step, two-step, or multi-stage work.
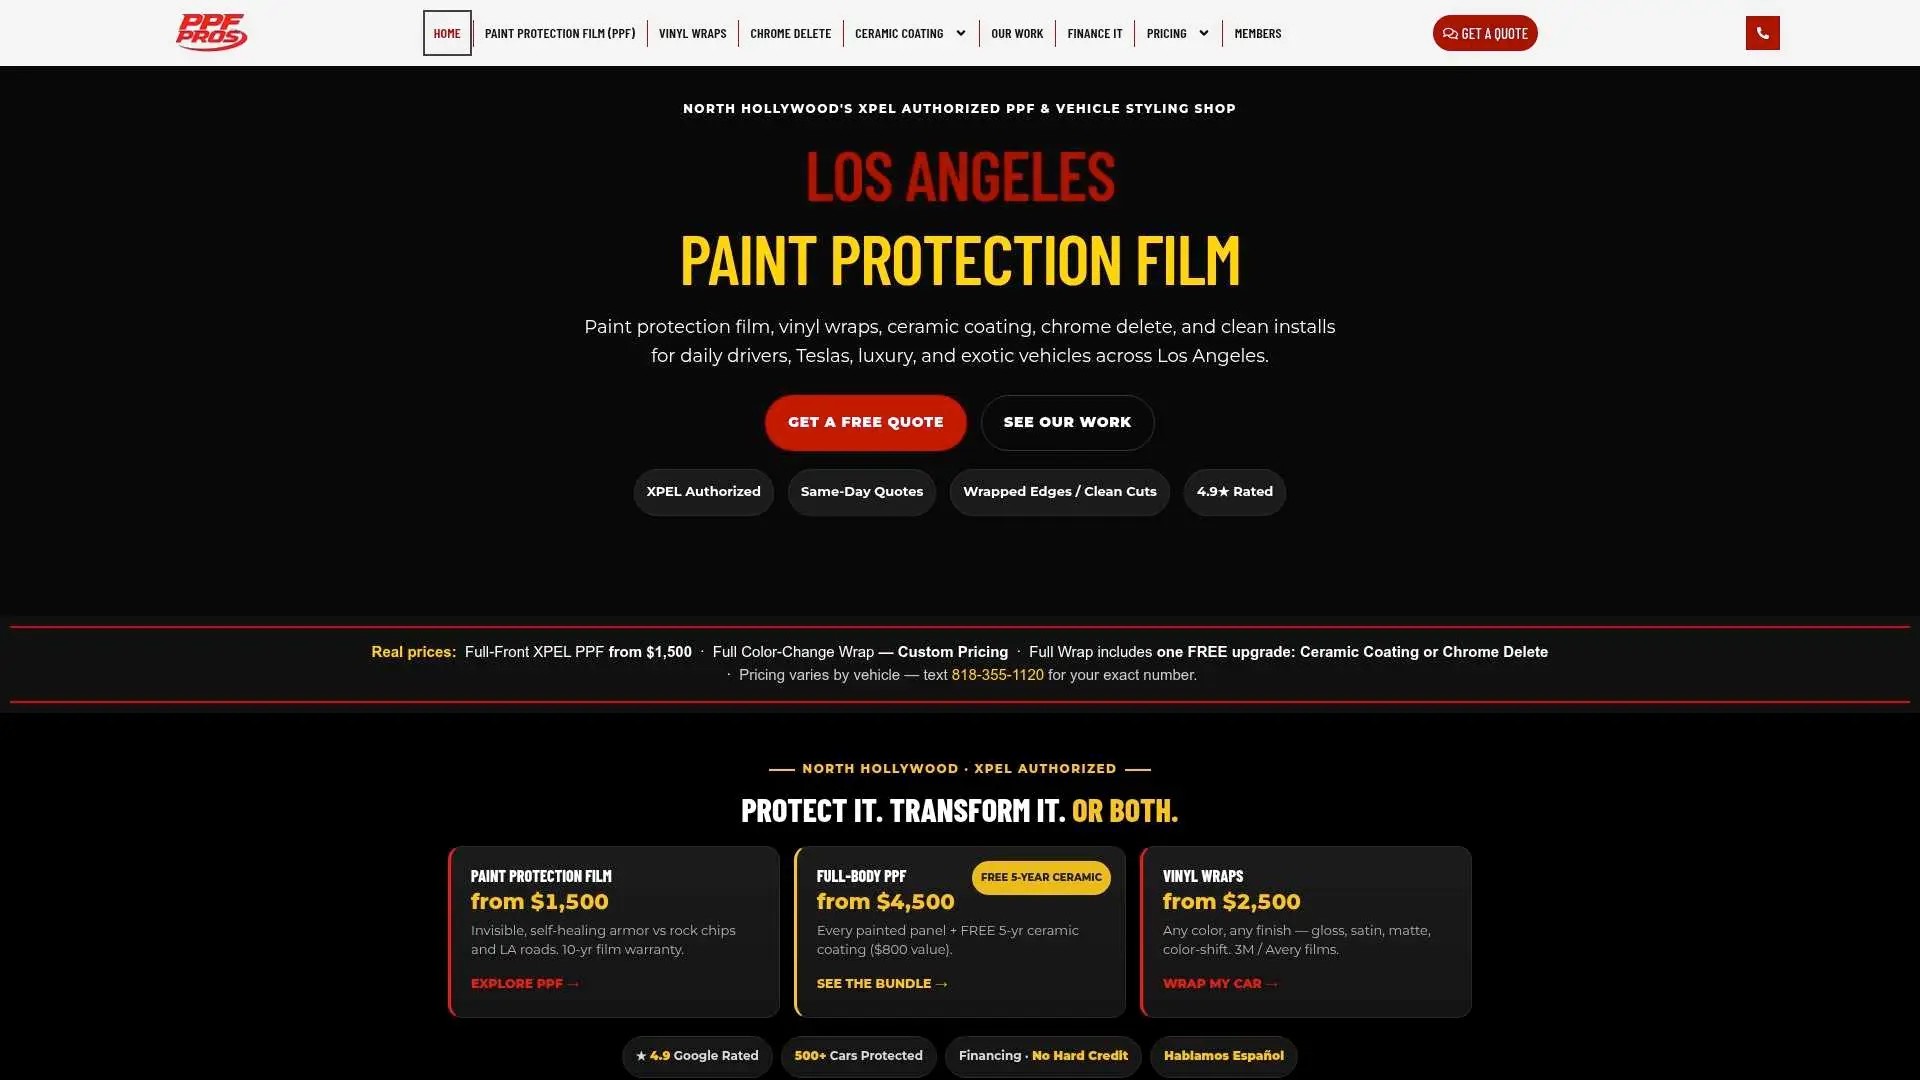
For daily drivers and Teslas, that usually means a one-step polish paired with a maintenance plan. For owners prepping for long-term protection, Ppfprosla bundles correction with XPEL paint protection film and ceramic coating packages so the work you pay for actually stays protected instead of accumulating new swirls within a season. Luxury and exotic owners receive a similarly careful diagnostic-first approach, scaled to paint that often can’t afford a second mistake.
If your car needs an honest read on what stage it actually calls for, schedule an inspection with Ppfprosla and get a quote built around your car’s real numbers, not a guess.
Sources
For deeper technical detail on paint-thickness measurement, see Defelsko’s guide to gauge use in detailing and DetailedImage’s breakdown of correction levels.
- How to use paint thickness gauges for better automotive detailing | Defelsko
- Paint Correction: 1 vs 2 vs 3 Step Explained | Fresh Path
- 1-Step vs. 2-Step vs. 3-Step Paint Correction Explained | Gemstar Eagle
- Paint correction: what it is, when you need it | NearDetailer
- Different Levels of Paint Correction – Ask a Pro Blog | DetailedImage
FAQ
What’s the difference between stage 1 and stage 2 paint correction?
Stage 2 adds a separate cutting pass plus a finishing polish, removing closer to 85 to 95% of defects but taking more clear coat off in the process.
Is stage 3 paint correction good?
Stage 3 delivers the strongest possible results, often 95% or better defect removal, but it also removes the most clear coat and carries real burn-through risk on thin paint. It’s worth it for show cars and severely neglected finishes, not for routine maintenance.
How long should a stage 1 paint correction take?
A proper one-step correction typically takes 2 to 6 hours depending on vehicle size and how many panels need attention. Anything finished in under an hour on a full car likely skipped the test spot and inspection steps that make the result reliable.
What is a 3-stage paint correction?
A 3-stage correction runs heavy compounding to remove severe defects, an intermediate polish to smooth out the marring that leaves, and a final jeweling pass for maximum clarity and gloss. It’s the most aggressive correction option and should always start with a paint-thickness reading to confirm the clear coat can handle it.