Installing paint protection film means five stages every time: surface prep, positioning and cutting, wet application with slip solution, squeegee and heat work, then trimming and edge setting. A full installation typically runs 1 to 5 days depending on coverage, and the film needs about a week to ten days to cure before it can handle a pressure washer. Skip that curing window and you risk lifting edges you just paid to set.
TL;DR:
- Proper surface preparation is crucial, including a clean, decontaminated, and polished surface, to prevent flaws from telegraphing through the film.
- Using pre-cut patterns matched to the vehicle reduces errors, while bulk cutting requires advanced skills and overhead, with extra margin recommended for hand-cut pieces.
- Maintaining the correct fluid balance, temperature, and working in a clean environment significantly impacts the quality and durability of the installation.
- Most mistakes occur during the squeegee stage, where rushing causes trapped air and fluid, emphasizing slow, overlapping passes and proper heat application on curves.
- Full curing takes 7 to 10 days before pressure washing or waxing, and small issues like bubbles or debris can often be corrected if addressed promptly during installation.
Table of Contents
- What Is the PPF Installation Process, Step by Step?
- Tools and Materials You Need for PPF Application
- How Do You Prep the Surface Before PPF Application?
- Should You Use Pre-Cut Patterns or Bulk-Cut Film?
- What’s the Right Technique for Applying and Shaping the Film?
- How Do You Trim and Finish the Edges?
- How Long Does PPF Take to Cure and What Should You Avoid?
- What Are the Most Common PPF Installation Mistakes?
- What Do Professional Installers Do Differently?
- Why the “DIY vs Pro” Debate Misses the Real Question
- Ready to Book a Professional PPF Install?
- Sources
What Is the PPF Installation Process, Step by Step?
Every panel goes through the same sequence, but order matters. Installers start with the largest, flattest panels (hood, roof, front bumper) and save the fiddly pieces like mirror caps and door handles for last, once their hands and eyes are calibrated to the film’s behavior on that specific vehicle.
Here’s the panel-by-panel breakdown:
- Select or cut the pattern. Pull a plotter-cut pattern matched to the vehicle’s year, make, and model, or hand-cut from bulk film if no pattern exists yet.
- Prep the panel. Wash, decontaminate, and wipe the surface with isopropyl alcohol so nothing sits between paint and film.
- Wet the panel and film. Spray slip solution generously on both the panel surface and the adhesive side of the film after peeling back the PET liner. This buys repositioning time.
- Position the film. Line up reference points (body lines, emblems, panel gaps) and lay the film down without letting the edges make contact yet.
- Anchor and tack. Once alignment looks right, mist tack solution along the perimeter to lock the film in place before the main squeegee pass.
- Squeegee from the center outward. Work in overlapping strokes, roughly 50 percent overlap per pass, pushing slip solution and trapped air toward the edges.
- Apply heat on compound curves. Use a heat gun or steamer on mirror caps, rocker panels, and other 3D shapes so the film conforms without stretching thin or bubbling.
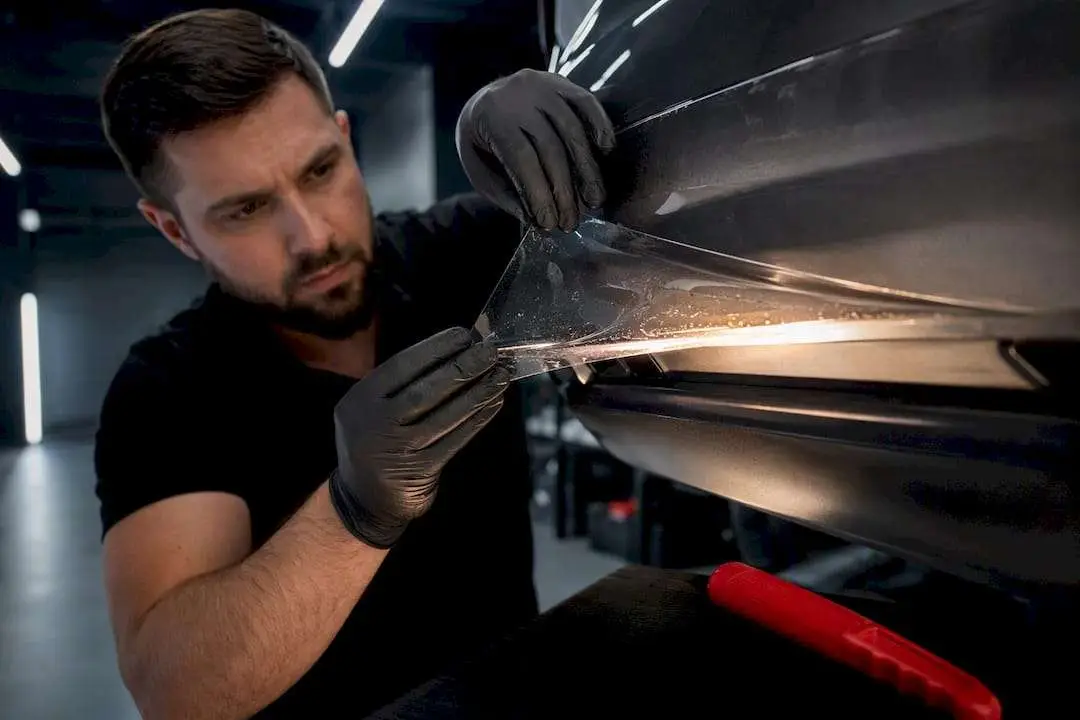
- Trim excess film. Score along the edge with a fresh blade, then peel away the waste strip.
- Wash the edges. Rinse away leftover soap residue so the adhesive can bond cleanly at the perimeter.
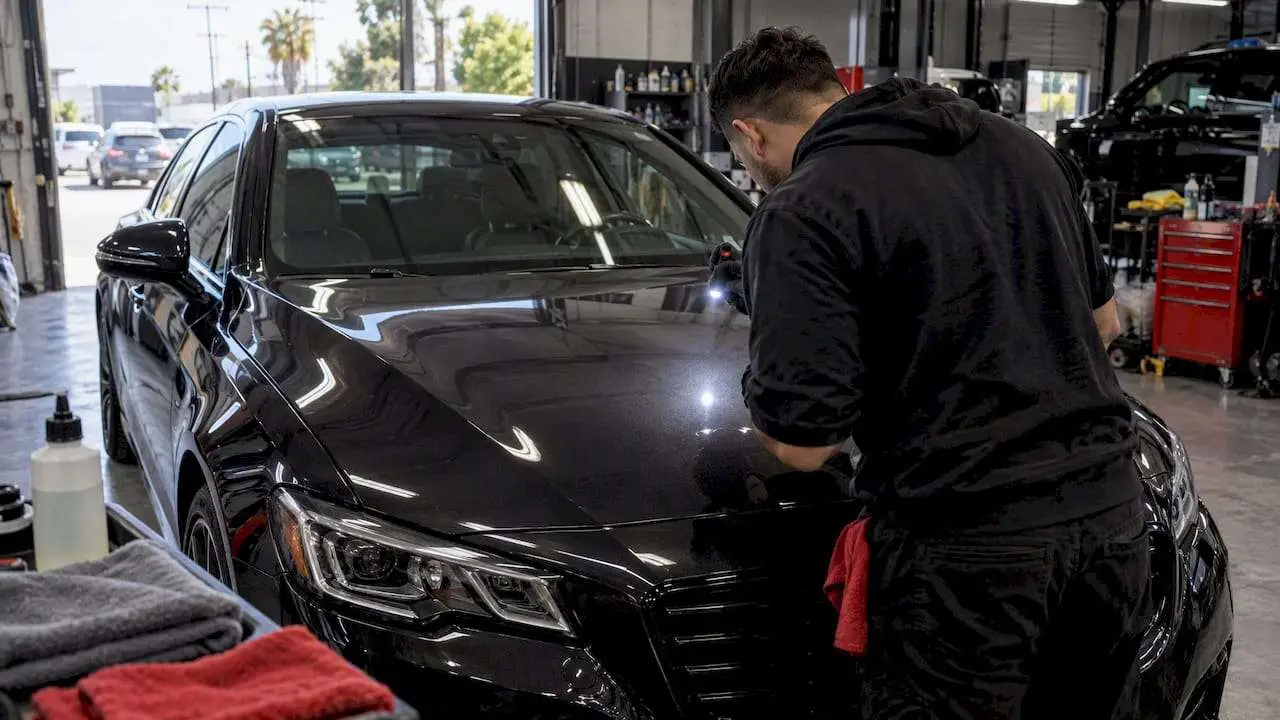
- Inspect under LED lighting. Check every panel from multiple angles for trapped debris, lifted corners, or missed spots before calling the job done.
That squeegee stage is where most DIY attempts fall apart. Rushing it leaves fluid trapped under the film, which shows up days later as a cloudy patch that never fully clears. Installers who work large panels first develop a feel for pressure and stroke speed that carries over to the trickier curves. On a vehicle like a Jeep Gladiator, that panel order becomes especially visible: grilles, fender flares, and door edges each demand a different squeegee angle, which is why a detailed coverage breakdown helps before you commit blade to film.
Repositioning only works in that early, fluid-heavy window. Once pressure builds and the slip solution clears out, the film has essentially chosen its final position. Re-squeegeeing high-risk zones, like body line creases or panel gaps, catches problems before they cure permanently into place.
Tools and Materials You Need for PPF Application
You don’t need a shop full of equipment, but skipping the right fluids is where most home installs go wrong.
- Slip solution: roughly 1 liter of water mixed with about 2 milliliters of baby shampoo, never a silicone-based soap.
- Tack solution: a 75 percent water to 25 percent isopropyl alcohol mix for locking edges once positioned.
- Squeegees: a firm felt-edged squeegee for main passes, a smaller detail squeegee for tight curves.
- A fresh blade or snap-blade knife for every panel, plus nitrile gloves to keep skin oils off the adhesive.
- A heat gun or steamer for compound curves, and a plotter if you’re cutting patterns rather than buying pre-cut kits.
Pro Tip: Mix slip solution fresh each session. Manufacturers warn that solution left sitting for days can lose effectiveness and introduce contamination that shows up as adhesion failure weeks later.
How Do You Prep the Surface Before PPF Application?
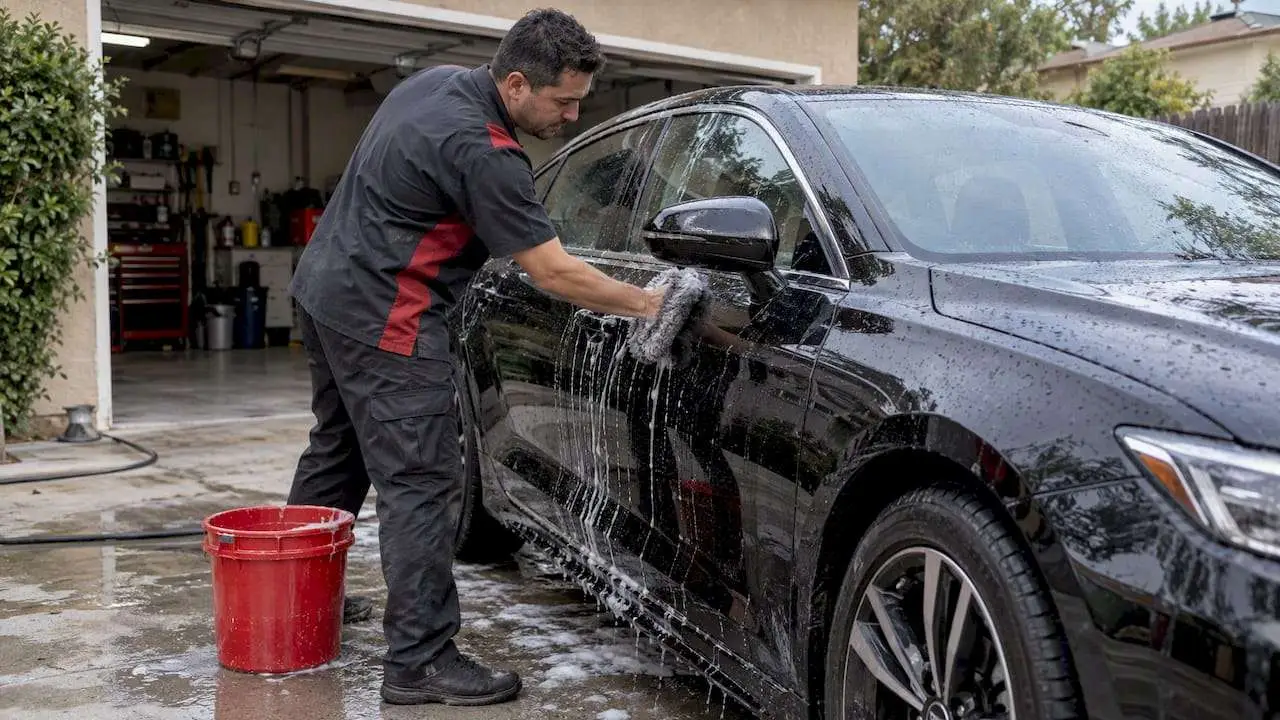
Film only looks as good as what’s underneath it, and it locks in whatever flaws exist at the moment of installation. That’s the real reason surface prep isn’t optional.
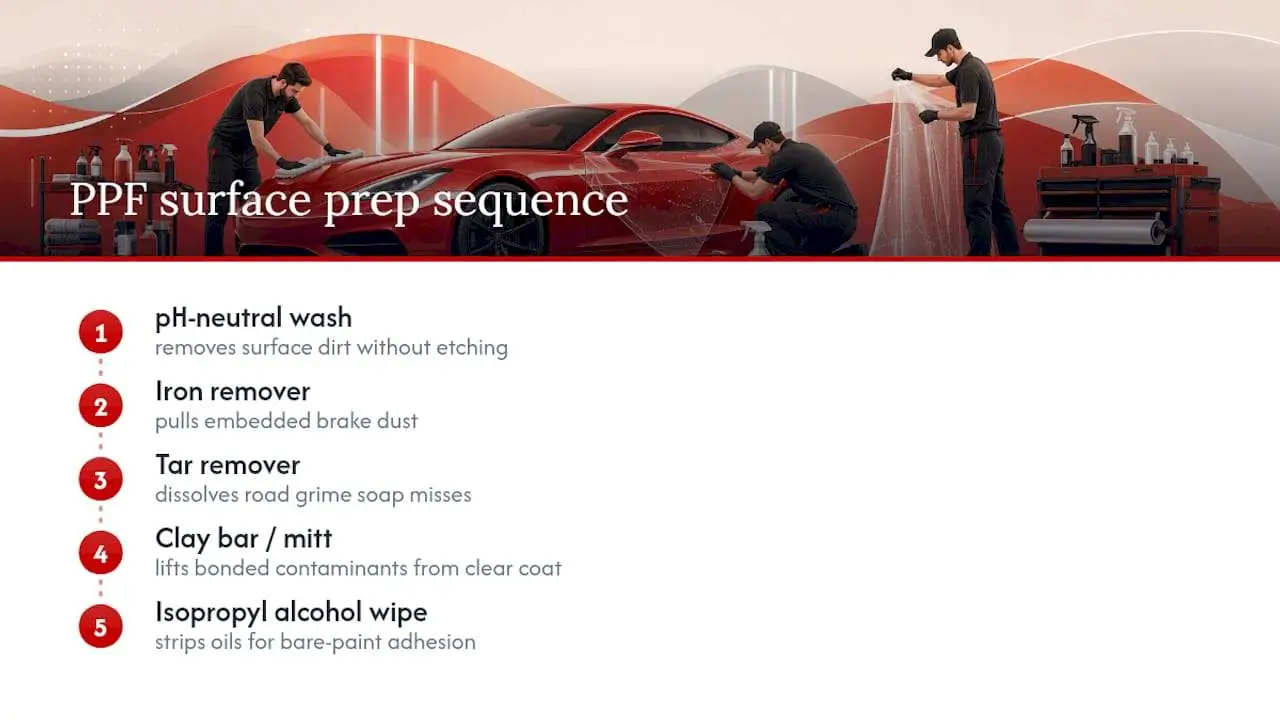
The sequence matters: start with a pH-neutral wash, follow with an iron remover to pull embedded brake dust, then a tar remover for road grime that soap alone won’t touch. A clay bar or clay mitt lifts anything still bonded to the clear coat, and a final isopropyl alcohol wipe strips oils so the film adheres to bare paint rather than a layer of residue.
Swirl marks, light scratches, and oxidation don’t disappear under film. They telegraph through, and in some lighting they look worse once trapped under a glossy layer. If a panel needs paint correction, that work has to happen before the film goes on, not after.
Dust is the other enemy. A garage with the door cracked open is asking for trouble. Professional shops run climate-controlled bays partly because contamination during application is the single most common cause of installs that look fine on day one and show specks under the film by week two.
Should You Use Pre-Cut Patterns or Bulk-Cut Film?
Plotter-cut patterns matched to your vehicle’s exact make and model give consistent results and cut down on wasted film. Bulk-cut work makes sense for rare vehicles, modified panels, or custom coverage a pattern database hasn’t caught up with yet.
- Pre-cut patterns reduce blade time and lower the risk of a slipped cut ruining a $40 sheet of film.
- Bulk cutting demands sharper blade skills but adapts to odd panel shapes pattern libraries miss.
- Leave about 4 inches (100mm) of extra margin on any hand-cut piece. You can always trim more; you can’t add film back.
- Store film rolls flat and covered to prevent tunneling, where trapped air ripples the film before it’s even installed.
- Peel the PET cap sheet slowly and evenly. Yanking it can stretch the film before it ever touches paint.
What’s the Right Technique for Applying and Shaping the Film?
Getting the fluid balance right separates a clean install from one full of trapped air.
- Soak both the panel and the adhesive side of the film with slip solution, more than feels necessary. Dry spots grab immediately and ruin your ability to adjust position.
- Once the film sits where you want it, mist tack solution along the edges to hold that placement while you work the body.
- Squeegee from the center outward in overlapping passes, roughly 50 percent overlap, increasing pressure gradually so you push fluid out ahead of you instead of trapping it.
- On curves and recessed areas, apply gentle heat with a steamer or heat gun to let the film relax into the shape without stretching thin.
- Finish by flushing the edges: apply tack solution right at the perimeter, then set the wrapped edge with firm, even pressure.
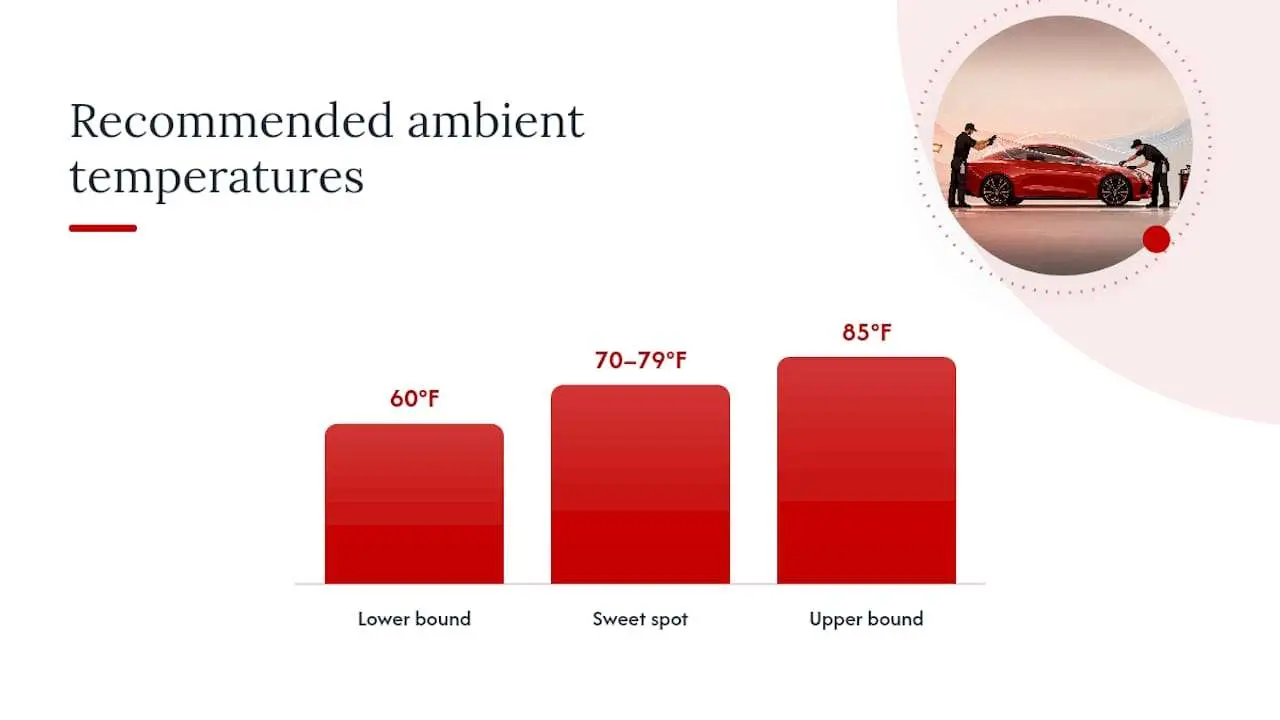
Pro Tip: Keep ambient temperature between 60°F and 85°F, with 70°F to 79°F being the sweet spot. Cold film turns stiff and resists shaping; hot film stretches too easily and can shrink back later, creating gaps at the edges.
Overheating is the fastest way to ruin a compound curve. Too much heat softens the adhesive unevenly and can leave a slight haze that never fully clears.
How Do You Trim and Finish the Edges?
Score only the top half of the film’s thickness with a sharp blade, then use light pressure to snap it cleanly at the edge rather than sawing all the way through, which risks nicking clear coat underneath.
- Wash edges with a light soap solution to strip residue before the final squeegee pass.
- In cooler shops, give the film extra minutes to relax before trimming so it doesn’t pull away from the edge.
- Do a final LED inspection, checking each panel from at least two angles for lifted corners or missed debris.
- Fix small issues, like a stray fiber under the film, in-shop with a pinprick release and re-squeegee rather than a full panel pull.
How Long Does PPF Take to Cure and What Should You Avoid?
Most installs finish in 1 to 5 days depending on how much coverage you’re getting, but the film itself keeps bonding for weeks after that.
- Hand-wash only after the first day or two, never a full rinse before then.
- Avoid pressure washers and automatic car washes with brushes for a full 7 to 10 days.
- Avoid polish or wax on treated panels for about a month while the adhesive fully sets.
- Use pH-neutral shampoo and a dedicated aftercare routine going forward to protect the finish long term.
- Schedule an edge check with your installer if you notice any lifting in that first month.
What Are the Most Common PPF Installation Mistakes?
Most problems fall into two camps: fixable in the moment, or permanent once the film sets.
- Wet-phase bubbles are easy. Lift the edge, re-wet, and reposition while slip solution is still active.
- Trapped debris under a cured section usually needs a small pinprick release and a fresh squeegee pass, not a full removal.
- Edge lift after a few days often means the adhesive at that spot never fully bonded. A pro can reheat and reset it in minutes.
- Fingers (small ripples radiating from a point) that don’t flatten under heat usually mean the film was stretched too far and needs re-cutting for that section.
A tiny fisheye near an inconspicuous seam is livable. Visible fingers across a hood or a lifted edge on a fender are re-install territory.
What Do Professional Installers Do Differently?
Pattern databases matched to exact trim levels, climate-controlled bays that keep dust and temperature in range, and LED inspection from angles most DIYers never think to check. Shops also carry the paint correction capability to fix defects before film goes anywhere near the panel.
Ask yourself three things before deciding: how much is the vehicle worth if a mistake means a re-install, how complex are the panels (a flat hood is forgiving, a bumper full of sensor cutouts is not), and do you want a bundled ceramic coating on top. If the answer leans toward “I’d rather not find out,” that’s the signal to book a shop instead of a blade.
Why the “DIY vs Pro” Debate Misses the Real Question
People frame paint protection film as an either/or decision: save money doing it yourself, or pay a shop and skip the risk entirely. That framing is backwards. The real question is which panels are forgiving enough to practice on, and which ones punish a mistake permanently.
A flat trunk lid or a spare hood panel from a parts yard makes a fine practice piece. A curved bumper with sensor cutouts, a set of mirror caps, or anything on a vehicle you can’t afford to re-paint does not. Manufacturer instructions from Avery Dennison and 3M assume a controlled environment and a trained hand, and that’s not a knock on DIYers. It’s just what the adhesive chemistry and film stretch tolerances actually require to look right five years from now instead of five weeks from now.
What professional installs actually buy you isn’t just skill, it’s margin for error. A shop can pull a panel, re-cut it, and try again with the labor cost absorbed into the job. A home installer working on their only daily driver doesn’t have that cushion. That’s the real trade-off, and it’s worth being honest about before you pick up a blade.
— Jake
Ready to Book a Professional PPF Install?
If you’ve read this far and decided the compound curves on your bumper aren’t a great first DIY project, that’s a fair call. Ppfprosla installs XPEL Authorized PPF with plotter-matched patterns, climate-controlled bays, and LED inspection on every panel before your car leaves the shop. They also offer ceramic coating bundles if you want the gloss and the protection handled in one visit.
Booking starts with an inspection and a quote based on your coverage goals, whether that’s a full front end or the whole vehicle, with timelines usually landing in that 1 to 5 day window depending on scope. If you still want to try your hand at PPF, practice on a spare panel first and bring the parts that matter to the professionals. Get a quote from Ppfprosla and find out what your vehicle actually needs before you commit to either approach.
Sources
- Behind The Scenes: How Is Automotive PPF Installed? – Forbes
- Avery Dennison paint protection film application instruction bulletin
- 3M paint protection film installation guideline
- Feynlab PPF application instructions (PPF-Flex)