If your roof is flat, your clearcoat is sound, and you’ve handled vinyl before, buying a 60-inch cast black film by the roll and doing it yourself is the cheaper, faster route. If the roof has curves, sunroof cutouts, antenna bases, or clearcoat damage, book a professional install instead. The gap in risk, not just cost, is what decides it.
TL;DR:
- A flat roof with sound clearcoat and vinyl experience is suitable for DIY installation, but curves or damage require professional help.
- Premium cast vinyl with air-egress channels simplifies installation, extends lifespan to 5-8 years, and justifies higher costs for quality projects.
- Proper surface preparation, accurate measurement, and careful trimming are crucial for a clean, durable wrap, especially on complex or damaged roofs.
- DIY jobs typically take 3-5 hours, while professionals can complete simple wraps in 1-2 hours, offering better adhesion and fewer errors.
- Wrap removal involves heat to soften the adhesive, followed by careful peeling and residue removal, with inspection recommended before new application.
Table of Contents
- What Black Roof Wrap Finish Should You Choose?
- What Does a Black Roof Wrap Cost?
- Should You DIY or Hire a Pro for a Roof Wrap?
- How Do You Measure and Order Black Vinyl for a Roof Wrap?
- What’s the Full Installation Sequence for a Roof Wrap?
- How Long Does a Black Roof Wrap Last and How Do You Maintain It?
- Why Premium Film and Professional Prep Matter on a Roof
- How Do You Remove or Replace an Existing Roof Wrap?
- How Do You Know If Your Roof Is Ready for a Wrap?
- What Warranty Should You Expect on a Roof Wrap?
- What Actually Determines a Good Roof Wrap Result
- Ready to Book a Black Roof Wrap in North Hollywood?
- Where to Find Roof Wrap Specs and Buying Guides
- Sources
- FAQ
What Black Roof Wrap Finish Should You Choose?
The finish you pick determines both how the roof looks and how forgiving the install is. Gloss black is the default for a reason: it mimics factory paint, reflects light evenly, and hides minor installation quirks better than darker, deeper finishes.

Piano black sits at the top of the visual ladder. It delivers a mirror-like depth that standard gloss can’t match, but that same clarity means every panel imperfection, dust speck, or squeegee mark shows up under direct light. Piano black projects usually call for premium film and a professional install to justify the cost.
Matte, satin, and velvet blacks trade shine for texture. They hide swirl marks and minor panel flaws better than gloss, but they demand different care, since abrasive polishes or aggressive rubbing can create shiny patches that never blend back in.
- Gloss black: brightest reflection, easiest to install cleanly, most forgiving for first-time DIYers
- Piano black: deepest mirror finish, highlights every flaw, best left to pro shops with premium cast film
- Matte/satin/velvet: low reflection, hides light imperfections, requires specific non-abrasive maintenance
Material technology matters as much as color. Cast vinyl with air-egress channels and pressure-sensitive adhesive lets air escape during application instead of trapping it under the film, which is why premium films install with fewer bubbles than cheap calendared vinyl.
What Does a Black Roof Wrap Cost?
Material-only pricing runs from small pre-cut roof kits at affordable levels up to full 60-inch rolls priced by the foot for larger vehicles or custom projects. Pre-cut kits work fine for sedans and coupes with simple roof shapes. Continuous roll stock gives you more control on trucks, SUVs, or anything with an unusual roofline.
Professional installs cost more but include labor, surface prep, and a warranty most DIY jobs can’t offer. Expect the shop quote to shift based on:
- Vehicle size and roof complexity (a flat sedan roof costs less than an SUV with a sunroof cutout)
- Clearcoat repair needed before the wrap goes on
- Whether you add a ceramic coating or request seam finishing for a cleaner edge
Statistic callout: Vendor listings show a real price split between materials. Roof-only vinyl kits often start well below professional-grade PPF pricing, while PPF offers a longer service life at a materially higher cost. That gap is the core trade-off between vinyl and film protection on a roof panel.
Hidden costs usually come from prep, not the vinyl itself. Adhesive residue removal from an old wrap, extra panels you didn’t plan to cover, and clearcoat correction can add real money to a quote that looked simple on paper.
Should You DIY or Hire a Pro for a Roof Wrap?
DIY makes sense when the roof is flat, the panel is a single continuous shape, and you’ve wrapped vinyl before, even something small like a hood scoop or mirror cap. Curves, double curvature around a sunroof, or a roof rail cutout push the job toward professional territory fast.
You’ll need a short list of tools regardless of skill level:
- A felt-edge squeegee to avoid scratching the film during application
- A heat gun to conform vinyl around edges and curves
- Isopropyl alcohol for surface prep and adhesion
- An edge trimmer or fine-tip knife for clean cutoffs
- A tack cloth or lint-free towel for final wipe downs
A careful DIY install on a simple roof usually takes half a day, including prep. A shop with two installers working a familiar vehicle can finish the same job in one to two hours, partly because they’ve already solved the curve and cutout problems you’d be learning on the fly.
Pro Tip: Do a dry fit first. Lay the film over the roof without peeling the adhesive backing, mark your cut lines, then pull it back off. It costs you ten minutes and saves you from wasting an entire sheet on a bad first cut.
The most common failure mode isn’t a wrinkle, it’s rushing the trim line around window seals and roof rails, which leaves gaps that let moisture creep under the edge.
How Do You Measure and Order Black Vinyl for a Roof Wrap?
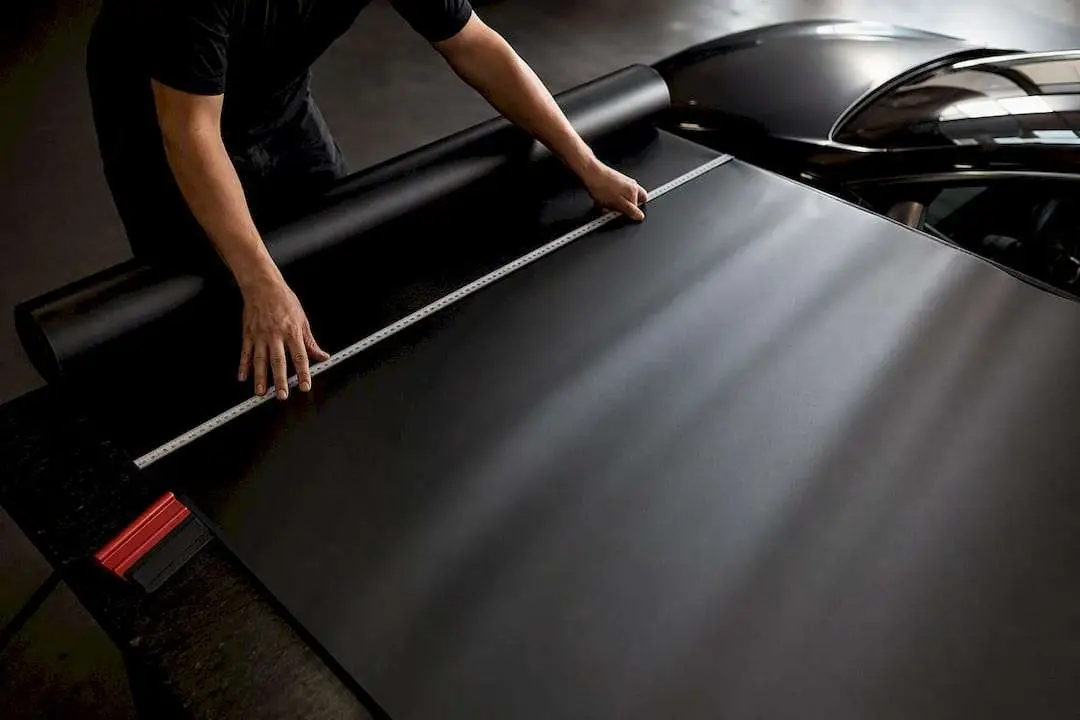
Standard black roof wrap film comes in 60-inch (5-foot) rolls, which fits most sedan and coupe roofs in one continuous piece without a seam. Trucks and larger SUVs sometimes need a custom cut length or a seam strategy planned in advance.
Measure the roof’s total length and width, then add at least 2 inches of margin on every edge. Suppliers consistently recommend this buffer because it gives you room to position the film correctly and trim clean edges instead of working right up against the panel line.
- Pre-cut kits work for common vehicles with simple, well-documented roof dimensions
- Continuous rolls or custom cuts make sense for anything oversized, curved, or non-standard
- Order a little extra material to cover a bad first attempt
- For piano black specifically, check that your roll comes from the same production lot or batch, since even small gloss variations between batches become obvious on a deep-black mirror finish
What’s the Full Installation Sequence for a Roof Wrap?
A roof wrap installation follows a fairly fixed order, and skipping a step is where most DIY jobs go wrong.
- Deep clean and decontaminate the roof panel. Any residual road grime or wax under the film will show as a bump or discoloration later.
- Repair the clearcoat if there are chips, scratches, or oxidation. Vinyl won’t hide surface damage; it will highlight it once light hits the panel at the wrong angle.
- Position and tack the film at the top center of the roof first, working outward. Most 60-inch films use a dry-application method thanks to air-egress adhesive, so you’re not fighting a wet slip-and-slide install.
- Smooth and heat the vinyl in sections, using the heat gun to help it conform around any curves, roof rails, or antenna bases.
- Trim the edges with a sharp blade, tucking film under trim pieces or window seals where possible for a factory-clean line.
- Post-heat and inspect every seam and edge for lift, then let the adhesive cure per the film manufacturer’s instructions before washing the vehicle.
A professional shop typically completes a straightforward roof wrap in one to two hours. A DIY installer working carefully, including prep and cure time, should plan for three to five hours on a first attempt. Check every edge for adhesion before you call the job done. A lifted corner today is a peeling strip in six weeks.
How Long Does a Black Roof Wrap Last and How Do You Maintain It?
Entry-level calendared vinyl typically holds up for one to three years before fading, lifting at the edges, or losing its finish. Premium cast films perform far better. 3M’s cast vinyl roof wrap products advertise 5 to 8 years of expected life, depending on the specific film and how well it’s maintained.
Maintenance is simple but non-negotiable for keeping that lifespan:
- Hand wash with a pH-neutral soap; avoid automatic car washes with abrasive brushes
- Skip polishing compounds on matte or satin finishes since they can create shiny patches that never blend back
- Remove bird droppings, tree sap, and bug residue promptly, since these contaminants etch into vinyl faster than they etch into paint
Statistic callout: Some engineered finishes, like specialty velvet or matte films with self-healing coatings, change these expectations further, offering added scratch resistance at the cost of a different care routine than standard gloss.
A ceramic coating applied over a finished wrap adds a sacrificial layer that resists UV fading and makes washing easier, though it doesn’t extend the vinyl’s underlying adhesive life indefinitely. Watch for cracking at the edges, color shift compared to the rest of the vehicle, or adhesive that’s visibly separating at a seam. Those are the signs a wrap needs repair or full replacement, not just a wash.
Why Premium Film and Professional Prep Matter on a Roof
A vehicle styling shop in North Hollywood commonly specializes in paint protection film, vinyl wraps, ceramic coatings, and chrome deletes. That focus matters specifically for roof projects, where a single large panel makes every flaw visible.
- Ppfprosla is an XPEL Authorized installer with a 4.9-star customer rating built from precision installs across daily drivers, Teslas, and exotic vehicles
- Piano black and deep-gloss roof finishes reward professional surface prep specifically because mirror-depth film shows dust, lint, and micro-scratches that a DIY dry-fit often misses
- Cast films behave differently than budget calendared vinyl, and a shop that works with premium materials daily catches fitment issues before they become a redo
A roof panel doesn’t hide mistakes the way a fender or door does. That’s the practical argument for professional prep on anything beyond a simple gloss black job.
How Do You Remove or Replace an Existing Roof Wrap?
Removal starts with heat. A heat gun or steamer softens the adhesive bond, letting you peel the film back slowly at a low angle rather than yanking it straight up, which risks tearing the vinyl and leaving adhesive strips behind.
Work in sections, reheating as you go if the film starts to resist. Cold weather makes old vinyl brittle and prone to snapping instead of peeling in one clean strip, so removal on a warm day, or in a heated garage, goes noticeably faster.

Once the film is off, you’ll almost always have adhesive residue left on the clearcoat. Isopropyl alcohol or a dedicated adhesive remover breaks this down; avoid anything with aggressive solvents that could dull or discolor the clearcoat underneath. Clay bar the panel afterward to lift any remaining residue the chemical didn’t fully dissolve.
Before applying a new wrap, inspect the clearcoat closely. Old wraps sometimes hide oxidation, chips, or even a faint color mismatch from prior paintwork that only becomes obvious once the vinyl comes off. Address that damage now, because a new wrap applied over unresolved clearcoat problems will telegraph those same flaws again.
Replacement timing matters too. If the old film is more than a few years old, don’t assume the new roll will match the rest of the vehicle’s factory shine exactly, especially with piano black or deep-gloss finishes. A quick side-by-side comparison in daylight before you commit to the full install saves a mismatched result later.
How Do You Know If Your Roof Is Ready for a Wrap?
Not every roof is a good wrap candidate right out of the gate. Start with the clearcoat: run your hand across the panel and look for chips, deep scratches, or oxidation under direct sunlight. Vinyl adheres to the surface it’s given; it doesn’t smooth out damage, and thin film can actually make chipped clearcoat more visible once light bounces off the flaw and the surrounding gloss.
Check for rust, especially around seams, roof rail mounting points, and antenna bases. Wrapping over active rust traps moisture against the metal and accelerates corrosion underneath, which is a problem you won’t see again until the film starts failing.
Panel complexity matters just as much as condition. A flat roof with no sunroof is the easiest wrap candidate. A panoramic sunroof, integrated roof rails, or a curved roofline with multiple compound curves all raise the difficulty and usually mean shorter, more careful cuts rather than one continuous sheet.
Also check for prior repairs. Aftermarket bodywork, filler, or repainted sections sometimes have a texture or gloss level that differs subtly from factory paint, and that difference can show through certain finishes, particularly piano black.
If the roof passes a visual and tactile check, is rust free, and has a roof shape you can realistically cover with minimal seams, it’s a solid wrap candidate. If you find damage, rust, or heavy curvature, get a professional opinion before you buy film, since fixing those issues after a bad install costs more than fixing them first.
What Warranty Should You Expect on a Roof Wrap?
Film manufacturers typically warranty their products against defects like premature cracking, peeling, or color fade, usually for several years depending on the specific film line and finish. That manufacturer warranty covers the material itself, not installation errors.
Installation warranties come from the shop, not the film maker, and they vary widely. A reputable installer should stand behind their workmanship, covering issues like edge lifting or bubbling that trace back to application rather than a defective roll of vinyl.
Read the fine print before you sign off on a professional install. Some installer warranties exclude damage from improper washing, extreme climates, or aftermarket roof accessories installed after the wrap goes on. DIY installs typically carry no workmanship warranty at all, since you’re the installer, though the film itself may still be covered by the manufacturer if you kept your receipt and followed the recommended application method.
Ask any shop upfront exactly what their warranty covers, how long it lasts, and what voids it. A vague answer here is a bigger red flag than a slightly higher quote.
What Actually Determines a Good Roof Wrap Result
The industry oversells finish choice as a personality decision, gloss for the flashy, matte for the subtle. That framing misses the real variable: your roof’s actual condition and shape decide more about the outcome than the color you pick.
A flawless clearcoat under a $200 gloss kit will look better than a mediocre install of $600 piano black over a panel with hidden chips. Most buying guides skip that order of operations entirely and jump straight to finish comparisons.
If you’re serious about a roof wrap, inspect the clearcoat first, decide on flat versus complex geometry second, and pick the finish last. Piano black is worth the extra cost only when the surface underneath earns it. Otherwise, gloss or satin will look just as clean for a fraction of the risk, and you’ll spend your budget where it actually shows.
— Jake
Ready to Book a Black Roof Wrap in North Hollywood?
Skip the guesswork on clearcoat condition, seam placement, and film selection. Ppfprosla’s vinyl wrap service includes a free ceramic coating add-on with most vinyl wrap jobs, giving your new black roof extra UV and contaminant resistance without a separate appointment.
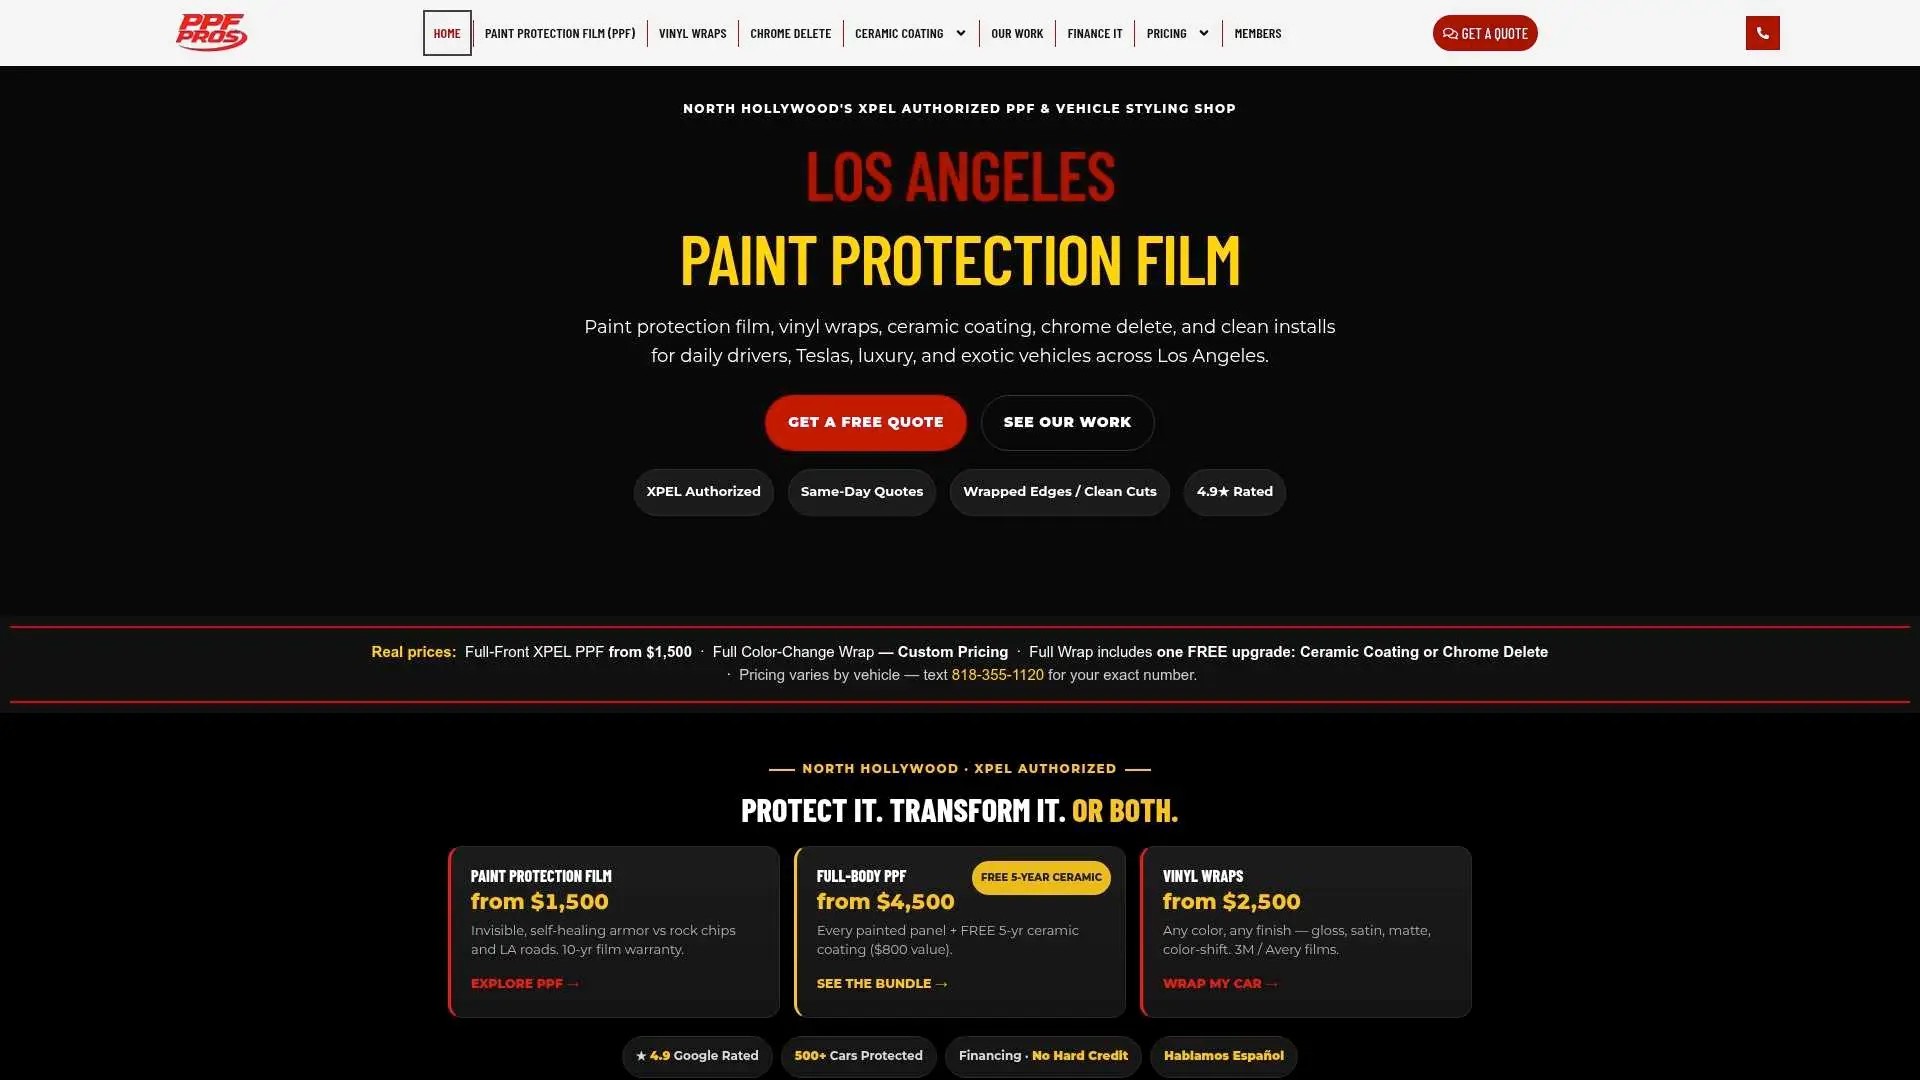
Quotes from vehicle styling shops typically start with a roof inspection to check clearcoat condition and confirm the panel is wrap ready, followed by precise measurement, a price bracket based on the vehicle’s roof shape, and an estimated turnaround time. You’ll know the full scope before any film gets cut. If your roof has curves, a sunroof cutout, or clearcoat damage you’re unsure about, that inspection alone is worth booking. Request a quote or schedule an inspection with Ppfprosla and get a roof wrap plan built around your actual vehicle, not a generic estimate.
Where to Find Roof Wrap Specs and Buying Guides
For film specifications and expected lifespan by product line, 3M’s Protection Wrap Film page lists roll width, thickness, and gloss options directly from the manufacturer.
If you’re ordering measure-to-fit vinyl for a specific vehicle, Premium Auto Styling’s measure-to-order roof wrap listing walks through sizing before purchase.
For a deeper look at piano black film properties and where it’s best used, YesWrap’s piano black product page covers finish behavior in more detail.
For readers weighing a ceramic coating over a fresh wrap, Diamondbrite’s ceramic coating maintenance guide covers upkeep basics that apply whether the coating sits over paint or vinyl.
Sources
- What is air egress vinyl? — ContraVision
- 3M™ Protection Wrap Film Color Series, PWF-G12, Gloss Black — 3M
- Gloss Black – Universal Roof Wrap Vinyl (Measure to Order) | Premium Auto Styling
- Glossy Piano Black Vinyl Wrap | High Gloss Black Car Wrap — YesWrap
FAQ
How Long Will a Black Roof Wrap Last?
Entry-level vinyl typically lasts one to three years, while premium cast films can last 5 to 8 years depending on the specific product and how well you maintain it.
Is PPF or Vinyl Wrap Better for a Roof?
PPF offers stronger physical protection and a longer service life at a higher starting cost, while vinyl wrap is generally the more affordable option for a cosmetic color or finish change on a roof panel.
What Is a Roof Wrap?
A roof wrap is a vinyl film, usually cast vinyl in a 60-inch width, applied directly over the factory roof panel to change its color or finish without repainting.
How Much Does a Gloss Black Roof Wrap Cost?
Material-only gloss black roof kits often start in the low hundreds of dollars, while a professional install adds labor and prep, with total cost depending on vehicle size, roof complexity, and any clearcoat repair needed beforehand. Ppfprosla provides a specific price bracket after a roof inspection, since costs vary by vehicle and panel condition.