Most fresh water spots on paint protection film come off with gentle, PPF-safe cleaning. The fix depends entirely on how long the deposit has sat: light mineral residue wipes away in minutes, while spots that have etched into the top coat may need polishing or a professional’s help. The moment you spot one, rinse and dry the panel rather than reaching for a strong chemical or an abrasive pad, and always test any product on a hidden section first.
TL;DR:
- The effectiveness of water spot removal depends on how long the deposit has sat, with fresh spots being much easier to clean than etched or cratered damage.
- Quick rinsing with distilled water, pH-neutral washing, and immediate drying can prevent most water spots and build long-term protection through proper maintenance routines.
- Differentiating between surface deposits, etching, and irreversible damage guides whether DIY methods suffice or professional correction is necessary.
- Gentle techniques such as hot microfiber towels and spot-specific sprays are recommended initially, with mechanical polishing reserved for persistent or severe spots.
- Regular prevention through prompt drying, avoiding hard water exposure, and professional inspections significantly reduce the risk of costly repairs.
Table of Contents
- What Causes Water Spots on PPF (And Why Speed Matters)
- Quick Action Checklist for Fresh Water Spots
- How to Tell Type 1, Type 2, and Type 3 Water Spots on PPF
- DIY Treatment Steps, From Gentle to More Aggressive
- When Machine Polishing or a Professional Is Needed
- Preventing Water Spots on PPF for Good
- When to Call a Professional for PPF Restoration
- Why Most PPF Water Spot Panic Is Avoidable
- Get Water Spots Professionally Corrected at PPF Pros
- Sources
What Causes Water Spots on PPF (And Why Speed Matters)
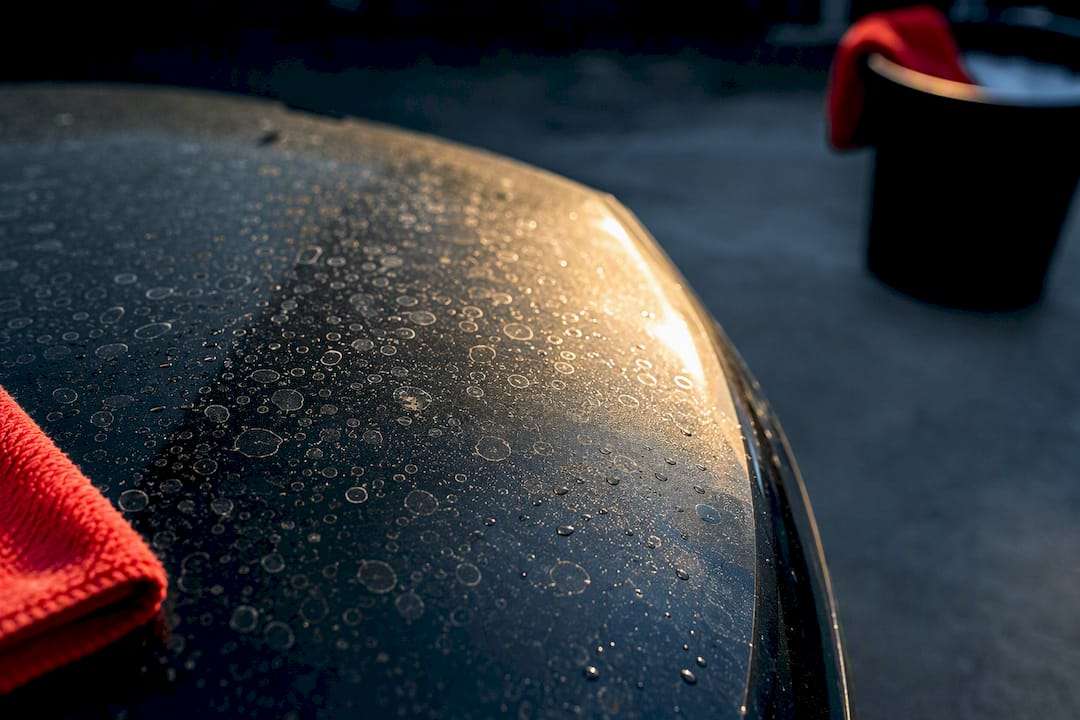
Water spots aren’t dirt. They’re what’s left behind after water evaporates and the calcium, magnesium, and airborne pollutants it carried behind stay put on the surface. On paint protection film, that residue can sit purely on top of the clear coat, or it can start bonding into the film’s top layer the longer it lingers, according to detailing experts at Swissvax.
That distinction is everything. A spot that’s been sitting for a day is a cleaning problem. A spot that’s baked in the sun for three weeks after a sprinkler hit your hood every morning is closer to an etching problem, and etching is what turns a five-minute wipe into a machine-polishing job. Los Angeles tap water runs hard in a lot of neighborhoods, and repeated exposure without prompt drying is the single biggest reason PPF owners end up with water stains on paint protection film that won’t budge with a quick spray and wipe.
The practical takeaway: treat every new spot like it’s still Type 1, because it probably is, and time is the variable working against you.
Quick Action Checklist for Fresh Water Spots
If you caught the spots early, don’t overthink it. Work through this sequence before you touch any specialty product:
- Rinse the panel with distilled or clean filtered water to knock loose surface residue before you introduce any cleaner.
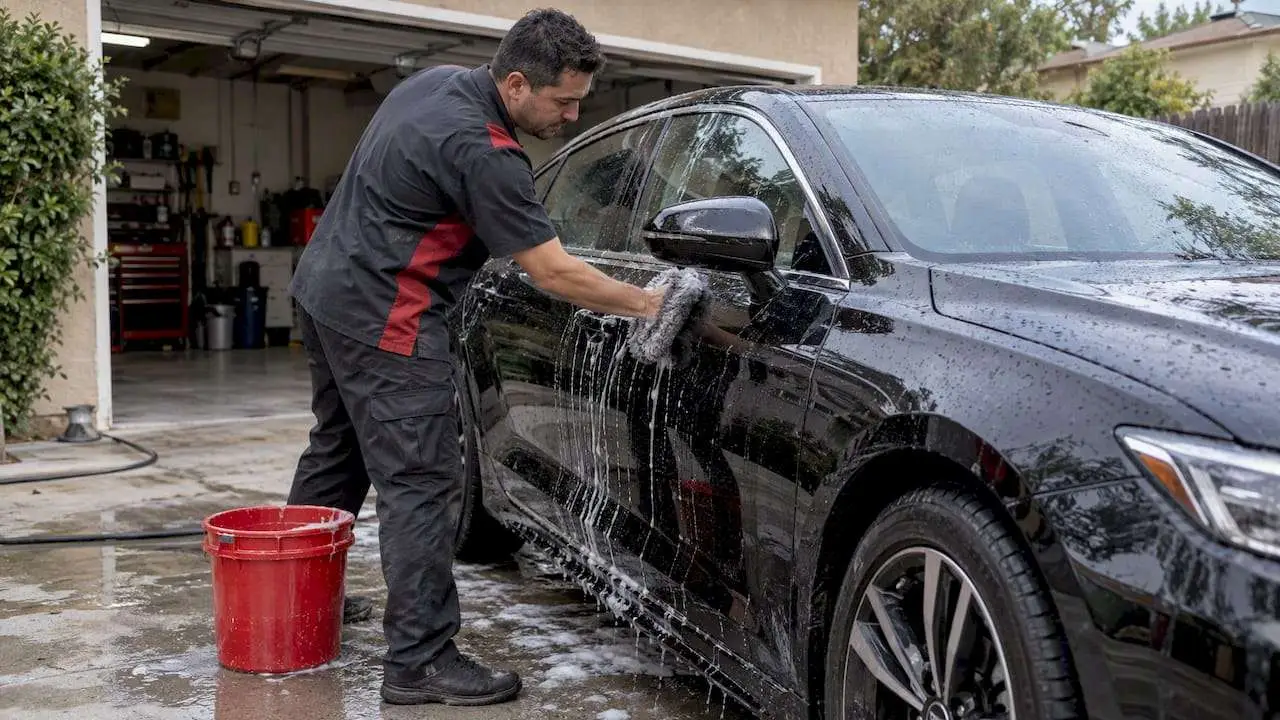
- Wash with a pH-neutral car shampoo, ideally using the two-bucket method and a soft microfiber wash mitt to avoid dragging grit across the film.
- Dry immediately with a plush microfiber drying towel, and move the car out of direct sun if you can. Air-drying in the sun is exactly how new spots form in the first place.
- If residue remains, try a hot, damp microfiber towel laid over the spot, or a dedicated PPF-safe detailer spray formulated for spot removal.
- If the mark still won’t lift after that, stop. Don’t reach for something stronger. Move to diagnosing severity instead of escalating chemistry.
Pro Tip: Keep a spray bottle of distilled water in your trunk during summer. A 30-second rinse right after you notice sprinkler overspray or a wet parking spot prevents most spots from ever needing a second step.
Following a pH-neutral wash routine and the two-bucket method isn’t just a water-spot fix. It’s the baseline maintenance protocol recommended for PPF care generally, which means you’re building a habit that pays off well beyond this one cleanup.
How to Tell Type 1, Type 2, and Type 3 Water Spots on PPF
Not every water spot behaves the same way, and treating a severe spot like a mild one usually just wastes product and time. Detailing professionals sort PPF water damage into three tiers based on how deep the mineral deposit has gone.
- Type 1 (surface deposit). The mineral residue sits on top of the film. It looks chalky or cloudy, wipes away with a PPF-safe cleaner or even a hot towel, and leaves zero texture change once it’s gone. This is the vast majority of what people deal with.
- Type 2 (etched). The deposit has started reacting with the film’s clear top coat. You’ll see haze that doesn’t fully clear with cleaning, and running a fingernail lightly across the area reveals a faint roughness or texture shift. Chemistry alone often won’t fully resolve this; light polishing usually will.
- Type 3 (irreversible). The surface is pitted or cratered, not just hazy. At this stage, PPF and ceramic coating specialists generally agree that home remedies and even standard polishing won’t restore clarity. Localized film replacement is typically the real fix.
Three quick tests tell you where you stand. First, the clean-and-dry test: wash and dry the panel, then look at it under direct light. If the spot disappears completely, it’s Type 1. Second, the fingernail check: lightly drag a nail across the dry spot. Smooth means Type 1; any grittiness or texture means you’re into Type 2 territory. Third, the small-spot product test: apply your chosen cleaner to a dime-sized area, let it dwell per the label, and check results before treating the whole panel.
Type 1 spots make up the large majority of what owners actually encounter, since most water spots get addressed within days rather than left to bake for weeks. That’s the encouraging part of this whole topic. It’s also why panicking and reaching for something aggressive on day one usually does more harm than the spot itself would have.
DIY Treatment Steps, From Gentle to More Aggressive
Work through these in order. Stop as soon as a step clears the spot, and never jump straight to the strongest method because it seems faster.
1. Distilled or deionized rinse plus pH-neutral wash. Use the two-bucket method: one bucket of soapy water, one of clean rinse water, and a soft wash mitt. This alone resolves most fresh Type 1 spots without any specialty product. If you’re in a hard-water area, rinsing with distilled or deionized water specifically helps prevent redepositing new minerals while you’re cleaning off the old ones, per detailing guidance from Drive Protected.
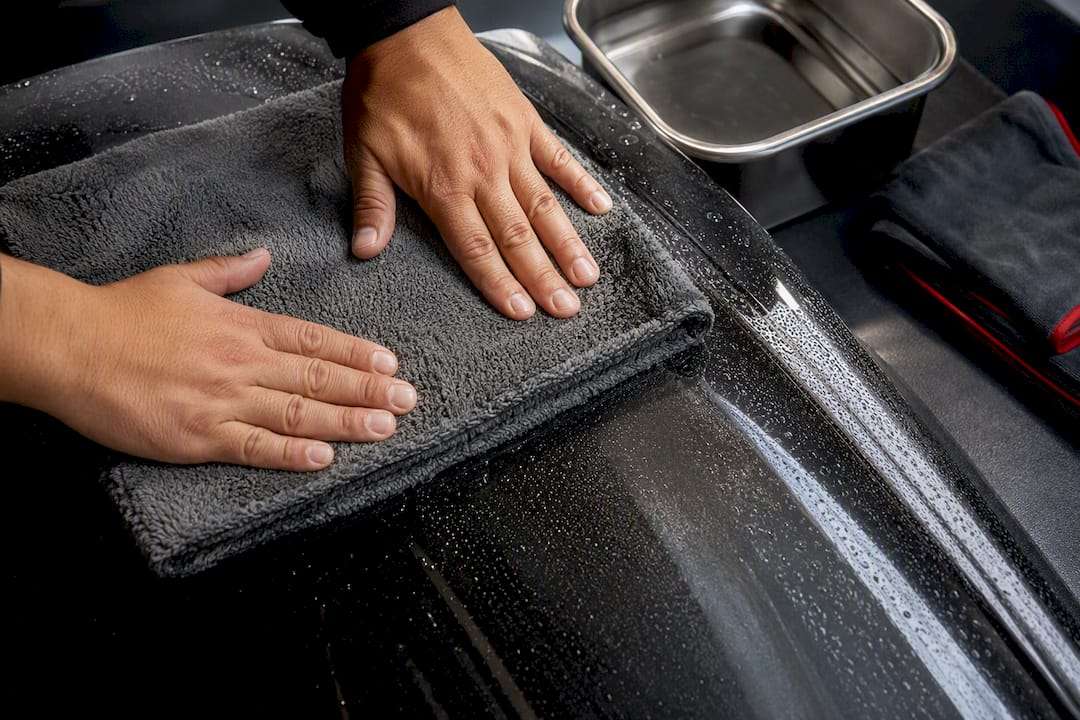
2. Hot microfiber towel technique. Heat a microfiber towel with hot (not boiling) water, wring it out so it’s damp rather than dripping, and lay it directly over the spot for roughly 30 to 60 seconds. The heat and moisture soften the mineral bond so it can be blotted and lifted rather than scrubbed off. Rewet and repeat two or three times if the first pass doesn’t fully clear it, wiping gently in one direction rather than circular scrubbing.
3. PPF-safe detailer sprays. Products built specifically for film, like AIO-style all-in-one detailer sprays, can strip light water spots without any abrasive step at all. Spray, let it dwell per the label, and wipe with a clean microfiber towel. If a light spray doesn’t cut it, some brands offer a dedicated stronger “spot delete” product before you’d ever need to escalate to polishing, according to IGL Coatings.
4. Diluted white vinegar, with caution. A weak solution (roughly one part vinegar to eight parts water) can help dissolve mineral deposits on tougher Type 1 spots. Use it sparingly, never on a hot panel, and rinse thoroughly afterward. Skip it entirely if you already suspect Type 2 etching. Its mild acidity can worsen a compromised top coat.
5. Isopropyl alcohol, spot-tested first. A diluted IPA solution (no stronger than about 10 percent, mixed with water) can help on stubborn residue. Apply to a hidden test area first, keep dwell time short, and never use it near freshly installed film that’s still curing.
6. Mild hand polish for early Type 2 spots. If a fingernail check reveals slight texture but the area is small, a PPF-specific, low-abrasion hand polish applied by hand (not machine) to just that spot can sometimes resolve early etching. Choose a product explicitly labeled safe for film, work a small area at a time, and check progress every 20 to 30 seconds rather than grinding away continuously.
Before moving past any of these steps, take photos and note what worked and what didn’t. That record matters if you eventually hand the car to a professional, and it keeps you from repeating a method that already failed.
- Stop immediately if you see any color transfer onto your towel or polish pad.
- Stop if the “spot” starts looking more like a crater under bright light.
- Stop if you’ve tried two methods and there’s zero visible improvement. That’s your signal this isn’t a DIY job anymore.
Pro Tip: Always work in the shade on a cool panel. Product dwell times listed on labels assume room-temperature film, and a sun-baked hood can make even a mild cleaner flash-dry and streak before it’s had a chance to work.
When Machine Polishing or a Professional Is Needed
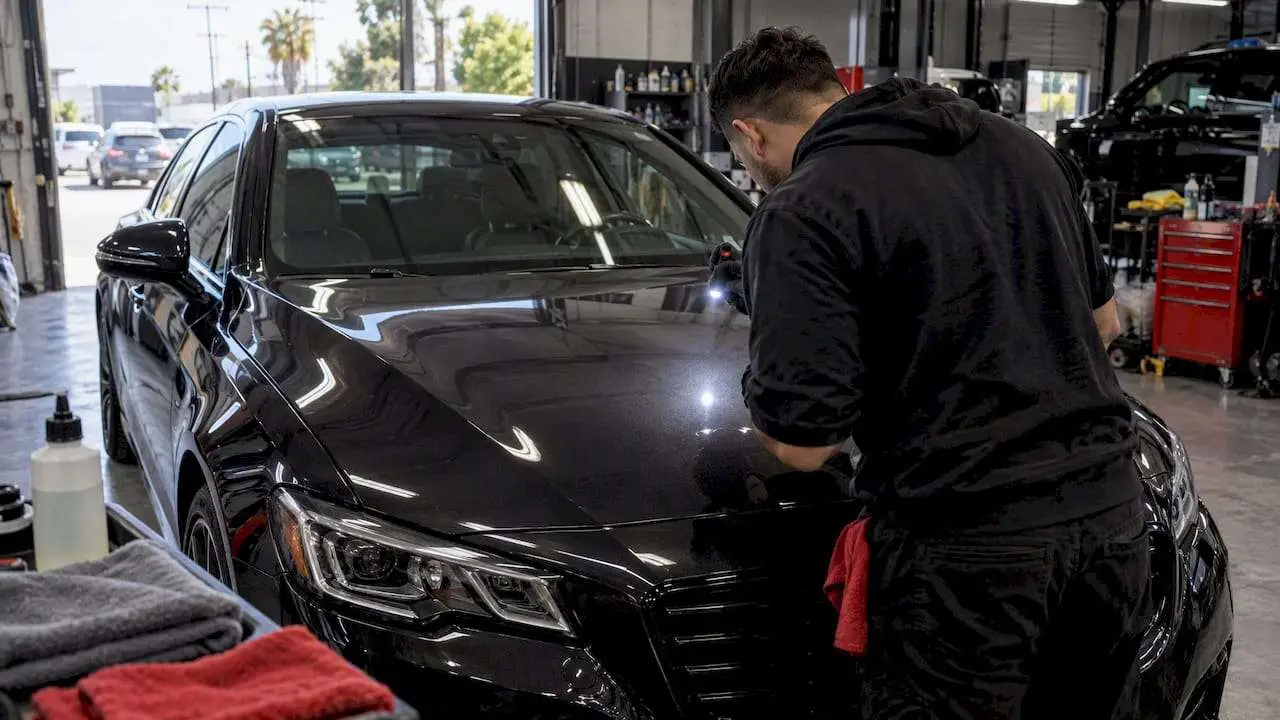
Persistent haze that survives a proper wash and hot-towel treatment is your first sign you’ve moved past a cleaning problem. Combine that with tactile roughness on the fingernail test, or any visible micro-etching under a flashlight, and you’re looking at a job that calls for correction rather than another round of spray-and-wipe.
Professional detailers handle this differently than a home polish kit does, and the gap matters more than most owners expect:
- They use polishing compounds engineered specifically for film top coats, with ultra-fine abrasives and lubricant carriers that a general automotive polish doesn’t have.
- Machine speed and pressure are controlled tightly, since PPF’s clear coat is thinner and more sensitive to heat buildup than factory paint.
- Edges and seams get taped off or worked around by hand to avoid lifting film at the perimeter, which is one of the easiest ways an inexperienced DIY polish job goes wrong.
The risk of getting this wrong at home is real. Over-aggressive polishing can thin or remove the film’s top coat entirely, leaving a permanently dull patch that no product will fix. Edge lifting from careless machine work near seams often means replacing that whole panel’s film section, not just buffing it out. And if your PPF is still under a manufacturer or installer warranty, using non-approved methods or products can void coverage on that section.
When correction alone isn’t enough, a shop’s real alternative is localized film replacement on just the affected panel, followed by a reseal or ceramic topper to protect the fresh surface. Reputable detailers only escalate to mechanical correction after confirming chemical methods genuinely can’t shift the deposit, then document the results and reseal the area to head off a repeat.
Pro Tip: If a shop offers to “polish out” PPF without mentioning film thickness or edge protection at all, ask more questions before you book. Film-safe correction is a different skill set than paint correction, even though the tools look similar.
Preventing Water Spots on PPF for Good
The single biggest lever you have is drying speed. Mineral bonding happens as water evaporates, so a car that air-dries in the sun after a wash or a rainstorm gives every mineral particle time to settle and start bonding to the film. A quick pass with a plush microfiber towel right after exposure, before the water has a chance to evaporate on its own, prevents the vast majority of spots from ever forming.
Your wash routine matters just as much as your drying routine:
- Stick to the two-bucket method with a pH-neutral car shampoo. Skip automatic brush washes, which drag grit across film edges and can cause micro-scratching that shows up as swirl marks on PPF over time.
- Use a filtered or deionized rinse where practical, especially if your area has notably hard tap water.
- Dry within minutes of the final rinse rather than letting the car sit.
A sacrificial wax or a compatible hydrophobic spray topper adds a second layer of defense by making water bead and roll off instead of sheeting and sitting. Ceramic coatings applied over PPF go a step further: they create a slicker, more hydrophobic surface that makes future mineral deposits far easier to rinse away before they ever get a chance to bond, and pairing a ceramic coating with PPF is one of the more effective long-term combinations for owners in hard-water regions.
On the environmental side, simple habits go a long way: park away from sprinkler zones, avoid washing with unfiltered hose water in areas known for hard water, and knock off bird droppings or sap before they sit through a hot afternoon.
When to Call a Professional for PPF Restoration
Some situations are straightforward DIY jobs. Others aren’t, and knowing the line saves you money and saves your film. Bring the car in when you’re dealing with large-area etching across multiple panels, when a legitimate DIY attempt has already failed to improve things, when you can see actual cratering rather than haze, or when you’re worried that any at-home method might affect your installer’s warranty.
A professional restoration visit typically follows a predictable path:
- Assessment. A trained tech evaluates spot severity across each affected panel, often using raking light to catch texture changes invisible to the naked eye.
- Targeted decontamination. PPF-safe chemical treatments handle anything still in Type 1 or borderline Type 2 territory before any mechanical work even starts.
- Controlled correction or replacement. Genuine Type 2 damage gets polished with film-specific compounds; Type 3 damage typically means replacing the affected film section rather than trying to save it.
- Reseal or recoat. A protective topper or ceramic layer goes back on afterward, which is the step most DIY jobs skip entirely and the reason spots often come right back within a season.
Before booking anywhere, ask direct questions: How much experience does the shop have specifically with your film brand? Are they an authorized installer for that brand, such as an XPEL-authorized shop? Can they show before-and-after photos of comparable water-spot corrections? How does their warranty handling work if something goes wrong during correction? A shop like PPF Pros, authorized for XPEL installations, should be able to answer every one of those without hesitation, and if a shop can’t, that’s worth noting before you hand over your keys.
Why Most PPF Water Spot Panic Is Avoidable
The mistake I see most often isn’t neglect. It’s overcorrection. Someone notices a spot, gets nervous, and reaches straight for the strongest thing in their garage, whether that’s a heavy-cut polish or a household acid never meant for automotive film. That instinct turns a five-minute cleaning job into a permanent haze that no amount of buffing will fix.
Skipping the spot test is the second most common error, and it’s an easy one to avoid. Thirty seconds on a hidden inch of film tells you everything you need to know before you commit a whole panel to a product you’ve never used on PPF specifically.
The bigger picture: routine maintenance, prompt drying, and a periodic professional checkup prevent almost every scenario that ends in a costly repair. Spending on an annual inspection or a light professional decontamination once or twice a year is cheap insurance against a replacement job that costs many times more. Film is a lot easier to protect than it is to replace, and every dollar spent on prevention buys you leverage against the one variable you can’t control: how hard your local water actually is.
— Jake
Get Water Spots Professionally Corrected at PPF Pros
If a spot has already crossed into etched territory, or you’d rather skip the trial-and-error entirely, Ppfprosla handles PPF-safe decontamination, film-specific polishing, and localized film replacement in-house as an XPEL-authorized shop in North Hollywood. That authorization matters here specifically: it means correction work uses compounds and techniques matched to your exact film, not a generic paint-correction approach borrowed from bodywork.
The team backs that up with premium materials, precision installs, and a strong reputation built on jobs across daily drivers, Teslas, and exotic vehicles throughout Los Angeles. Beyond spot correction, the shop offers reseal and ceramic coating bundles that add long-term hydrophobic protection once a panel’s been corrected, so the same spots don’t just come back next summer.
Getting a quote is simple: snap photos of the affected panels under good light, note which areas you’ve already tried treating, and describe the result you want. From there, the shop can walk you through timeline and cost before any work starts. Start with an initial PPF assessment to find out exactly what your film needs.
Sources
- Hard water spots on PPF and ceramic coating: the biggest threat to modern paint protection – and how to stop it | Swissvax US
- Say Goodbye to Water Spots on Your XPEL Paint Protection Film: The Ultimate Guide to IGL Coatings’ AIO Spray – IGL Coatings Blog
- How to Clean & Maintain PPF: Care Guide | UPPF – UPPF International Pte. Ltd