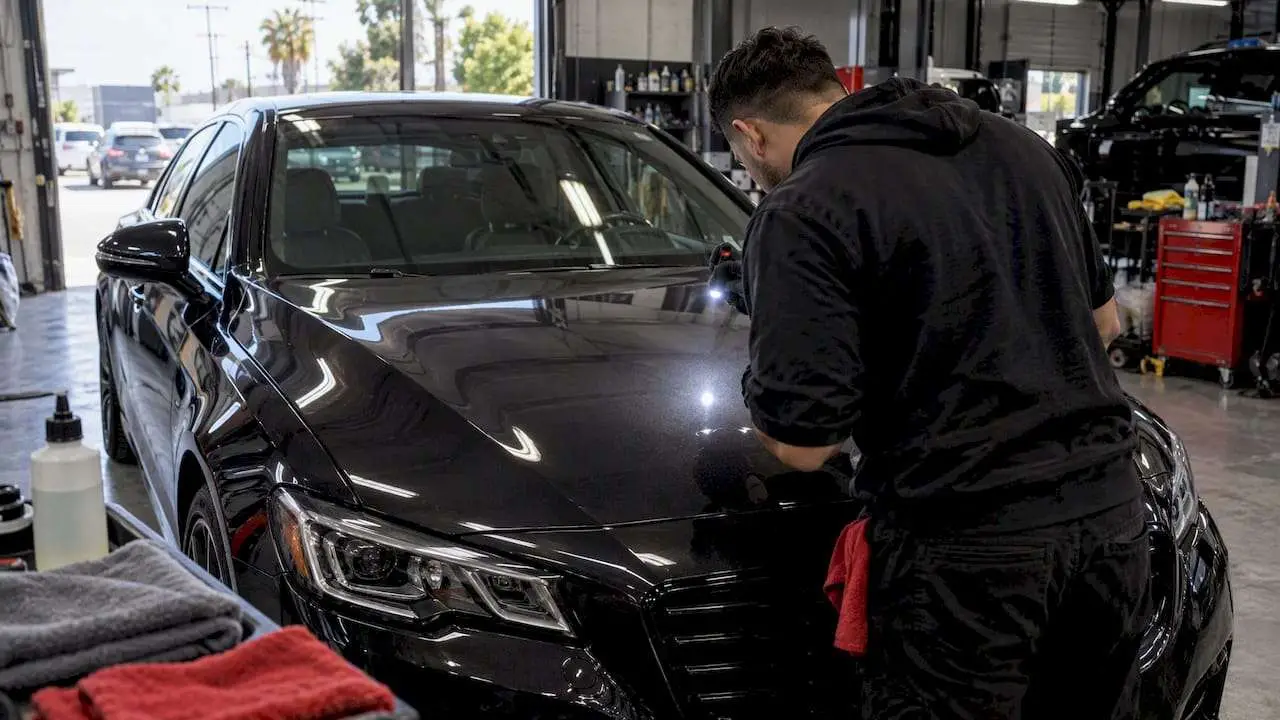
The correct prep sequence is pre-wash, decontaminate for iron and tar, clay the paint, correct or polish if needed, then finish with a panel wipe and inspection. A panel is ready only when it passes three gate checks: it must be dry, cool to the touch, and completely free of oil or wax residue. Skip any of these and the coating will lock in whatever flaws or contamination are already there.
TL;DR:
- Proper prep requires thorough washing, decontamination, and light polishing to remove contaminants, old coatings, and defects before coating application.
- Decontaminate with an iron fallout remover, tar remover, and clay bar or pad, ensuring the surface feels smooth and free of roughness after each step.
- Conduct gate checks including a tactile bag test, temperature, and residual oil wipe to confirm the surface is clean, cool, and dry before coating.
- Follow manufacturer instructions for specific products on application temperature, timing, and curing, avoiding washing or stressing the coating for at least 24 to 72 hours.
- DIY owners can handle basic prep but should seek professional help for correction, wet sanding, or warranty-backed jobs to ensure optimal coating longevity.
Table of Contents
- Pre-washing and safe contact washing before you decontaminate
- Decontaminating paint: iron fallout, tar, and clay bar technique
- Paint correction: how much polishing your car actually needs
- The final wipe and inspection checks before coating goes on
- Timing, temperature, and the first days after coating
- DIY versus professional prep: where the line actually is
- What a certified shop does differently during prep
- Matching prep products to your ceramic coating brand
- Staying safe while you prep
- What I see most DIYers get wrong
- Getting your prep and coating done by a professional shop
- FAQ
- Sources
Pre-washing and safe contact washing before you decontaminate
Every scratch you put into the paint before coating gets sealed under the coating for years, so the wash stage is where most of the damage actually happens if you rush it. A pre-wash with snow foam or a dedicated pre-rinse loosens grit and road film before anything touches the panel, which matters because dragging a wash mitt across dry dirt is what causes fine swirls in the first place.
Once the heavy soil is off, switch to a two-bucket wash: one bucket holds soapy water, the other holds clean rinse water, and both should use grit guards at the bottom to trap debris away from your mitt. Dunk, rinse against the grit guard, then dunk again in the soap bucket. This single habit prevents more marring than any product choice.
Product selection matters less than technique, but a few choices make the job easier:
- Use a pH-neutral car shampoo rather than a dish soap or degreaser substitute, since harsher cleaners strip factory sealants unevenly and can leave streaking.
- Pick a wheel cleaner labeled safe for your wheel finish, since some acidic formulas etch clear-coated or chrome wheels.
- Keep a dedicated clay lubricant or a diluted detailer spray on hand for the decontamination step that follows.
Work the car in a logical order: roof first, then upper body panels, then doors and sides, then lower panels and rocker areas, and wheels and tires last. This top-to-bottom sequence keeps the dirtiest sections from contaminating the cleaner ones through drips or mitt transfer. Rinse thoroughly between sections rather than waiting until the whole car is washed, especially in direct sun where soap can dry and streak.
If any existing wax, sealant, or old coating is on the paint, this is also the stage to strip it. A dedicated paint cleaner or isopropyl alcohol solution removes old protection far more reliably than shampoo alone, and skipping this step is one of the most common reasons a new coating fails to bond evenly. According to the workshop prep workflow that professional shops follow, stripping old protectants before decontamination is a standard, non-negotiable step, not an optional extra.
Dry with a clean microfiber towel or a dedicated dryer rather than letting the car air dry, since water spots left to bake in the sun add another contaminant you’ll have to remove later.
Decontaminating paint: iron fallout, tar, and clay bar technique
A clean-looking wash is not the same as a decontaminated surface. Brake dust and industrial fallout embed as tiny iron particles in the clear coat, invisible to the eye but easy to feel once you know what you’re checking for.
- Spray an iron fallout remover on a cool, shaded panel and watch for a purple or reddish bleeding reaction, which shows the product dissolving embedded iron particles; a panel with no reaction is already iron-free.
- Treat tar spots and sap separately with a dedicated tar remover or a citrus-based solvent, applied to a microfiber towel and dabbed rather than rubbed to avoid grinding grit into the clear coat.
- Rinse the panel fully after any chemical treatment before moving to mechanical decontamination.
- Lubricate a small section with a clay lubricant or quick detailer, then glide a clay bar or a synthetic clay pad across it in straight lines, folding the clay as it picks up contamination.
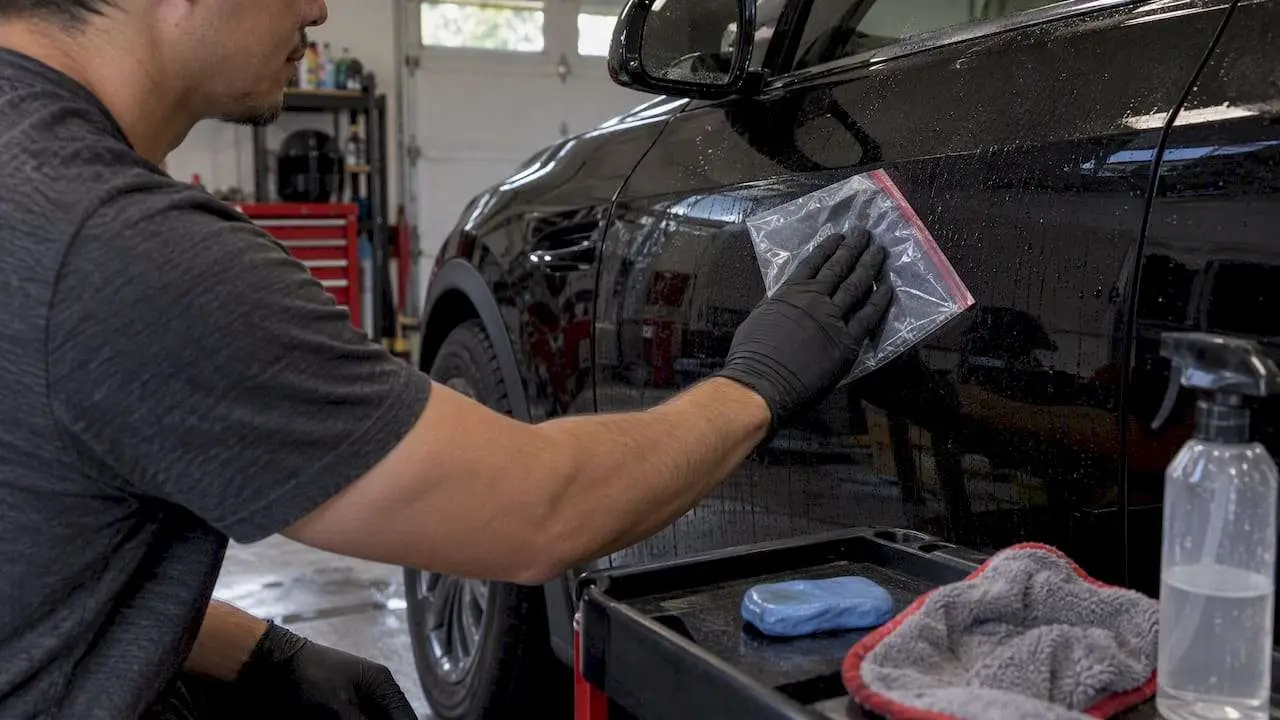
- Wipe the section dry and check it with a plastic sandwich bag over your fingers, running your hand across the paint; smooth glass-like feedback means the section is clean, while persistent roughness means you repeat the clay pass.
Clay bars and clay pads do the same job through different mechanics: a traditional clay bar is kneaded and worked by hand in small sections, while a clay pad mounts on an applicator block or a polisher and covers larger areas faster, with a slightly less aggressive bite. Either works, but always keep the surface lubricated, since dry claying is what causes marring rather than removing it.
A perfect prep can make a mid-tier coating outperform a poorly prepped premium one, because prep determines coating longevity more than the coating’s own chemistry. That single fact is why shops spend most of a job’s labor hours on decontamination and correction rather than on the actual coating application.
If the baggie test reveals rough patches after a full clay pass, don’t move forward. Re-lubricate and clay that section again rather than proceeding to polishing with contamination still embedded, since compounding over embedded grit just drags it across a wider area.
Paint correction: how much polishing your car actually needs
Not every car needs a full correction before coating. Inspect the paint under a strong, diffused light (an inspection lamp, an LED work light, or even bright indirect daylight) held at a low angle across the panel. Swirls, holograms from a previous poor polish job, and fine scratches show up clearly this way, while they can hide completely under typical garage lighting.
What you see determines the approach:
- Light swirls and minor oxidation usually respond to a single-stage polish with a finishing pad and a light abrasive compound.
- Deeper scratches, heavy oxidation, or holograms from a prior bad detail usually need a two-stage correction: a cutting compound followed by a finishing polish.
- Paint that still shows defects after two stages, or that has been through multiple past corrections already, is thin enough that further cutting risks going through the clear coat, and that’s a sign to stop and call a professional.
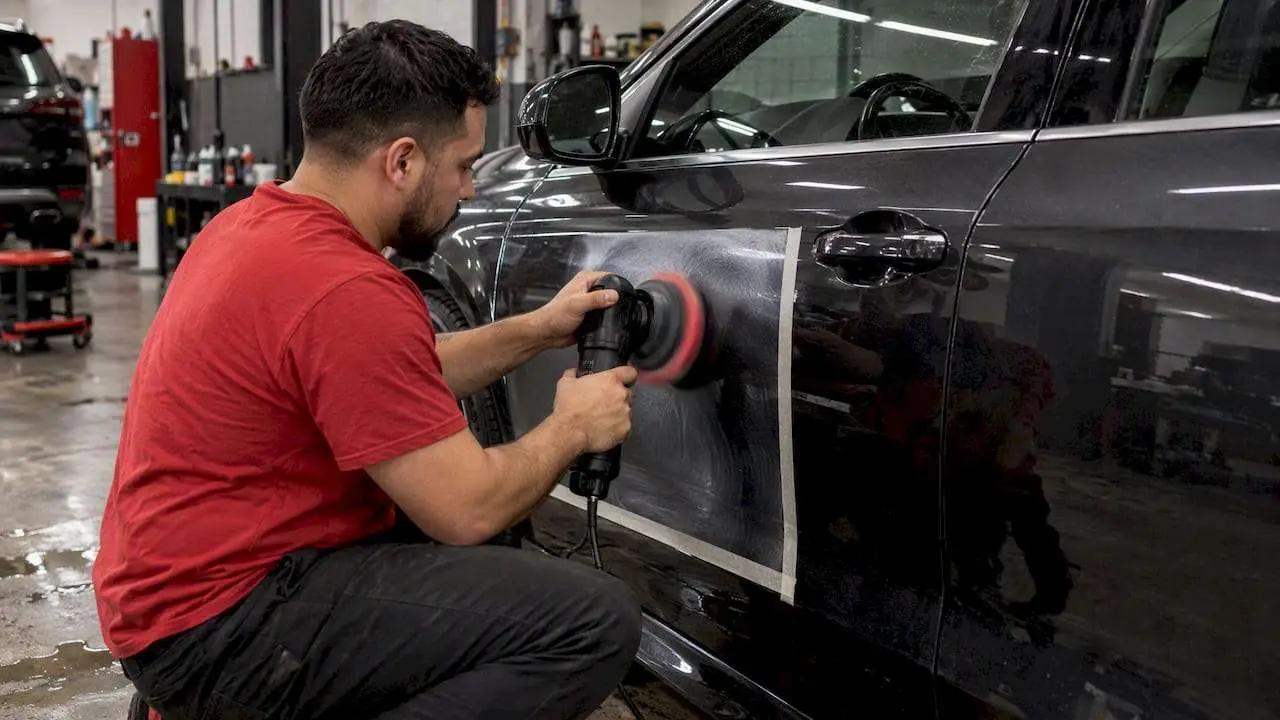
A dual-action polisher is far more forgiving than a rotary for anyone working on their own car, since it’s much harder to burn through clear coat with random orbital motion. Match your pad and compound to the defect level: a foam cutting pad with a compound for heavier correction, a softer polishing pad with a finishing polish for the final pass, and keep the polisher at a moderate speed setting rather than maxing it out, which generates heat faster than it removes defects.
Pro Tip: Work one panel at a time and wipe it down with a dedicated panel wipe or isopropyl alcohol solution before judging the result under your inspection light, since leftover polishing oils fill in light swirls and make the finish look better than it is.
This panel-wipe-and-recheck cycle matters more than most DIYers realize. Polishing oils are designed to fill in fine imperfections and add gloss temporarily, which means a panel that looks flawless right after polishing can reveal missed swirls once the oils are stripped. Repeat the wipe-and-inspect step after every polishing stage, not just at the very end.
If you’re unsure whether your paint needs correction at all, a closer look at when paint correction is actually necessary before coating walks through how to judge your own paint’s condition. Professional guidance on this point is consistent: light polishing is often worth including even on paint that looks decent, since it removes fine swirls while improving gloss, but it always leaves oils behind that must be removed before the coating goes on.
If a panel still shows haze, holograms, or uneven gloss after two correction passes and a thorough panel wipe, that’s the point to stop polishing and bring the car to a shop rather than risk burning through the clear coat chasing a flawless result.
The final wipe and inspection checks before coating goes on
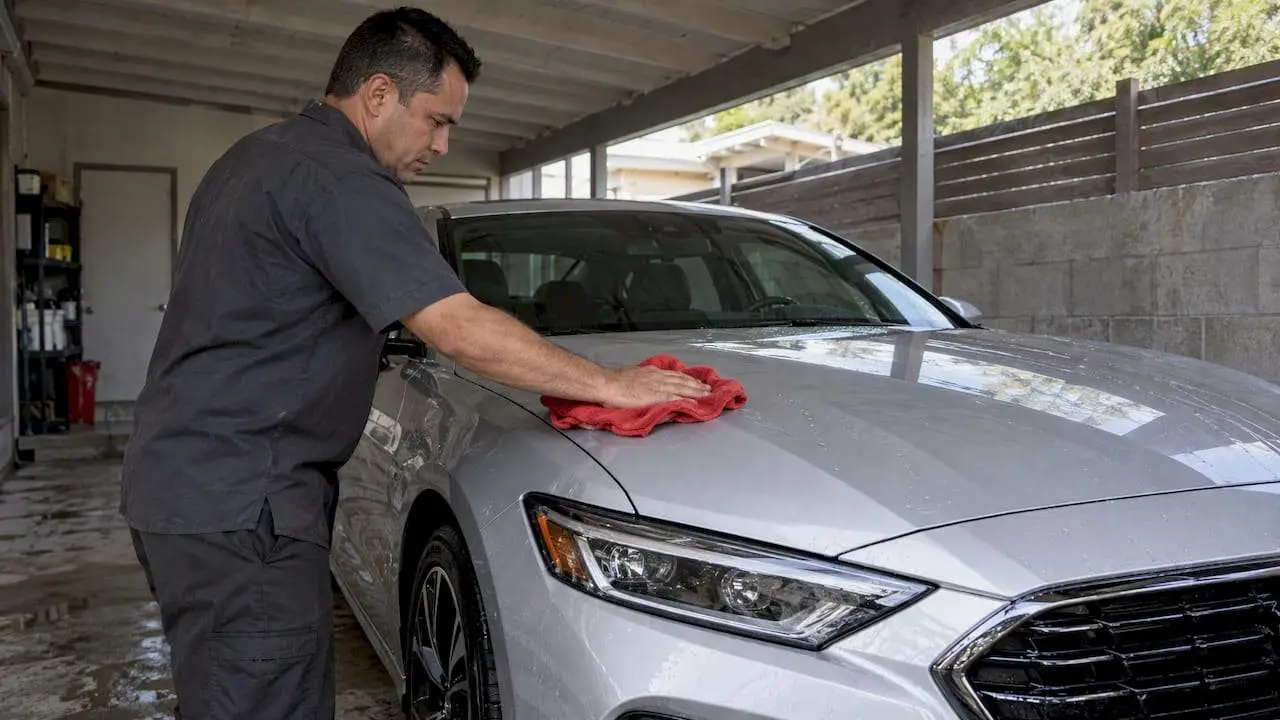
Everything before this point sets up the actual gate: the moment right before you open a coating bottle. A proper panel wipe uses a dedicated solvent, typically isopropyl alcohol diluted to a specific ratio or a manufacturer panel-prep spray, applied with one clean microfiber towel to apply and a second dry one to immediately buff it off. This strips any remaining polishing oils, wash residue, or oils from your hands so the coating bonds directly to bare paint.
Mask off anything you don’t want coating to touch: rubber trim, plastic cladding, and emblems can be taped off with a low-tack automotive masking tape that won’t pull paint or leave adhesive residue. Coating that bonds to unsealed rubber trim can leave a white, hazy film that’s difficult to remove later.
Before you coat, run through these checks on every panel:
- The surface feels perfectly smooth when you drag a plastic bag or a gloved hand across it, with no roughness or grit catching.
- The panel is cool to the touch, not warm from direct sun or recent engine heat.
- A clean microfiber towel wiped across the panel comes away without any oily residue or streaking.
| Gate check | What it confirms | If it fails |
|---|---|---|
| Baggie or glove tactile test | Surface is free of embedded contamination | Re-clay the section before continuing |
| Temperature check by hand | Paint is cool enough for proper coating cure | Move to shade or wait for the panel to cool |
| Panel wipe residue check | No oils or polish residue remain | Wipe again with fresh solvent and a clean towel |
If any panel fails a check, don’t coat over it hoping it’ll work out. Go back one step: re-clay if the tactile test fails, move the car into shade or wait if it’s too warm, or wipe again with a fresh towel if residue shows. A coating applied over a failed gate check cures unevenly or bonds weakly, and both problems are far harder to fix after the fact than before.
Timing, temperature, and the first days after coating
Flash and buff windows vary a lot between products. Many consumer-grade coatings give a wider buffing window, often with some flexibility in how long you can wait before leveling excess product, while professional-grade coatings tend to have tighter windows and need removal more precisely on schedule to avoid high spots. Always follow the specific product’s instructions rather than assuming one coating behaves like another.
Ambient and surface temperature affect both application and cure. Manufacturer specification sheets for ceramic coatings call out specific temperature and humidity windows, and applying outside that range can affect how the coating levels and cures. Cold paint slows curing dramatically, while hot paint flashes too fast to level properly, so working in shade within the product’s stated range matters as much as the prep itself.
Once the coating is on, treat the first 24 to 72 hours as a curing window. Avoid washing the car, keep it out of heavy rain where possible, and skip anything that puts pressure or friction on the panels, since the coating is still hardening and hasn’t reached its full resistance yet.
DIY versus professional prep: where the line actually is
A careful, patient owner can realistically handle the wash, decontamination, and light polishing stages at home with the right products and enough time. These steps reward attention to detail more than specialized equipment, and a weekend spent doing them properly will outperform a rushed professional job every time.
Where DIY typically runs into limits:
- Multi-stage correction on paint with heavy swirls or deep scratches, which requires experience reading how different compounds and pads behave to avoid burning through clear coat.
- Wet sanding to remove deeper defects, which has almost no margin for error without training.
- Any job where you want a warranty backing the prep and the application, since that guarantee only comes from a shop standing behind its own work.
If you do decide to hire a shop, ask what their prep process actually includes before booking: whether correction is part of the package or billed separately, whether they do an iron and tar decontamination pass as standard, and whether they panel-wipe and inspect under dedicated lighting before coating. A shop that can answer these specifically, rather than vaguely, is one that treats prep as seriously as the coating itself. As the comparison between DIY and professional coating approaches points out, the prep principles are identical either way. What differs is the controlled environment and the guarantee a shop can offer once the work is done.
What a certified shop does differently during prep
A shop working under XPEL Authorized standards builds its process around the same gate checks outlined above, but with a controlled environment that’s hard to replicate in a home garage: consistent temperature, no dust, and lighting set up specifically for defect inspection. We include correction as part of the ceramic coating process, rather than treating it as an optional upsell, because coating over unaddressed swirls just preserves them under a hard shell for years.
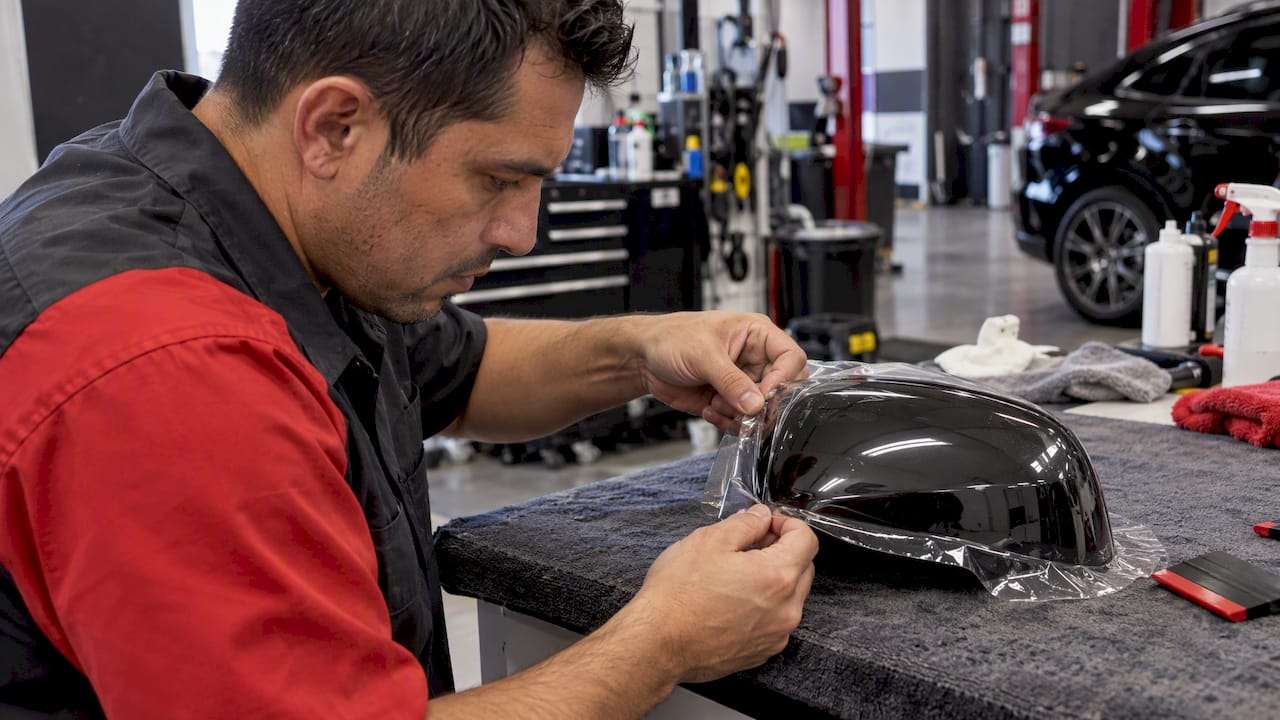
Our installs maintain a 4.9-star rating, and we’ve completed protection work on a large number of vehicles across Los Angeles, which reflects how consistently that process gets followed. For paint protection film customers in particular, prep work on the panel underneath carries extra weight, since PPF installations depend on the same clean, defect-free surface that a ceramic coating needs, and we treat both services with that same prep standard.
Matching prep products to your ceramic coating brand
Not every panel wipe or prep product is interchangeable across ceramic coating brands. Some manufacturers specify their own panel-prep solvent or dilution ratio, and using an unapproved product can interfere with how the coating bonds. Always check the specific coating’s instructions before substituting a generic isopropyl alcohol mix.
Temperature tolerance also varies by product. A consumer-friendly coating like CQUARTZ Lite 2.0 is formulated to apply across a wide temperature range, making it more forgiving for a home garage without climate control. A professional-grade product like Crystal Serum Light calls for stricter indoor application conditions and specific temperature limits, along with defined wait times before any top-coat or water exposure.
Before buying prep products, check whether the coating brand recommends or sells its own decontamination and panel-wipe line. Pairing an off-brand solvent with a coating it wasn’t tested against is a common reason owners see poor bonding or uneven cure, even when every other prep step was done correctly.
Staying safe while you prep
Several of the chemicals used in prep work are genuinely hazardous if handled carelessly. Iron fallout removers release a sulfur smell as they react, and that reaction indicates active chemical activity on the surface, not just an odor to tolerate.
Work in a ventilated space, ideally with the garage door open or outdoors in shade, and avoid breathing in aerosolized cleaners directly. Nitrile gloves protect your hands from tar removers, iron fallout chemicals, and polishing compounds, all of which can irritate skin with repeated contact. Safety glasses are worth wearing during machine polishing, since compound and polish can sling off a spinning pad unpredictably.
Keep a fire extinguisher nearby if you’re using isopropyl alcohol or other solvents near any heat source, and never use these products in an enclosed space without airflow. A respirator mask is worth the small cost if you’re doing an iron decontamination pass on a car that’s seen heavy brake dust buildup, since the fallout remover’s reaction can be stronger and more concentrated on neglected wheels and lower panels.
What I see most DIYers get wrong
Most prep mistakes come down to rushing one of three steps. Owners skip the clay stage because the paint looks clean after a wash, then wonder why the coating shows uneven gloss a week later. Others polish under flat garage lighting, miss swirls that would have shown up under a proper inspection light, and seal them in permanently. And a lot of people skip the panel wipe entirely, assuming a rinse after polishing is enough, when it isn’t.
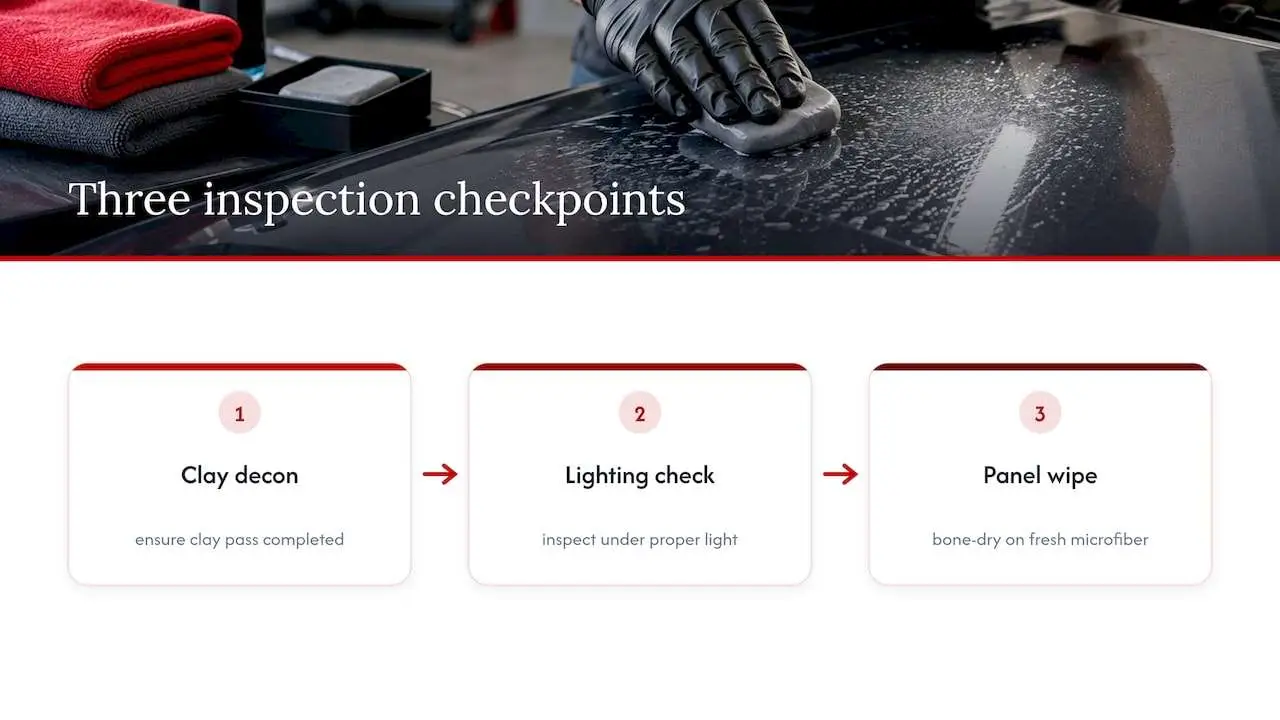
My baseline before coating any car, mine or a customer’s, is simple: it has to pass the bag test everywhere, it has to be cool, and it has to come up bone dry on a fresh microfiber after a panel wipe. If any one of those fails, the coating waits.
The habit that saves the most headaches is slowing down during decontamination. A thorough clay pass takes longer than people expect, and that’s exactly where coating failures get prevented.
— Jake
Getting your prep and coating done by a professional shop
If reading through all of this makes you want to skip straight to the result, that instinct makes sense, especially on a car where you’re not willing to risk a DIY mistake. We handle the full prep sequence in-house as part of our ceramic coating service, including decontamination, correction where it’s needed, and a controlled application environment, rather than leaving any of those gate checks to chance.
Booking starts with a look at your paint’s current condition, since that determines how much correction time the job needs before coating goes on. For owners already considering paint protection film, we also offer bundled options that combine PPF and ceramic coating under one prep process, which saves redoing decontamination twice. Reach out through our site to get a quote specific to your car’s paint condition and get a clear answer on timing before you commit.
FAQ
What should I do before ceramic coating my car?
Wash the car thoroughly, remove embedded contamination with an iron fallout remover and a clay bar or pad, then correct any visible swirls with polish before finishing with a panel wipe. The paint needs to be dry, cool, and free of oils before coating goes on, as outlined in the standard workshop prep sequence.
How long do you let ceramic coating sit before wiping?
Flash and buff windows vary by product, with consumer-grade coatings generally more forgiving than professional-grade ones, which often need leveling on a tighter schedule. Always check the specific coating’s own instructions rather than assuming a universal wait time, since manufacturer guidance differs between products.
What should you not do after ceramic coating?
Avoid washing the car, exposing it to heavy rain, or putting any pressure or friction on the panels during the first 24 to 72 hours while the coating cures. Parking in direct sun for extended periods during this window can also affect how evenly the coating hardens.
What is the best polish to use before ceramic coating?
The right polish depends on what your paint actually needs: a light finishing polish for minor swirls, or a cutting compound followed by a finishing polish for deeper defects. Inspecting the paint under a strong, diffused light before choosing a product helps you match the polish to the actual level of correction required, rather than over-correcting or under-correcting.
Can I apply ceramic coating myself without professional help?
A careful DIYer can handle washing, decontamination, and light polishing at home with the right products and patience. Multi-stage correction, wet sanding, or jobs where you want a warranty on the work are generally better left to a shop with the equipment and experience to back the result.
Sources
- DIY vs Professional Ceramic Coating Guide | Gtechniq
- How is a car prepared for a ceramic coating? | Car Care Knowledge Base