One step correction removes light swirls, surface haze, and minor oxidation in a single polish pass, restoring gloss without the time of a multi-stage job. It works best on cars with shallow defects or as prep before protection. It won’t touch deep scratches or heavy clearcoat damage, so a quick test spot tells you fast whether it’s the right call.
TL;DR:
- Test one panel first; if a pass leaves marring, escalate to compounding and finishing polish because paint thickness and repair history vary by panel.
- A panel takes 10 to 20 minutes; a sedan needs 2 to 4 hours, with contamination, complex curves, and repairs extending the job.
- Match pad aggressiveness to the polish’s cut, and use a dual action machine to reduce heat and burn through risk on edges and high points.
- Wash and decontaminate before polishing, then remove polish oils with an isopropyl alcohol wipe before applying sealant or coating to support bonding.
Table of Contents
- What one-step paint correction does and how it works
- One-step vs two-step and multi-step correction: practical trade-offs
- How to choose a one-step polish, pad, and kit
- Step-by-step workflow for a safe one-step correction
- How long a one-step takes and common pricing approaches
- PPF Pros shop checklist and what pros do differently
- Common mistakes to avoid during one-step correction
- When a one-step is the pragmatic choice
- PPF Pros services: booking professional correction and protection prep
- FAQ
- Sources
What one-step paint correction does and how it works
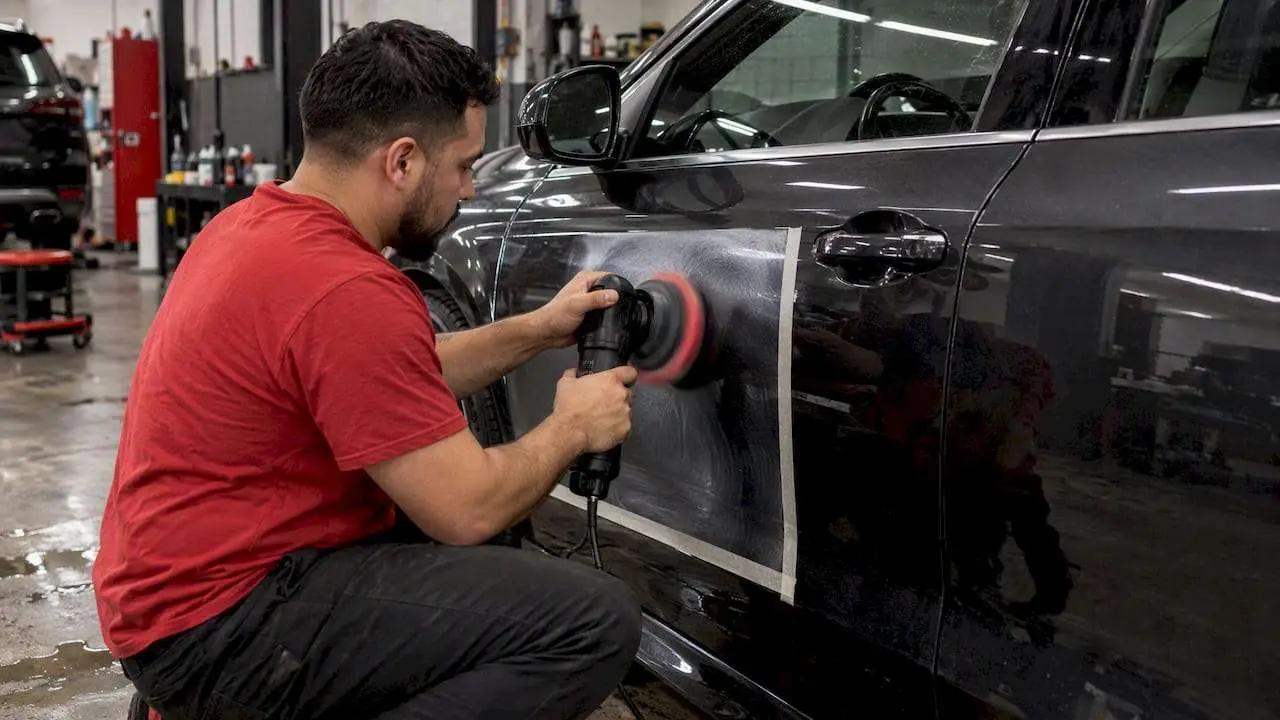
A one-step pass combines an abrasive polish, a pad, and a dual-action machine to level the clearcoat just enough to erase shallow imperfections. The polish’s abrasives break down as you work the pad across the panel, cutting fine scratches while leaving enough clear coat for a finishing shine.
This method reliably handles:
- Micro-swirls from improper washing or drying
- Light oxidation on faded or neglected paint
- Surface haze from automatic car washes or weathering
It won’t reliably remove random intermittent deep scratches, which cut deeper into the clear coat and need compounding before a finishing polish can restore clarity, according to detailers who break down single-step versus multi-step outcomes.
Running a test spot on one panel before committing to the whole car prevents wasted time and over-polishing, which thins the clear coat unnecessarily. Paint thickness varies by panel and by prior repair work, so checking before you polish protects the finish you’re trying to improve.
One-step vs two-step and multi-step correction: practical trade-offs
A one-step pass trades some finish clarity for speed. A two-step or multi-step job, which adds a compounding stage before the finishing polish, removes deeper defects and produces a sharper, glossier result, but it takes longer and costs more.
Professionals reach for multi-step work when a car needs show-quality correction or when the paint has accumulated years of neglect. For a daily driver with light swirls, that extra time rarely pays off in a visible way. Detailers who outline the difference note that one-step correction leaves deeper defects like random intermittent deep scratches largely untouched.
Before deciding, run through this checklist:
- Paint condition: light haze and micro-swirls point to one-step; deep or widespread scratching points to multi-step
- Test spot results: if one pass clears the defect and leaves clean, even gloss, one-step is enough
- Vehicle value and goals: show cars and resale-focused owners often justify the extra time of multi-step work
- Timing constraints: a one-step finishes in a fraction of the time a full correction requires
If your test spot still shows visible marring after a single pass, that’s the signal to escalate. Compounding first, then finishing with a one-step style polish, is the standard move once a panel resists single-pass correction.
How to choose a one-step polish, pad, and kit
Product categories matter more than brand names here. Single-pass polishes are formulated with abrasives that break down during buffing, cutting and finishing in one pass. All-in-one polishes go a step further, blending cleaning, cutting, and protective agents into one product. Entry kits bundle a polish with a compatible pad and sometimes a basic sealant, aimed at first-time users.
Pad choice changes the outcome as much as the polish itself:
- Cutting pads increase abrasion for panels with more defects
- Finishing pads reduce aggressiveness for a final clarity pass
- Pad aggressiveness should match the polish’s stated cut level, not exceed it
A dual-action machine is safer than a rotary for one-step work because it reduces the risk of heat buildup and burn-through on edges and high points.
Pro Tip: Run the same polish and pad combination on a hidden test spot first; marketing claims about “one pass correction” mean little until you see the result on your own paint.
Ignore vague claims like “removes all defects” and instead judge a product by what it does on your test panel.
Step-by-step workflow for a safe one-step correction
- Wash and decontaminate the car fully, then clay bar any remaining bonded contamination; a proper decontamination wash shaves real time off the correction step and prevents introducing new marring.
- Pick a low-visibility panel, like a door or fender, for your test spot.
- Apply polish to the pad, set the machine to a moderate speed, and work the test spot in overlapping passes.
- Wipe the section clean and inspect under direct light or an LED inspection lamp to judge whether the defect cleared.
- If results look good, repeat the same settings, pad, and pass count across the rest of the car, working one panel at a time.
- Wipe down each finished panel with a clean microfiber towel and inspect again before moving on.
- Once the full vehicle is polished, do a final wipe-down with an isopropyl alcohol solution to strip polish oils before applying sealant or coating.
Pro Tip: Keep your pad clean between panels; a pad loaded with old polish residue cuts less effectively and can introduce fresh marring.
A consistent pass count and pressure across panels keeps the finish even, which matters more than speed when you’re working toward a uniform result.
How long a one-step takes and common pricing approaches
A single panel typically takes 10 to 20 minutes once you’ve nailed your test-spot settings. A full sedan usually runs 2 to 4 hours for the correction stage alone, though heavy contamination, complex curves, or prior bodywork repairs can stretch that window.
Pricing approaches vary by shop:
- Per-panel pricing signals granular billing, useful for partial corrections
- Per-hour pricing reflects variable paint condition and is common for cars with unknown history
- Fixed one-step packages signal a shop confident in standard timing for typical defect levels
Forum discussions among detailing enthusiasts confirm that timing and pricing questions are common because vehicle size and paint condition swing both figures substantially. Always confirm a final price only after a test spot, since defect severity changes the math.
PPF Pros shop checklist and what pros do differently
A test-spot-first process is standard practice in how professional shops decide between a one-step and a full correction. Our team checks paint thickness and prior repair history before committing to a stage, a process we detail on our page about how pros decide correction stages.
Before any correction or protection work, we follow a few fixed prep steps:
- Full decontamination wash and clay to strip bonded contaminants
- Paint depth measurement to flag thin spots or prior repairs
- A test spot to confirm whether one-step correction clears the defect
When booking correction work anywhere, ask what’s included in the quote, whether a test spot is standard practice, and how the shop preps the surface for protection afterward. Clean prep work directly improves how PPF and ceramic coatings bond and look once installed.
Common mistakes to avoid during one-step correction
Skipping the wash and decontamination step is the most common error. Polishing over embedded contaminants drags grit across the paint and creates new scratches instead of removing old ones.
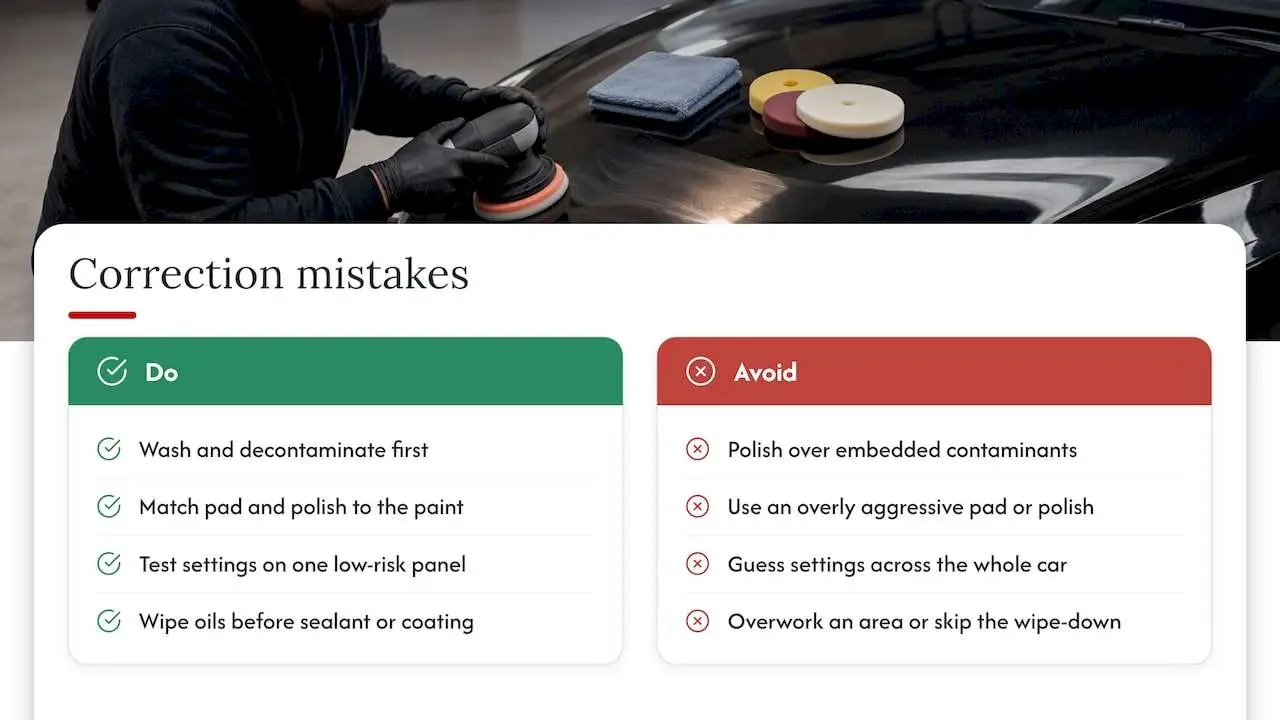
Using too aggressive a pad or polish combination is a close second. Pairing a heavy cutting pad with a strong compound on paint that only needed light correction thins the clear coat for no benefit, and repeated correction over time adds up.
Skipping the test spot entirely is a mistake that compounds the other two. Without it, you’re guessing at settings across the whole car instead of confirming them on one low-risk panel first.
Overworking a single area by running too many passes can generate heat buildup, which risks burning through edges and high points where clear coat is naturally thinner. Stick to the pass count that worked on your test spot.
Finally, skipping the post-polish wipe-down before sealant or coating leaves polishing oils on the surface. Those oils interfere with bonding, so a dedicated panel wipe with isopropyl alcohol solution matters as much as the polishing step itself.
Rushing through any of these steps to save time usually costs more time later, whether that means correcting new swirls or redoing a coating that failed to bond.
When a one-step is the pragmatic choice
For most daily drivers, a one-step is the right call: it clears light swirls fast and preps the surface for protection without the time cost of a full correction. Save multi-step work for show cars or paint with deep, widespread defects.
Pro Tip: Pair a one-step with a quality sealant, ceramic coating, or PPF to make the refreshed finish last longer.
— Jake
PPF Pros services: booking professional correction and protection prep
We handle the full process ourselves: a professional test-spot evaluation, corrective polishing matched to what your paint actually needs, and protection installation that locks in the result. Many of our customers come in for a Full Front PPF install at $2,199 one-off, often preceded by a one-step correction to get the surface ready.
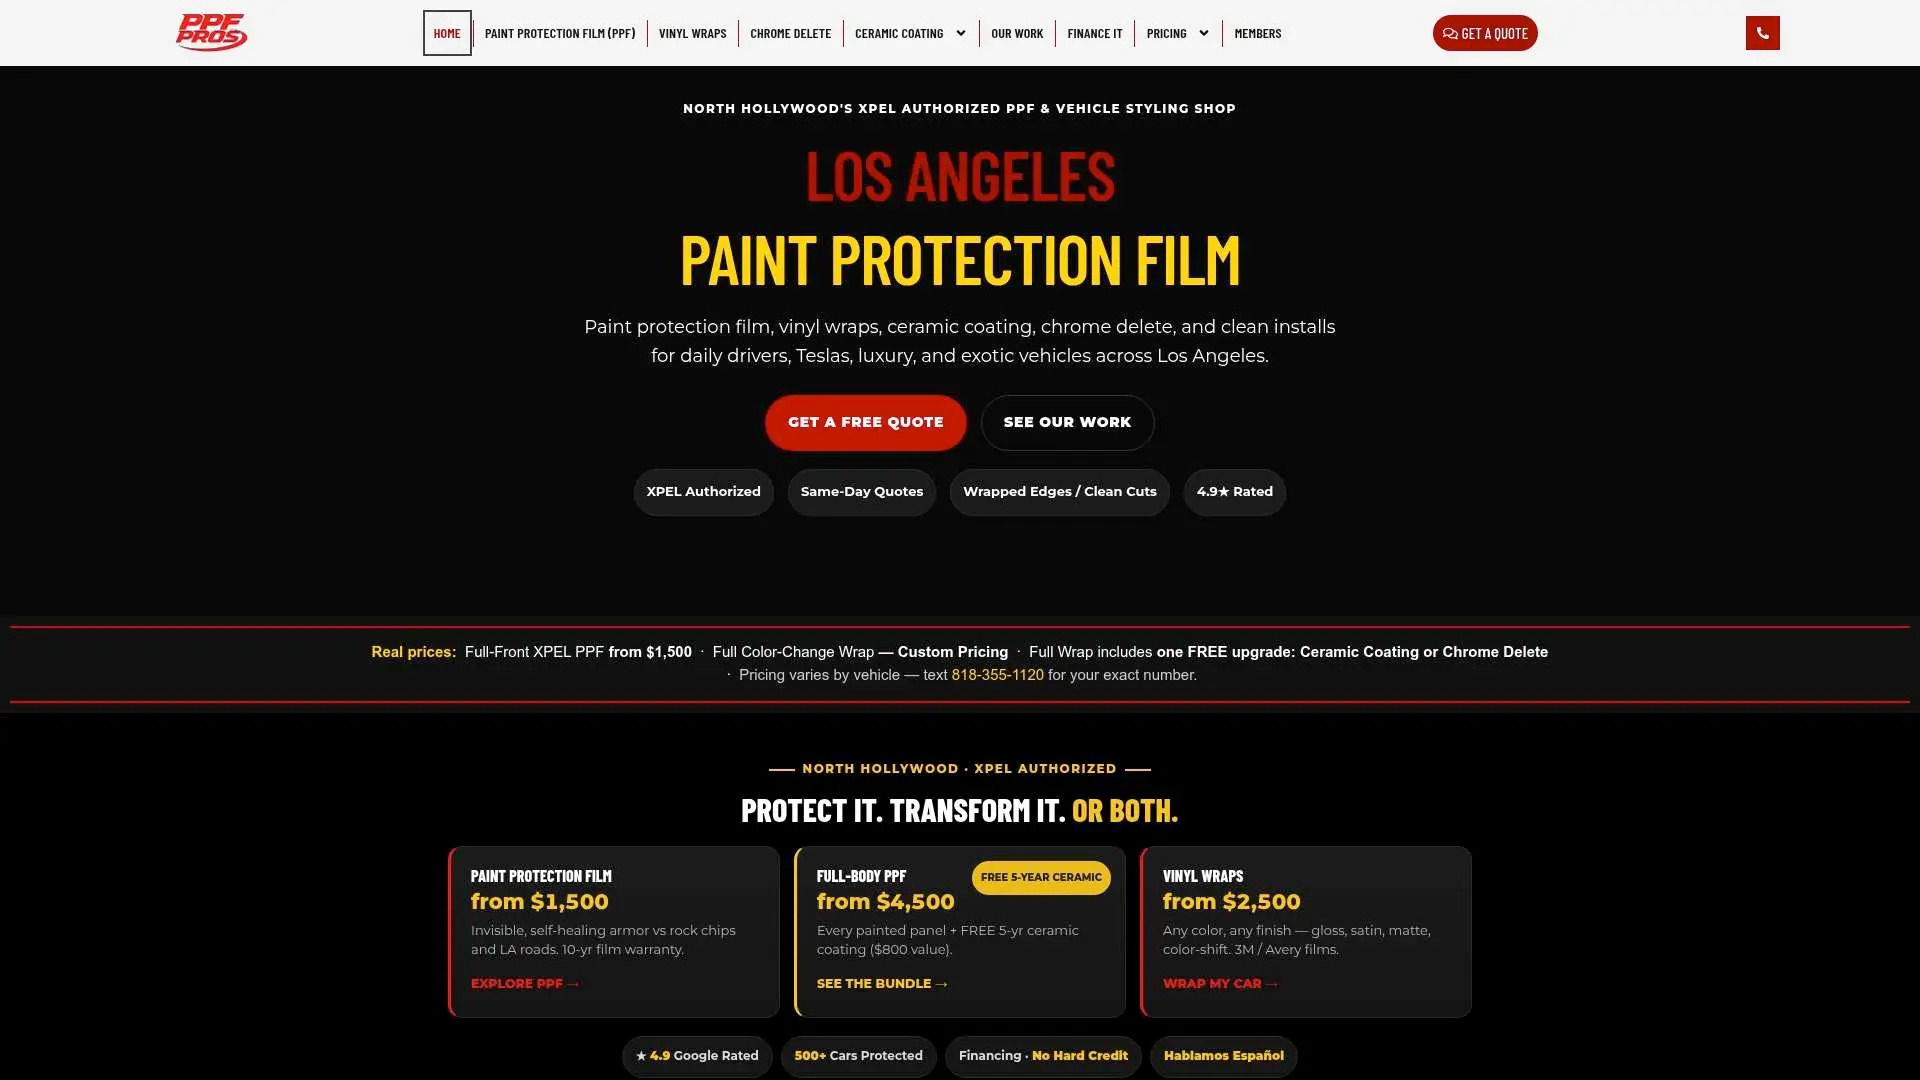
For broader coverage, our Full Vehicle PPF package starts from $4,500 one-off, and our ceramic coating service is priced on request based on your vehicle’s condition. When you request a quote, send photos of the paint, note any known trouble spots, and tell us what outcome you’re after so we can scope the correction and protection work together.
FAQ
What does a one-step paint correction do?
A one-step paint correction uses a single polish and pad pass to remove light swirls, surface haze, and minor oxidation while restoring gloss. It leaves deeper defects like random intermittent deep scratches largely untouched, according to professional detailers.
What is the best one-step paint correction product?
The right choice depends on your paint’s condition rather than one universal product: match an all-in-one polish or single-pass polish to a pad whose aggressiveness fits your defect level. Confirm any product’s real performance with a test spot on your own car before polishing the full vehicle.
How long should a one-step paint correction take?
A single panel typically takes 10 to 20 minutes, and a full sedan usually runs 2 to 4 hours for the correction stage. Heavy contamination, complex panel shapes, or prior bodywork can extend that time.
How much should a one-step paint correction cost?
Pricing varies by shop and by method, whether per panel, per hour, or as a fixed package price, and typical costs vary with vehicle size and paint condition. Always confirm a final price after a test spot, since defect severity changes the scope of work.