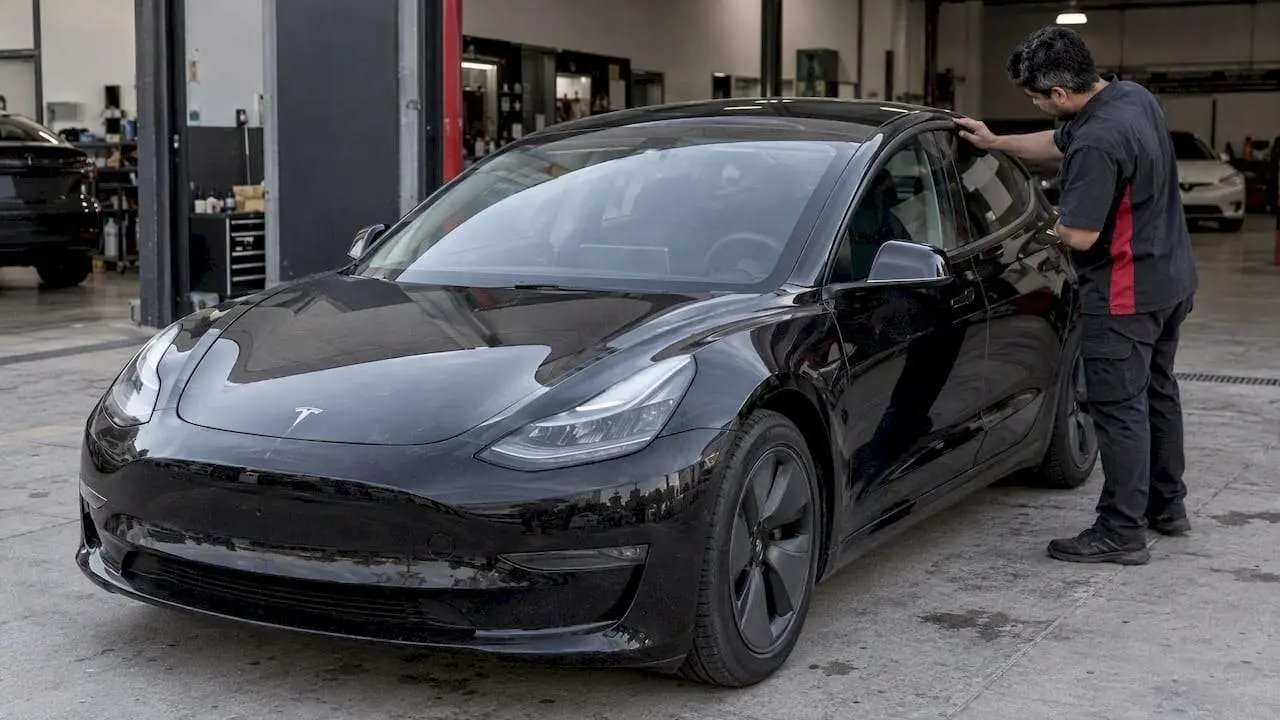
Most Model 3 owners with a tight budget and simple trim goals do fine with a pre-cut DIY vinyl kit, while owners who care about resale value, long-term durability, or warranty coverage should book a professional PPF or wrap installation. Either path changes the chrome accents to black, but curing, washing habits, and edge care determine how long the finish actually lasts. Shops like PPF Pros offer the professional route for owners who want the work done once, correctly.
TL;DR:
- Professional chrome delete installs with high-quality materials like XPEL or 3M and includes edge wrapping, emblem painting, and a warranty, ensuring longer durability.
- DIY kits are cost-effective for simple, flat trim pieces but often show edge lifting and fading sooner, especially on complex curves or recessed badges.
- The most common chrome delete parts are window surrounds, door handles, mirror caps, badges, and small accents, with some requiring partial disassembly or paint for clean results.
- Curing times range from 72 hours to 7 days before washing, and proper aftercare requires hand washing, avoiding high-pressure washes, and applying ceramic coatings cautiously.
- Costs vary: DIY kits are lower, while professional wrap or PPF can be significantly more expensive, with higher costs linked to handle removal, emblem painting, and added protective coatings.
Table of Contents
- DIY kits vs professional wrap vs PPF chrome delete
- Which Model 3 trim pieces typically get blacked out
- What chrome delete costs and how long it takes
- A practical DIY roadmap for chrome delete
- Why owners choose a professional chrome delete
- Curing, washing, and long-term care after installation
- Questions to ask before hiring a professional installer
- Red flags and common scams in chrome delete services
- What to expect during a professional installation
- Is chrome delete worth it for most Model 3 owners?
- Get a professional chrome delete done once, correctly
- Sources
- FAQ
DIY kits vs professional wrap vs PPF chrome delete
“Chrome delete” means replacing or covering a car’s factory chrome trim, typically a vinyl overlay or PPF layer, with a matte or gloss black finish. The three common methods differ in material, skill required, and how they age.
- Pre-cut vinyl kits: thin adhesive vinyl pieces cut to fit Model 3 trim, sold for home installation and priced for a weekend project.
- Professional vinyl wrap: cast or calendared vinyl installed by a trained technician with heat tools, usually with better edge wrapping and a longer-lasting bond.
- PPF chrome delete: a black paint protection film laminate applied by an installer, combining the blackout look with impact and scratch resistance.
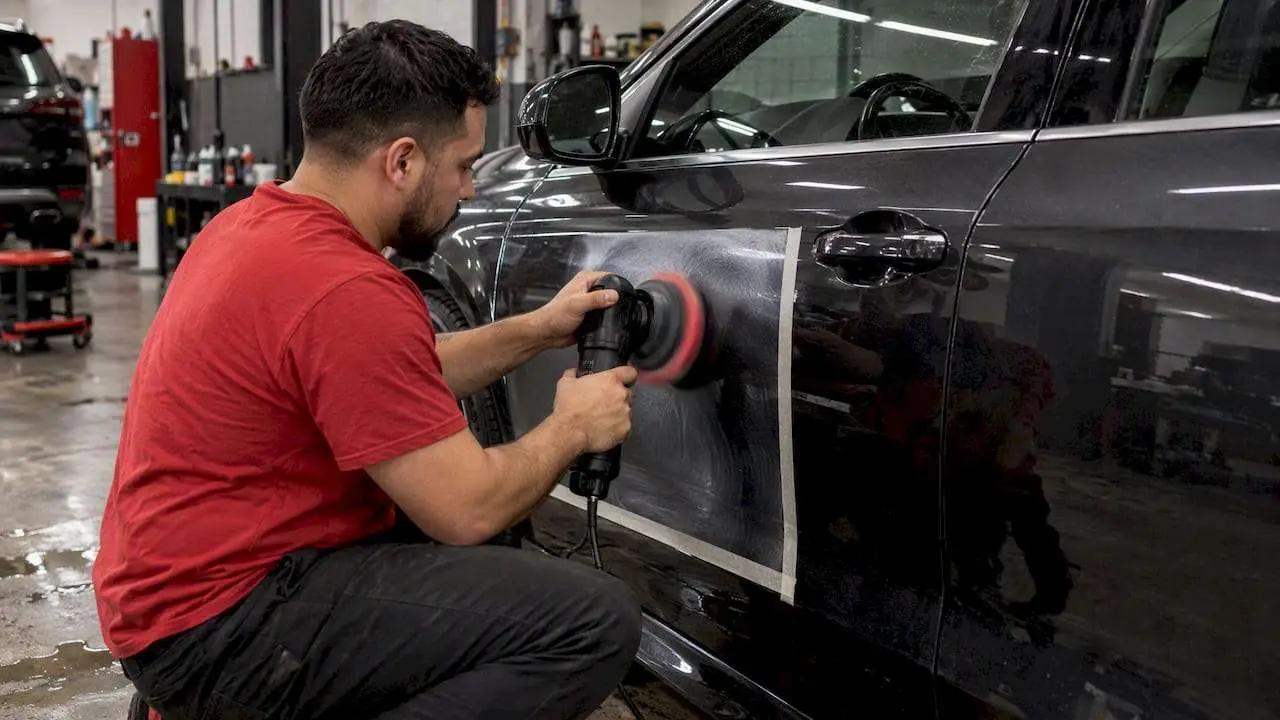
Durability separates these options more than looks do. A well-installed professional wrap or PPF job can hold up for years with minimal lifting, while a DIY kit often starts showing edge lift or fading sooner, especially around curved mirror caps or window corners where the vinyl has to stretch. Pre-cut DIY kits are cost-effective for small trim jobs but tend to underperform on complex curves and hidden edges compared with pro-cut wrap or PPF installed by a trained technician.
Risk to paint is low across all three methods when done correctly, since none of them involve paint removal, but a rushed DIY job can leave adhesive residue or micro-scratches from improper squeegee use. Reversibility favors vinyl over PPF: a vinyl overlay typically peels off cleanly within its service life, while PPF removal is better left to a professional to avoid clear coat damage.
DIY kits make sense for owners testing the look on a budget or working on flat, simple pieces. Professional PPF or wrap is the better call for complex trim, leased vehicles headed back with inspection concerns, or anyone who wants the job to look factory-finished.
Which Model 3 trim pieces typically get blacked out
A standard chrome delete project covers a predictable set of parts, though scope varies by kit or shop package.
- Window surrounds: the chrome strip tracing the door and glass line, often the largest and most visible piece.
- Door handles: frequently blacked out as a set, sometimes requiring handle removal for full edge coverage.
- Mirror caps and trim: curved surfaces that test installer skill more than flat panels do.
- Badges and emblems: the rear “Tesla” script and model badge, which may need paint rather than vinyl for a clean result.
- Camera housings and B-pillars: smaller accents that round out a full blackout look.
Some pieces complicate the job. The rear emblem often has recessed lettering that vinyl cannot wrap cleanly, pushing owners toward a painted or plasti-dip finish instead. Molded trim pieces with tight channels or plastic clips may require partial disassembly to get a professional edge, which is one reason shop quotes vary.
Owners of newer Model 3 units built with factory black trim have less to do. Drive Tesla reported that Tesla began producing Model 3 units with factory black trim at some plants, meaning certain cars already come with the blacked-out look and skip the aftermarket step entirely.
What chrome delete costs and how long it takes
Budgets split sharply between DIY and professional work, and so does the time commitment.
- DIY kits: typically a low-to-mid price bracket for a full set of pre-cut pieces, sold through third-party vinyl retailers rather than Tesla.
- Professional vinyl wrap: priced per job based on trim complexity and labor, generally higher than a DIY kit but including proper heat-forming and edge wrapping.
- PPF chrome delete: priced similarly to or above vinyl wrap given the material cost, often bundled into a broader PPF package.
A DIY install usually takes an afternoon, with most of that time spent on prep and careful edge tucking rather than the application itself. A professional job moves faster per piece because of experience and proper tools, though shops often build in a curing window before the car is ready for pickup.
Several factors push costs up on either path. Door handle removal for full coverage, painting the rear emblem instead of wrapping it, and adding a ceramic coating on top of PPF all add labor and material costs. Owners comparing quotes should ask whether handle removal and emblem work are included or billed separately.
A practical DIY roadmap for chrome delete
Owners comfortable with detail work can get a clean result with the right prep and patience.
Prep:
- Deep clean the trim area and remove any wax or sealant residue.
- Wipe surfaces with isopropyl alcohol to kill any remaining oils.
- Work in a temperature-controlled space, since vinyl adheres poorly in cold conditions.
- Remove handles or trim pieces where accessible for cleaner edge coverage.
Tools: a squeegee, a heat gun, a sharp trim blade, microfiber towels, and isopropyl alcohol cover most of the job.
- Align the cut piece against the panel before peeling any backing.
- Tack one edge down first to anchor the piece.
- Apply heat while stretching the vinyl into curves and contours.
- Trim excess material with a sharp blade, cutting away from the panel.
- Tuck and seal edges firmly, using extra heat to set the adhesive.
The most common failure modes are overstretching the vinyl until it thins and discolors, and rushing the edge seal, which invites lifting within weeks. Both come down to patience more than skill.
Pro Tip: Work in small sections and reheat an edge if it looks like it is lifting rather than pressing harder, since cold vinyl cracks before it bonds.
Why owners choose a professional chrome delete
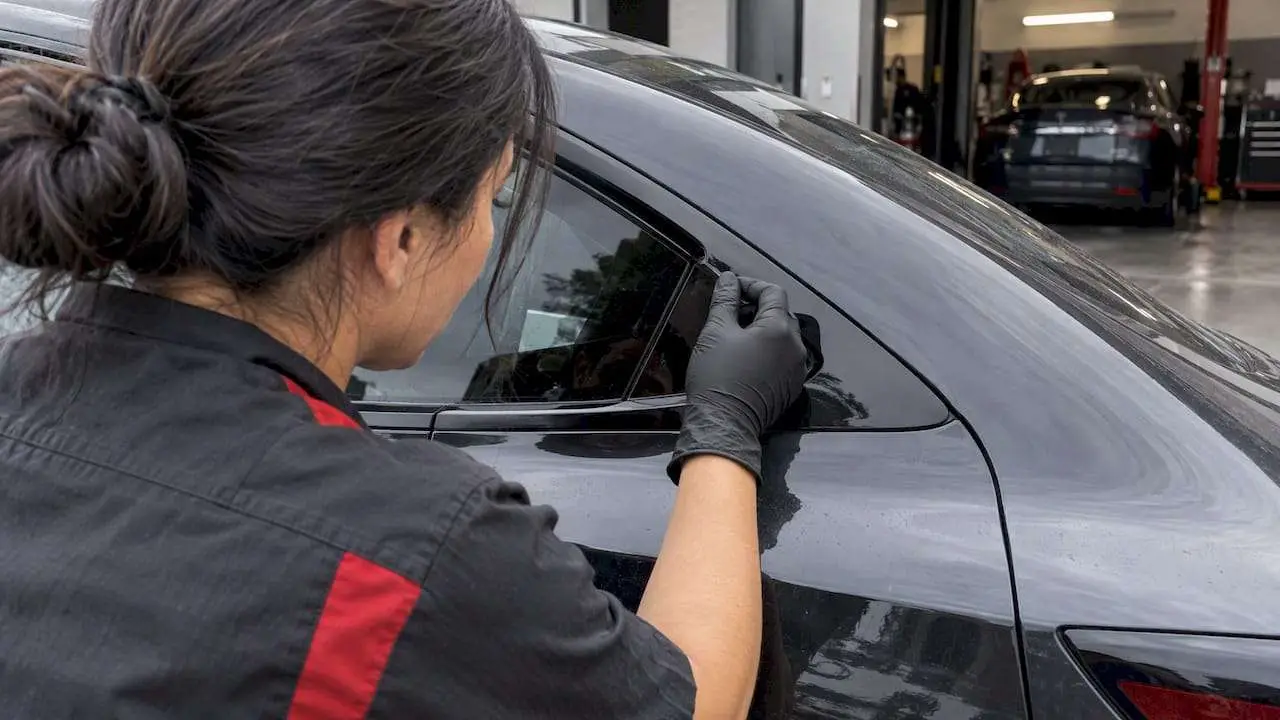
A professional installation covers more than swapping chrome for black. A shop job typically includes precision-cut pieces fitted to each panel, fully wrapped edges instead of butt seams, emblem painting when vinyl will not wrap cleanly, and the option to add a ceramic coating over PPF for extra protection.
Quality signals worth checking before booking:
- Material brand: installers using XPEL or 3M Protection Wrap film are working with products backed by documented care and warranty guidance.
- Authorization status: an XPEL Authorized installer has met the brand’s training requirements, which matters for warranty claims.
- Portfolio and reviews: photos of completed edge work and a public review history, such as a shop’s 4.9-star rating, give a sense of consistency.
- Warranty terms: a written warranty on both material and labor protects against early lifting or discoloration.
Professional work earns its price on complex parts like mirror caps and recessed badges, and for owners who plan to sell or trade in the car and want the trim to look original rather than patched. A professional local shop with expertise in XPEL installation works on Tesla models alongside luxury and exotic vehicles, incorporating chrome delete into broader PPF and wrap offerings rather than treating it as an isolated add-on.
Curing, washing, and long-term care after installation
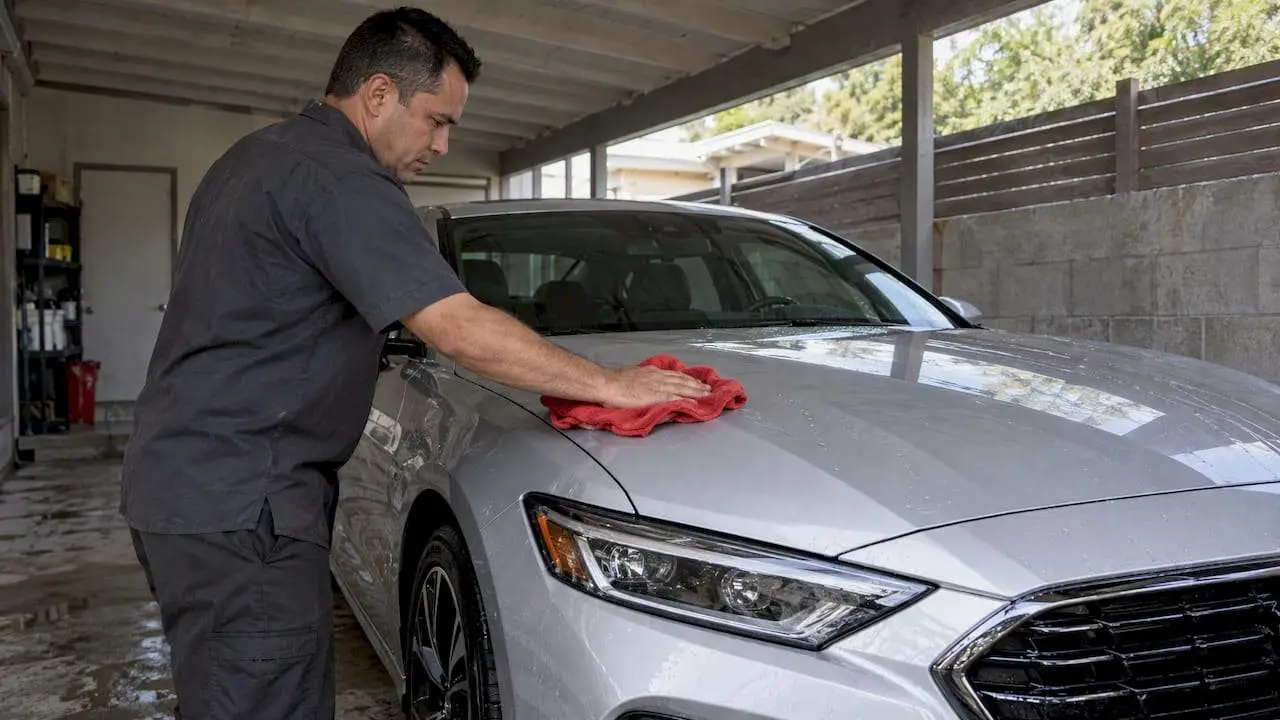
The first week after installation matters more than any step that follows. 3M recommends waiting 72 hours before washing a newly installed protection film, while XPEL advises a full 7-day curing period before the film reaches full adhesion. During that window, avoid automated washes, high-pressure spray, and anything that flexes the edges.
Washing and maintenance:
- Hand wash with a pH-neutral shampoo once the cure period ends.
- Avoid rotating-brush car washes, which can dull or lift film edges over time.
- Use rinse-free wash products or a ceramic boost spray between full washes to extend the finish.
- Park indoors or in shade when possible to reduce UV stress on the material.
A single automated wash will not ruin a fresh installation, but repeated exposure to rotating brushes increases the risk of swirl marks and edge lifting, which is why hand washing remains the safer long-term habit.
If an edge starts lifting or a section discolors, contact the installer promptly rather than trying to reseal it at home. For guidance on removing ceramic coating safely without stripping your clear coat, it’s best to follow professional advice. Most shop warranties cover this kind of defect only when the owner has followed the recommended care routine, and a Tesla detailing service that understands PPF-specific maintenance can flag early issues before they spread.
Questions to ask before hiring a professional installer
A short conversation before booking saves most owners from a disappointing result.
Ask what material the shop uses and whether they are an authorized installer for that brand, since authorization usually comes with training standards and warranty backing. Ask to see photos of edge work specifically, not just finished cars from a distance, since lifting problems start at the edges. Ask how emblem and badge work is handled: painted, vinyl-wrapped, or excluded entirely, since this is a common scope gap between quotes.
Confirm the warranty terms in writing, including what voids coverage and how long it lasts. Ask about the curing period and what washing restrictions apply afterward, since this affects how soon you can drive the car normally. Finally, ask whether door handle removal is included in the quote or billed as an add-on, since this single step accounts for a meaningful price difference between otherwise similar quotes.
A shop that answers these questions specifically, rather than with general reassurances, is usually one that has done the work enough times to know where it goes wrong.
Red flags and common scams in chrome delete services
A few warning signs show up repeatedly in low-quality chrome delete work. A price that seems far below every other quote for the same scope often means thinner vinyl, no edge wrapping, or an installer skipping handle removal without telling you. Be cautious of shops that cannot show edge-detail photos of past work, since that is exactly where cheap installations fail first.
Avoid any installer unwilling to put warranty terms in writing or who claims a warranty but cannot explain what voids it. A shop pressuring same-day payment in full before any work begins, with no deposit structure or written estimate, is worth a second look. Watch for vague material claims like “premium vinyl” with no brand named, since reputable shops are specific about using products like XPEL or 3M.
Finally, be wary of installers who discourage questions about process or rush through the consultation. A legitimate shop expects owners to ask about curing time, materials, and scope, and treats those questions as normal rather than an inconvenience.
What to expect during a professional installation
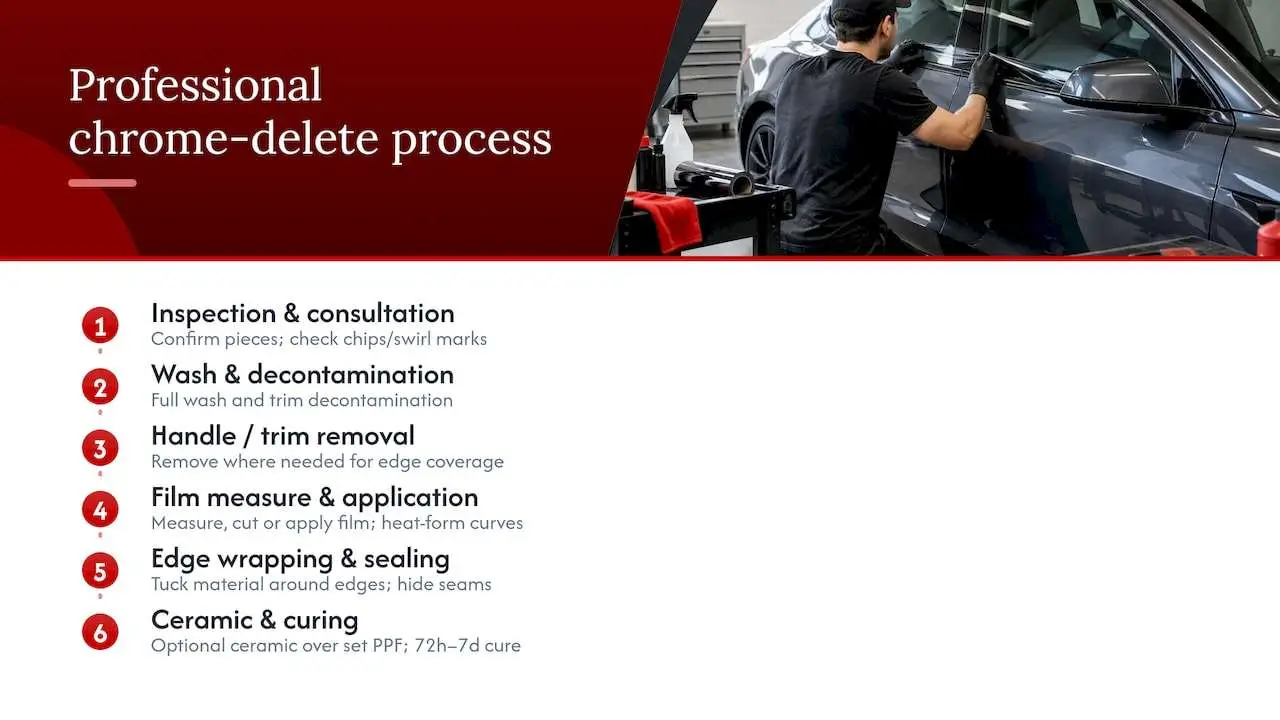
A typical professional chrome delete follows a predictable sequence from drop-off to pickup. The process starts with an inspection and consultation, where the installer confirms which pieces are covered, checks for existing chips or swirl marks, and discusses handle removal or emblem painting if needed.
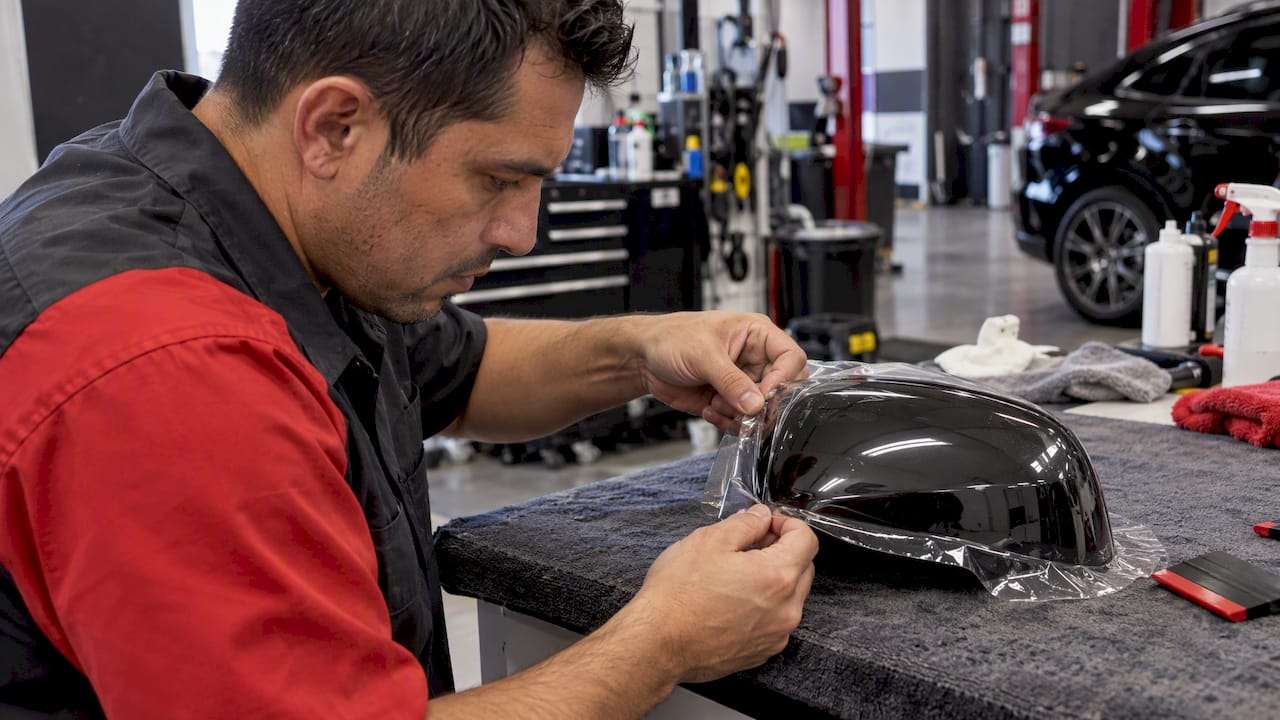
Next comes surface preparation: a full wash and decontamination of the trim areas, followed by removal of handles or trim pieces where full edge coverage requires it. The installer then measures and cuts or applies pre-cut film or vinyl to each panel, using heat tools to form curves around mirrors and handles.
Edge wrapping and sealing follow, where the installer tucks material around panel edges rather than leaving a visible seam, the step that separates a professional job from a DIY one. If ceramic coating is added over PPF, that application happens after the film has set.
Most shops build in a curing period before the car is driven normally and washed, consistent with the 72 hour to 7 day window manufacturers recommend. Total time in the shop varies with how many pieces are involved and whether handle removal or emblem painting adds extra steps.
Is chrome delete worth it for most Model 3 owners?
Chrome delete is worth it for owners who drive the car daily and want a cohesive look, or who plan to keep the car long enough to enjoy the finish. It is a weaker case for anyone planning to sell soon and unsure buyers will value it. The real trade-off is simple: DIY saves money upfront, professional work saves you from redoing it in a year.
— Jake
Get a professional chrome delete done once, correctly
This shop handles chrome delete alongside paint protection film, vinyl wraps, and ceramic coating for Tesla owners in the Los Angeles area, employing XPEL materials and wrapped-edge installation rather than butt-seam shortcuts. If you want the badges painted, the handles properly removed, and a warranty you can actually read, a same-day quote from the shop beats guessing at a DIY kit’s limits.
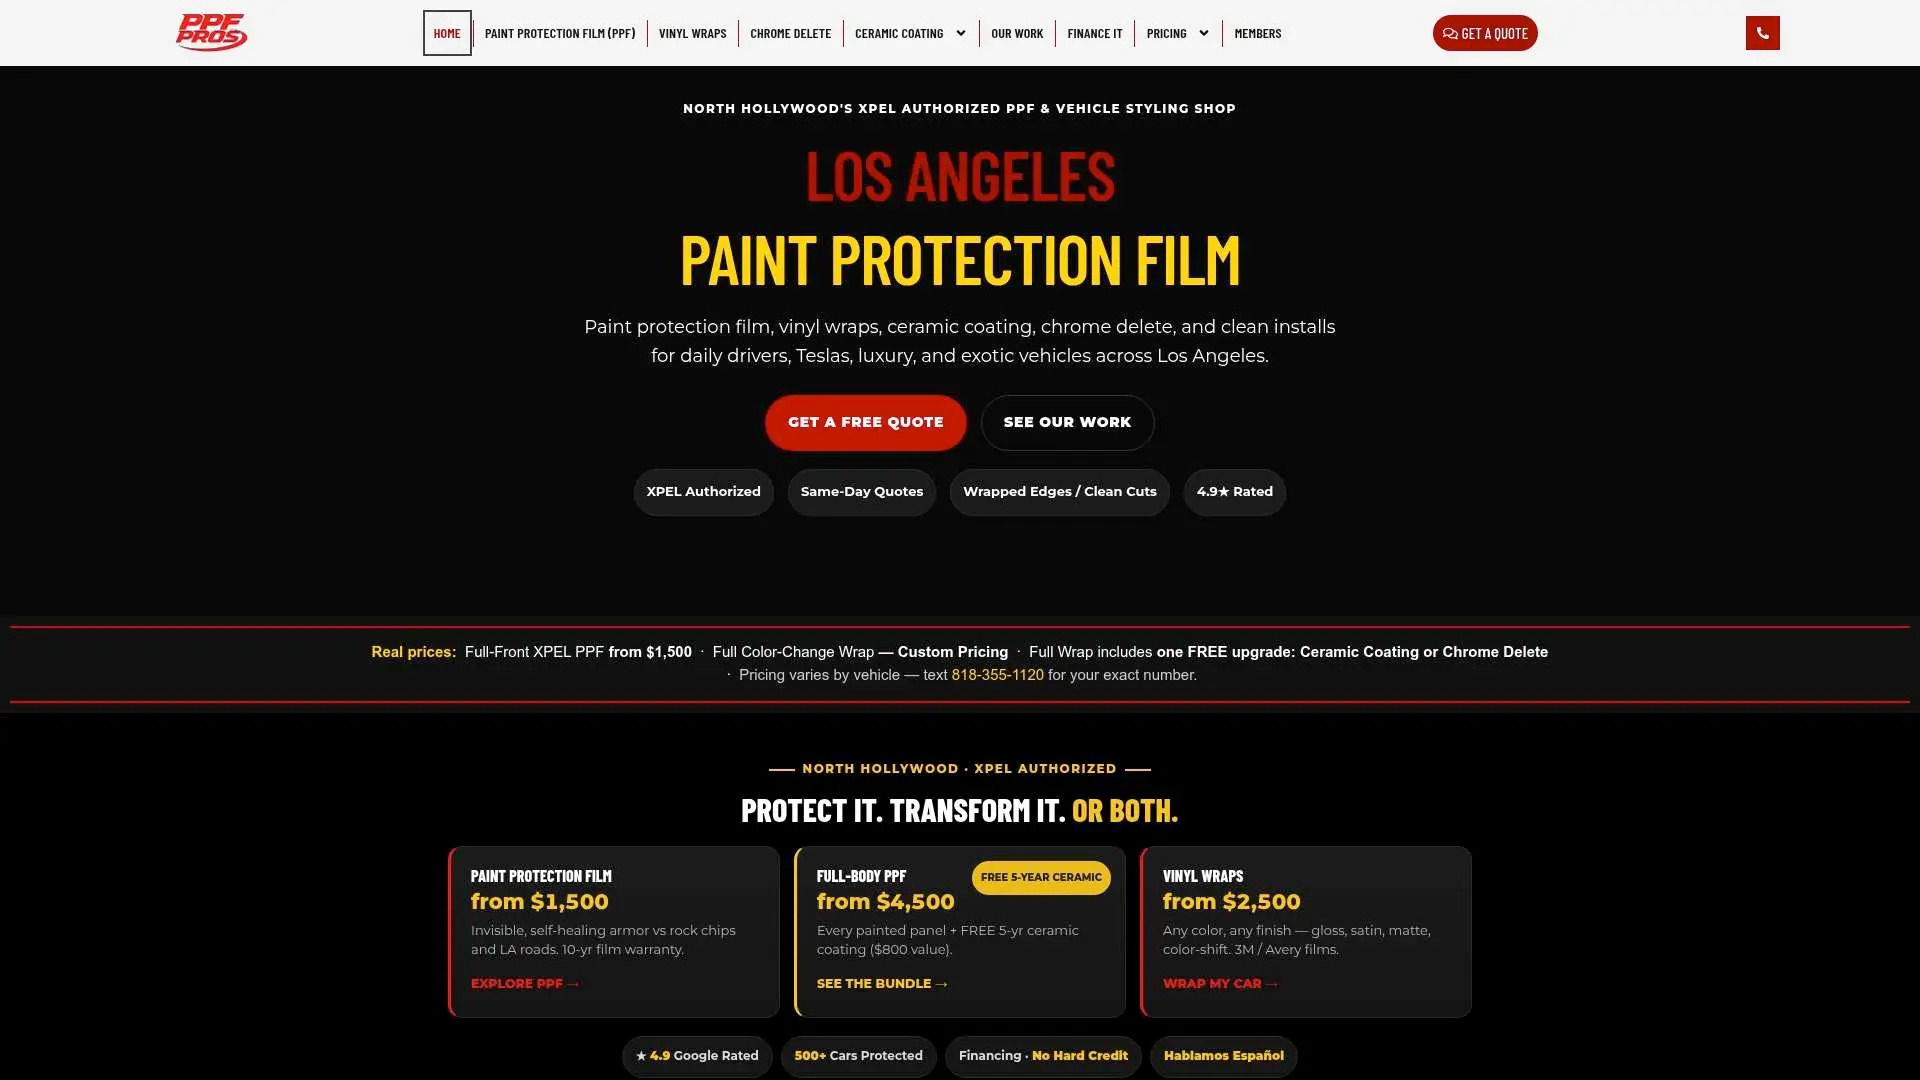
Browse paint protection film options or see chrome delete and detailing services to request a quote for your Model 3.
Sources
- 3M Protection Wrap Film — Vehicle maintenance FAQ (rev. A)
- PPF maintenance: Washing and care guide after installation — XPEL
- Tesla Model 3 factory black trim (chrome delete) and more now in production Update – Drive Tesla
FAQ
Does Tesla offer chrome delete from the factory?
Tesla does not sell chrome delete as a customer option, but some Model 3 units have shipped with factory black trim instead of chrome. Drive Tesla reported this production change at certain plants, so whether your car already has it depends on when and where it was built.
How much does a Model 3 chrome delete cost?
Pricing depends heavily on whether you choose a DIY kit, professional vinyl wrap, or PPF, and on how many pieces are included. PPF Pros publishes pricing for related services like Full Front PPF at 2199 USD one-off, with chrome delete pricing available on request through the services page.
Can I wash my car right after a chrome delete?
No, both DIY and professional installations need a curing window before washing. 3M recommends waiting at least 72 hours, while XPEL recommends a full 7 days for PPF to fully cure before contact with water or cleaning products.
What does chrome delete mean for a car?
Chrome delete means replacing or covering a vehicle’s factory chrome trim, typically around windows, handles, and mirrors, with a black finish using vinyl or PPF. It changes the exterior appearance without altering the underlying parts, and it can be done as a DIY project or by a professional installer.
Is professional chrome delete better than a DIY kit?
Professional installation generally lasts longer and finishes cleaner around curves and edges because technicians use heat tools and wrap edges fully rather than leaving seams. A DIY kit costs less and works fine for flat, simple trim, but tends to show lifting sooner on complex pieces like mirror caps or recessed badges.