
Yes, modern automotive cast vinyl film, including 3M Wrap Film Series 2080 and 1080 or Avery Dennison cast films, can wrap window trim, including full chrome delete jobs. Plastic trim generally accepts these films once properly prepped, though textured or metal finishes take more skill. Small accent pieces are reasonable DIY projects, but full chrome delete, textured films, or high-value vehicles usually call for a professional install.
TL;DR:
- Cast automotive films like 3M Series 2080 and Avery Dennison are best suited for wrapping window trim, offering durability and conformability on complex curves.
- Proper surface preparation involving cleaning, clay bar treatment, and alcohol wiping is critical to ensure long-lasting adhesion and prevent edge lifting or bubbles.
- DIY wrapping is feasible for small, flat accent pieces but high-value or complex jobs such as chrome delete and textured finishes are better handled by professionals.
- The long-term warranty for 3M Series 2080 on vertical trim is up to eight years, but improper prep or incorrect application can void this coverage.
- Routine maintenance involves gentle washing, avoiding abrasives, and re-heating early lift or bubbles with a heat gun to extend the wrap’s lifespan.
Table of Contents
- What window trim wrap is and where it fits
- Materials that work best for window trim and why
- Can you wrap plastic trim, and what prep does it need
- DIY versus professional: how to decide
- Step-by-step overview: wrapping window trim
- Tools, consumables, and setup for the job
- Cost, expected lifespan, and warranty expectations
- Maintenance, common problems, and how to remove it later
- Why choose a pro: what a professional install adds
- An honest take on window trim wrap
- Booking a trim wrap or chrome delete with PPF Pros
- Sources
- FAQ
What window trim wrap is and where it fits
Window trim wrap is a layer of adhesive-backed vinyl film applied directly over the factory trim pieces around a car’s windows, whether that trim is chrome, painted plastic, or brushed metal. It differs from a full-vehicle wrap in scope (a few small panels instead of the whole body) and from paint protection film in purpose: PPF is built to absorb rock chips and abrasion, while trim wrap is primarily cosmetic with some minor surface shielding as a side benefit.
The most common outcome owners chase is the chrome delete look: swapping bright chrome trim for gloss black, matte black, or carbon-textured film to give the car a blacked-out, more aggressive appearance. Some owners go the other direction, adding a chrome or brushed-metal film for a custom accent instead of removing shine.
Reasons owners choose wrap over other options tend to repeat:
- Style change without permanent modification, since film can be removed later.
- Lower cost per panel compared with powder coating or repainting trim.
- A degree of surface protection against minor scuffs and UV fading.
- Reversibility, which matters for leased vehicles or resale plans.
Paint or PPF makes more sense when the trim itself is damaged, pitted, or corroded underneath, since film will not fix or hide structural surface problems for long. It also makes sense when an owner wants a truly permanent finish rather than something that will eventually need replacement.
Materials that work best for window trim and why
Trim wrap lives or dies on film choice. Dual-cast, automotive-grade films are the standard for a reason: they stretch and conform around curves and channels without snapping back, their adhesives are engineered for long-term automotive exposure, and most include air-release channels that let installers push out trapped air during application. Calendared vinyl, the cheaper film used for signs and short-term graphics, does not hold up on compound curves or in direct weather the way cast film does.
Within the cast category, the two most common choices are 3M Wrap Film Series 1080 and Series 2080. Series 2080 is more conformable than 1080 and carries an improved vertical-application warranty of up to eight years, according to 3M’s own installation guidance.
3M Wrap Film Series 2080 offers a long-term warranty on vertical applications, according to 3M’s 2080 installation FAQ, which matters directly for window trim since most trim runs vertically along the door frame and pillar.
Avery Dennison also produces cast automotive film in comparable gloss, matte, and specialty finishes, and shops that stock both 3M and Avery lines typically choose based on the specific color or texture a customer wants rather than a strict quality gap between the two brands.
A few handling details change depending on finish:
- Gloss films from 3M ship with a removable protective layer meant to stay on during installation and come off only right before post-heating, which prevents surface impressions from tools.
- Carbon-fiber-textured and metal-look finishes are more sensitive to scratches and stretch marks during install than flat matte or gloss colors.
- Chrome and metallic films have a lower maximum stretch limit, generally around 130%, which changes how installers approach tight curves and channels.
- Wetting solutions are not recommended for these films because their air-release channels are designed for dry application, and using a wet-apply method can affect the adhesive bond.
One warning worth taking seriously: printed film or non-approved overlaminates on top of these base films can void the manufacturer’s warranty entirely. If a shop or DIY kit advertises a custom print over 1080 or 2080, ask directly whether that combination is still covered under 3M’s material warranty before committing.
Can you wrap plastic trim, and what prep does it need
Plastic trim accepts vinyl wrap without issue as long as the surface itself is sound. Film needs a stable, clean base to bond to, so trim that is already cracked, oxidized, or peeling from age needs repair or refinishing before any wrap goes on top. Wrapping over a failing surface just locks in the problem and shortens the life of the film.
The prep sequence that matters most, drawn from the same handling notes 3M publishes for its chrome and metal finishes, runs in order:
- Wash the trim with a wax-free automotive soap to strip road grime and old protectants.
- Clay bar the surface to lift embedded contamination that washing alone won’t remove.
- Wipe with a solvent cleaner to cut any remaining oils or silicone residue.
- Finish with a 70/30 isopropyl alcohol and water wipe, then let the panel dry completely before applying film.
Pro Tip: Skip the IPA wipe and you’re gambling with adhesion, since even a light film of wax or polish residue can cause the vinyl to lift at the edges within weeks.
For trim with deep channels, complex contours, or recessed grooves where standard adhesive struggles to grip, 3M’s Primer 94 helps the film bond in spots where a flat surface application wouldn’t hold. If a piece has severe pitting, flaking clear coat, or trim that’s separating from its mounting clips, that’s usually a sign it should be repaired or replaced rather than wrapped.

DIY versus professional: how to decide
The decision comes down to four questions: how complex is the shape, how forgiving is the finish, how much is the car worth, and how much does a manufacturer warranty matter to you.
- Check the shape. Flat or gently curved trim pieces are far more forgiving for a first-time installer than tight window channels or compound curves around pillars.
- Consider the finish. Matte and gloss black hide small mistakes better than chrome, carbon texture, or metallic finishes, which show every scratch and stretch mark.
- Weigh the vehicle’s value. A cheap daily driver tolerates a learning curve better than a luxury or exotic car where a bad wrap job affects resale value.
- Decide how much the warranty matters. DIY installs typically carry no material warranty coverage if something goes wrong, while a shop install backed by 3M or Avery materials often does.
DIY makes sense for small, flat accent pieces on a car you’re not worried about resale value for, especially if you already own decent tools and have practiced on scrap film first. Full chrome delete jobs, textured or metallic finishes, and anything on a high-value vehicle are better left to a shop with experience on that specific film category.
If you’re shopping quotes, ask a potential installer what film brand and series they use, whether they wrap or remove trim pieces before wrapping (removal generally gives a cleaner result), and what warranty applies to the labor versus the material. A quote that’s dramatically cheaper than others in your area, or one where the shop won’t name the film they’re using, is a red flag worth walking away from.
Step-by-step overview: wrapping window trim
The actual application follows a fairly consistent sequence whether you’re doing one accent piece or a full chrome delete. The steps are simple to describe and genuinely difficult to execute well, which is where most DIY attempts run into trouble.
- Measure and pre-cut. Measure each trim piece and cut film with margin to spare. For complex shapes like window surrounds, pre-cut templates reduce waste and guesswork.
- Prep the surface. Wash, clay, solvent-clean, and finish with a 70/30 IPA wipe as described earlier. Remove trim pieces from the car when possible rather than wrapping them in place, since this produces cleaner edges and avoids masking off surrounding paint.
- Dry-fit and align. Lay the film over the piece without removing the adhesive liner first, and use masking tape to mark alignment points so you know exactly where the film should land once you commit.
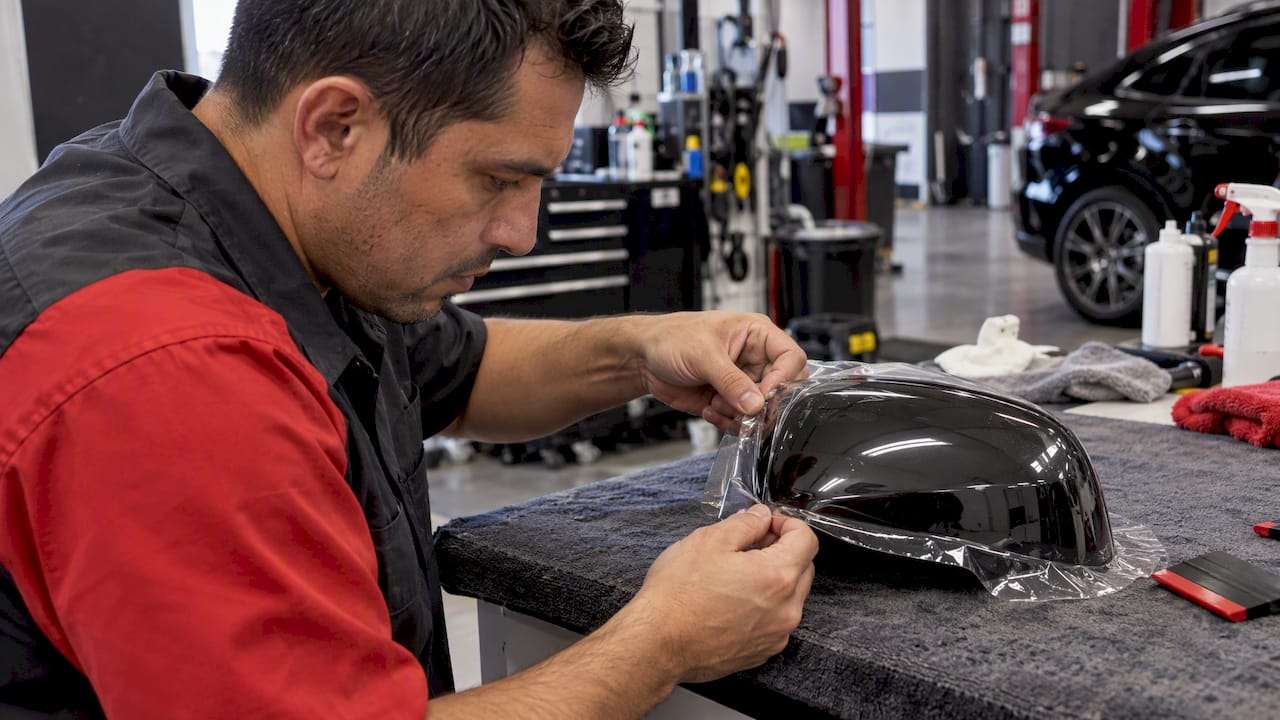
- Apply and squeegee. Peel back a small section of the liner, position the film, and squeegee outward from the center to push air toward the edges. A squeegee with a felt or PTFE-covered edge prevents scratching, which matters even more on gloss or metallic finishes.
- Use knifeless tape on complex edges. For trim with tight inside corners or overlaps, knifeless tape lets you cut a clean line without a blade touching the film’s face, reducing the risk of scoring the surface underneath.
- Heat and conform. Use a heat gun, never an open flame or torch, to soften the film so it stretches around curves and into recesses. 3M’s own installation guidance is explicit on this point: heat guns only.
- Post-heat. Once the film is fully conformed and squeegeed, apply a final, even pass of heat across the whole piece to relax the vinyl and lock in the shape. On gloss films, remove the protective surface layer before this step, not after, since post-heating over that layer can leave a texture imprint.
- Trim and tuck edges. Wrap excess film around edges and into recesses where possible rather than cutting flush on a visible seam, which gives a cleaner, more finished look and better resists lifting.
- Final inspection. Reheat and re-squeegee any spot where you can still see squeegee marks or faint air pockets. Let the piece sit for 24 to 48 hours and check again for any edges starting to lift before considering the job finished.
Pro Tip: Do a test run on a piece of scrap film and a spare plastic surface before touching your actual trim, since heat gun distance and squeegee pressure are almost impossible to get right on the first try without practice.
Total time for a single set of window trim pieces on a sedan runs from a couple of hours for simple flat accents to a full day for a complete chrome delete with tight channels and multiple pillars, and that gap is almost entirely explained by how much time prep and edge work take compared with the actual film application.
Tools, consumables, and setup for the job
A basic DIY kit covers the essentials: a roll of automotive cast vinyl, a squeegee, a heat gun, a sharp blade or snap-off knife, and a roll of knifeless tape for clean edges. That’s enough to wrap a handful of flat or gently curved trim pieces.
Shops working on chrome delete jobs and metallic finishes lean on more specialized gear:
- Felt or PTFE-covered squeegees and suede-wrapped sleeves that glide over gloss and metallic film without scratching the surface.
- Rapid rollers for pressing film firmly into channels and tight recesses without leaving squeegee marks.
- A tool sometimes called VCAT-2, designed to help seat film cleanly around trim edges and moldings.
- Pre-cut templates for common trim shapes, which save time and reduce material waste on repeat jobs.
- 3M Primer 94 on hand for pieces with deep channels or complex geometry where standard adhesive alone won’t hold.
The soft-edge squeegees and protective sleeves aren’t a luxury add-on. On 2080 or any metallic-look film, a standard hard-edge squeegee can leave fine scratch marks that are invisible on matte black but glaringly obvious on a mirror-finish chrome delete piece. That difference in tooling is a real part of what separates a shop-grade result from a DIY one.
Basic safety notes apply regardless of skill level: keep the heat gun moving rather than holding it in one spot, since sustained heat can scorch plastic trim, and always cut away from your hand and any exposed skin when using a blade near tight edges.
Cost, expected lifespan, and warranty expectations
DIY kit prices depend mostly on brand, roll width, and finish. Chrome, carbon-texture, and specialty metallic films cost more per foot than standard matte or gloss black, and kits that bundle a squeegee, heat gun, and knifeless tape cost more than film alone.
Professional pricing scales with the number of panels, how complex the trim shapes are, and whether the job includes edge-wrapping pieces removed from the car versus wrapping them in place. A full chrome delete across every window on a sedan costs more in labor than a couple of accent pieces, simply because of the extra prep, removal, and edge work involved.
3M’s own guidance states that Series 2080 carries a long-term warranty on vertical applications, according to 3M’s installation documentation, and horizontal surfaces exposed to more direct sun and weather typically wear faster than vertical trim.
A few things reliably void that manufacturer warranty:
- Applying a printed film or non-3M-approved overlaminate over the base film without confirming compatibility first.
- Skipping the recommended surface prep sequence, since inadequate cleaning is one of the most common causes of early adhesive failure.
- Using a heat source other than a heat gun, or applying heat incorrectly during post-heat.
Whether DIY or professional, the film itself and how well it was installed matter more to long-term cost than the sticker price of the initial job, since a poorly prepped or poorly heated install often needs redoing well before its expected lifespan runs out.
Maintenance, common problems, and how to remove it later
Routine care is simple: wash with a mild detergent and a soft cloth, and skip abrasive polishes or high-heat buffers, which can lift edges or dull the film’s finish over time.
Small problems are usually fixable without starting over:
- Lifting edges can often be reheated and re-squeegeed back down if caught early.
- Fish-eyes or small air bubbles respond to a light reheat and a fresh pass with the squeegee to push the trapped air toward an edge.
- Scratches on gloss or metallic film are harder to fix in place and usually mean replacing that panel’s film rather than patching it.
When it’s time to remove the wrap, whether the film is at the end of its life or you’re changing the look, 3M recommends professional removal using heat to soften the adhesive along with an adhesive cleaner, such as a citrus-based product, to lift any residue left behind. Guidance from Diamond Brite on cleaning plastic trim covers similar residue removal steps for plastic surfaces specifically.
Pro Tip: Watch closely during removal for any sign of paint lifting along with the film, since that usually points to a prep issue at install time rather than anything wrong with the removal process itself.
If the underlying plastic trim shows cracking or heavy pitting once the old film comes off, replacing the trim piece is a better long-term move than wrapping over damage a second time.
Why choose a pro: what a professional install adds
A professional shop can provide expert installation for vinyl wraps, chrome delete work, and ceramic coating using premium 3M and Avery Dennison materials, often backed by positive customer feedback reflecting experience with a range of vehicles, from daily drivers to luxury and exotic cars.
A trained installer brings a few concrete advantages over a first-time DIY attempt: correct film selection for the finish and shape involved, the specialized tools covered earlier that protect gloss and metallic surfaces from scratches, and the judgment to manage warranty terms correctly, including avoiding non-approved overlaminates that can void manufacturer coverage.
Pros also limit risk in ways that are hard to replicate without experience: consistent surface prep across every panel, careful post-heat timing that avoids surface impressions, and edge-wrap technique that holds up longer than a flush-cut seam.
Before booking a shop estimate, bring a short checklist: which film brand and series they use, whether panels are removed from the car for wrapping, what warranty covers labor versus material, and examples of chrome delete work on a similar vehicle, like the shop’s Subaru chrome delete or Audi chrome delete portfolio pages.
An honest take on window trim wrap
The most overrated part of this whole topic is the idea that film choice alone determines the result. Plenty of DIYers buy premium 3M or Avery film, then lose the job entirely on prep, because the surface wasn’t actually clean when the vinyl went down. Adhesive doesn’t care how good the film is if it’s bonding to a thin layer of wax or road grime.
The advice that gets underweighted is the honest assessment of finish sensitivity. Matte black hides a mediocre install. Chrome and metallic finishes expose every mistake, which is exactly why they’re the category where paying for a professional install makes the most financial sense, even for someone who’s comfortable with basic wrap work.
If you take one thing from all of this: spend your effort on prep and finish selection before you spend it comparing film brands, since that’s where jobs actually succeed or fail.
— Jake
Booking a trim wrap or chrome delete with PPF Pros
If you’d rather skip the learning curve, PPF Pros installs chrome delete and vinyl trim wraps using premium 3M and Avery Dennison materials, with the edge-wrap quality and warranty handling that a DIY kit can’t offer on its own.
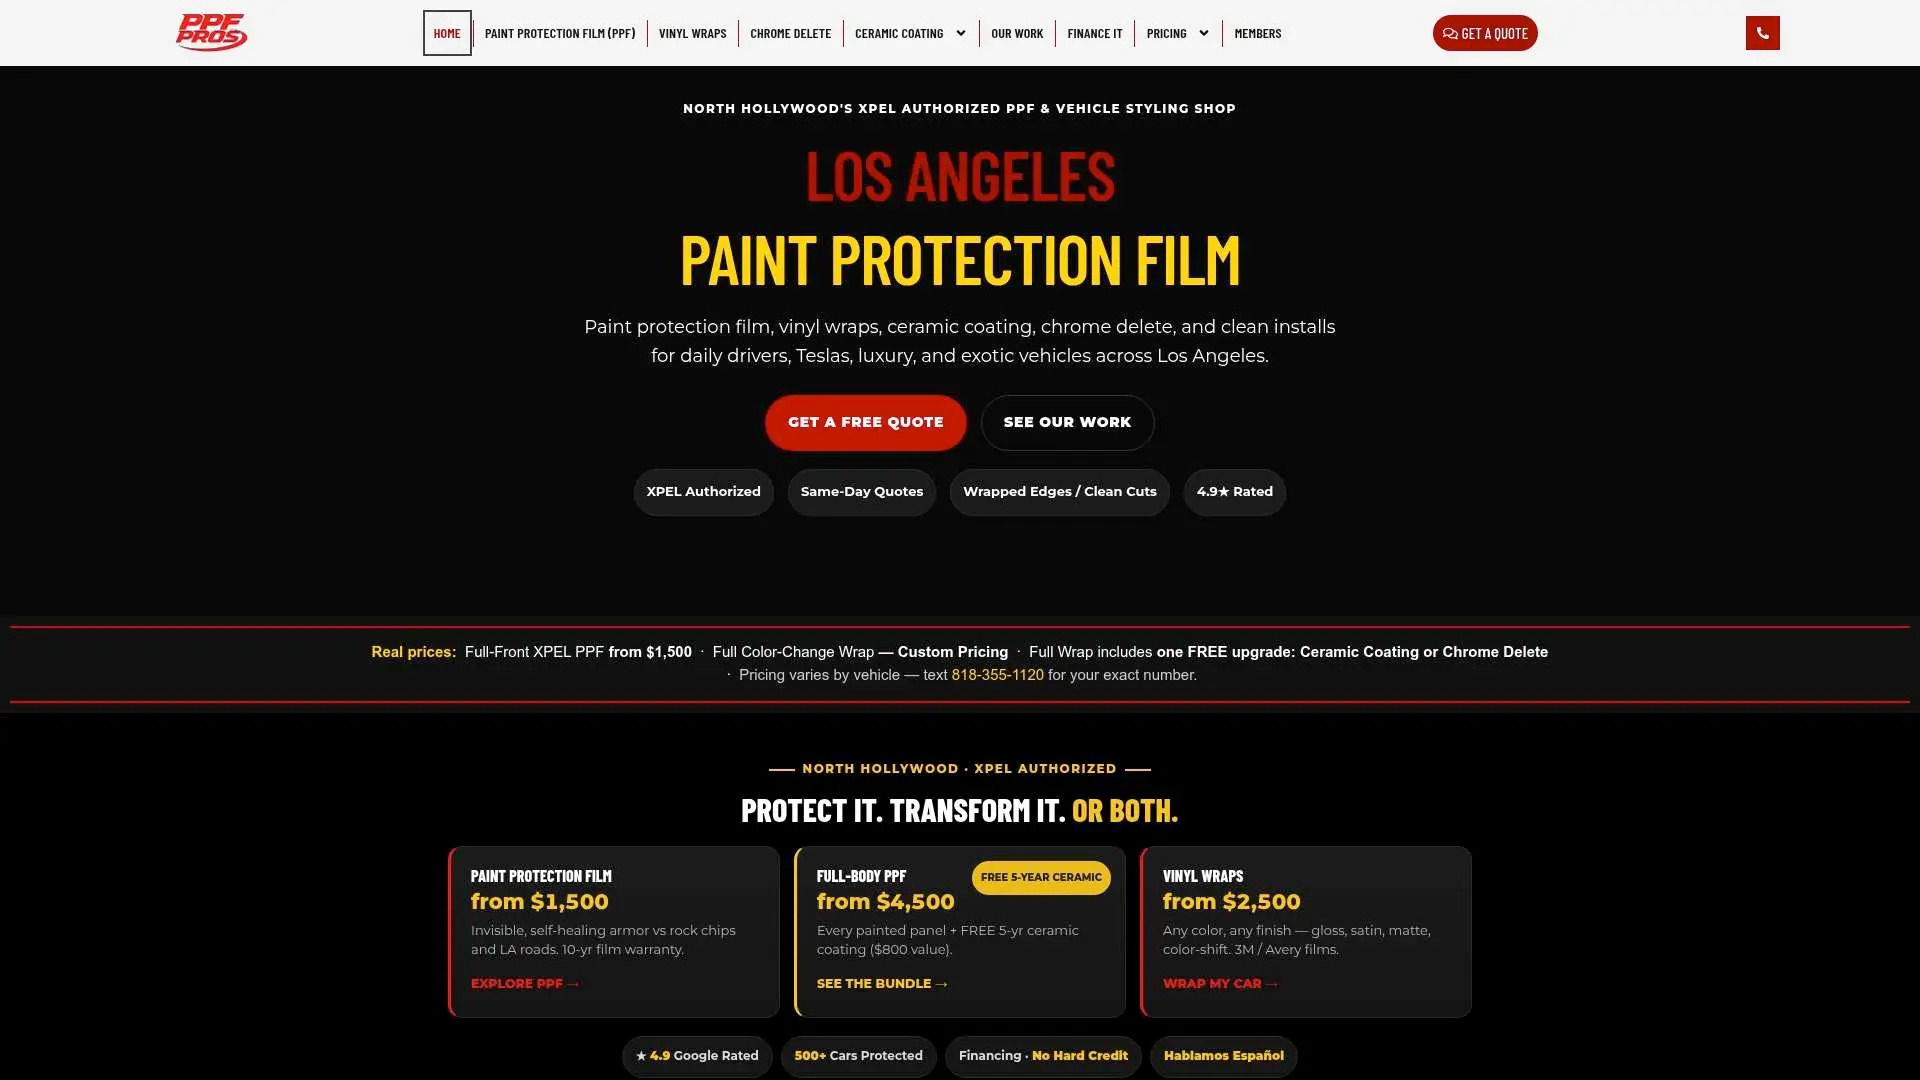
Booking typically starts with an inspection of your trim and its condition, followed by a straightforward quote and timely response with your options, including whether a full chrome delete, a partial trim wrap, or an added ceramic coating might be suitable for your car.
- Chrome delete and full color change wrap options available for a variety of vehicles, including daily drivers and luxury or exotic cars.
- Clear local quotes using premium materials and precision edge work.
- Ceramic coating often offered as an add-on for trim or the full vehicle.
Head to the Full Color Change Wrap page to see material options and request a quote for your vehicle.
Sources
FAQ
Can you wrap window trim, including chrome delete?
Yes, window trim, including full chrome delete jobs, is commonly wrapped using automotive cast vinyl films from brands like 3M and Avery Dennison. The result depends heavily on surface prep and finish choice, with chrome and metallic finishes requiring more careful handling than matte or gloss black.
How much does it cost to wrap window trim with aluminum?
Pricing for wrapping metal or aluminum trim depends on the number of panels, shape complexity, and whether pieces are removed from the car before wrapping, with no single published rate across the industry. Ceramic coating, PPF, and full color change wrap services at PPF Pros are quoted individually, and you can request a quote based on your specific vehicle and trim.
Can I vinyl wrap plastic trim?
Yes, plastic trim accepts vinyl wrap well as long as the surface is clean and structurally sound, following a wash, clay, solvent clean, and final isopropyl alcohol wipe before application. Aged, cracked, or oxidized plastic should be repaired or refinished first, since film will not fix underlying surface damage.
Can you get window frames wrapped professionally?
Yes, professional shops that work with 3M and Avery Dennison cast films regularly wrap window frames and surrounding trim, often as part of a chrome delete package. A shop installer brings finish-specific tools like soft-edge squeegees and templates that reduce the risk of scratches on gloss or metallic film compared with a first-time DIY attempt.
How long does window trim wrap last?
Lifespan depends on the film and where it’s applied, with 3M’s Series 2080 rated for up to eight years on vertical applications under manufacturer warranty. Horizontal surfaces exposed to more direct sun and weather typically wear faster than the vertical trim around windows.